
|
| Pearson 10M Forward Hatch Repair |
| Description | |
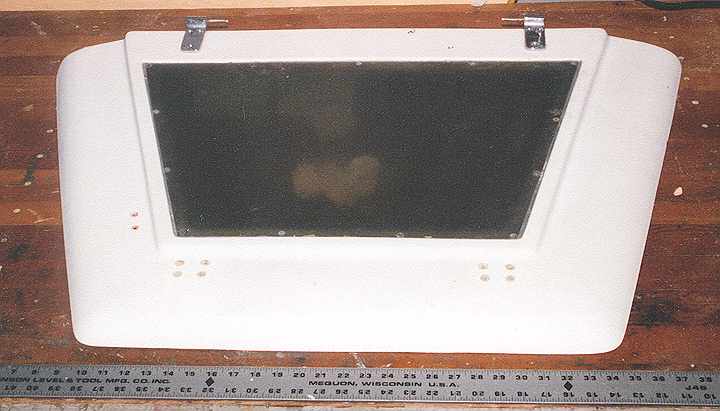
| The forward hatch on the Pearson 10M is a custom molded unit. Owners will want to take good care of it as replacements will be hard to come by. On early boats the center section was translucent fiberglass. These hatches are one piece with no seams. Sometime later in the production run Pearson added a smoked Lexan insert in place of the translucent fiberglass center. The Lexan is fastened into a flange in the rim with screws around the perimeter. The top of the Lexan is lower then the rim around it allowing water to collect and eventually leak onto the v-berth. To fix the leak the Lexan should be removed and re-bedded on a clean flange. The flange can be built up with epoxy and filler or fiberglass so the Lexan sits flush with the frame to prevent collection of water. |

|
|
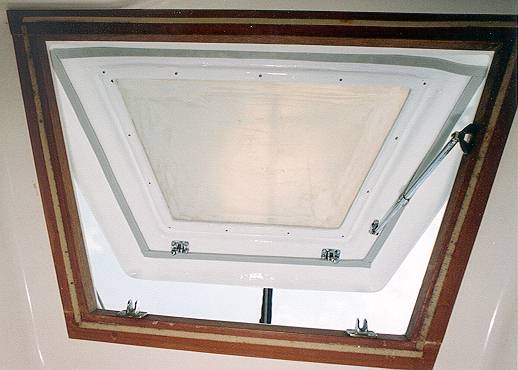
Reinforcing the Hatch | |||
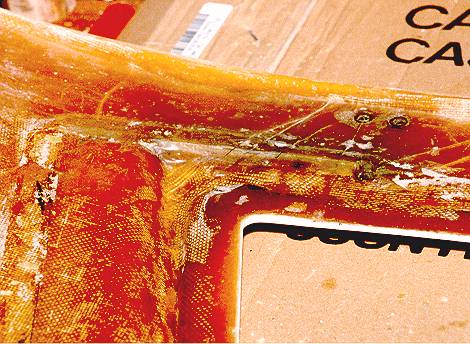
| On the underside of the hatch there was an area filled with resin to provide a flush surface for the rubber seal. I chiseled this out and filled with fiberglass/epoxy overlapping onto the surrounding surfaces to add strength. |
|
|
|
|
Flange Build-Up | |
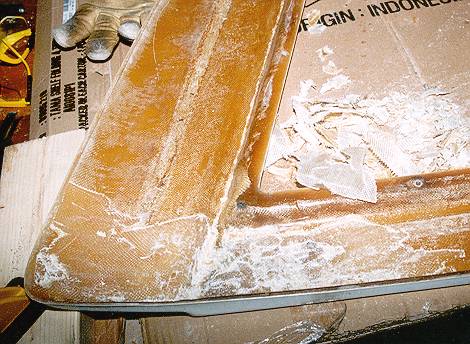
| The flange for the lexan is about 1/2" to 9/16" deep. The Lexan was 3/8 thick. This means there is a rim that will always hold water. I thickened the flange up to get the top of the Lexan just above the rim for drainage. I chiseled the gel coat from the flange surface and prepped it for epoxy. I cut some 0,90 biax glass (w/mat backing) in stips and epoxied four layers in place. I used the plexi with some plyethelene sheet taped to it to press the fiberglass while it set. I ended up with a smooth surface that made the flange about 1/8" thicker and a lot stronger. I ground down the rough surface on the inner edge and prepped the new glass surface for more epoxy. Using some sheet plastic that products come in (e.g. blister packs for batteries) I made a coffer around the inner edge. I weighted the middle of the hatch so it bowed down a bit. Then I poured in epoxy thickened a bit with 406 filler and let gravity level it out. When it was cured I removed the weights and the coffer and sanded off the meniscus lip. I sanded the surface a bit to fine tune the height. The lexan sits on it with an upward bow in the middle of about 2mm for better drainage. The top of the Lexan is a bit less than 1mm above the flange on the hatch. It will be a little higher with sealant. |

|
|
Paint | ||
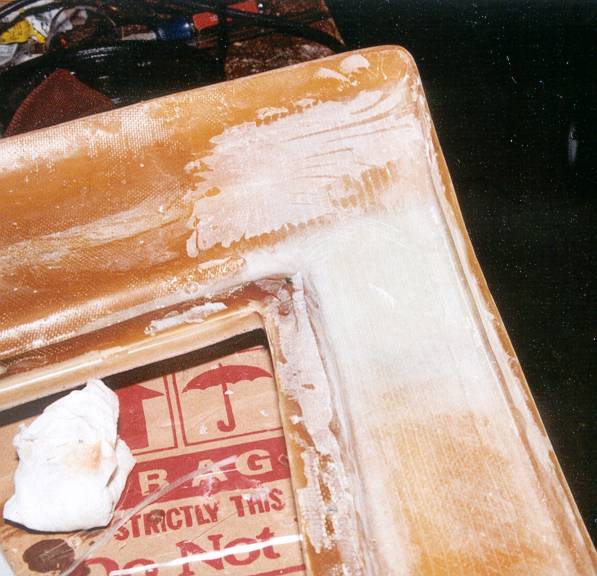
| I painted the underside of the hatch and the flange surface with 2 part polyurethane car paint (white). I painted the flange to protect the epoxy from UV and I painted the underside for appearance. I prepped the surface and applied the primer (also 2 part) and paint with a brush. The 2 part polyurethane brushes on very nicely and it's a lot safer than spraying (I still wore a proper respirator rated for this paint). The paint levels very well and brush strokes dissapear (and I used a cheap brush). |
|

|
|
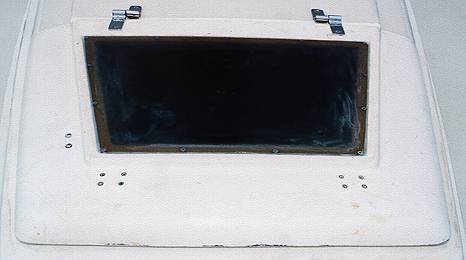
Lexan Insert | |
| I re-used the original lexan. A replacement can be fabricated at any good plastic shop but the cost is in the $120 range and it will scratch (even the scratch resistant). I can replcace it in the future if I want. Originally the lexan was held down by #8 pan head screws fastened through the flange with nuts and washers. I drilled out the holes and cut counter-sinks for #10 flathead screws. With the thicker flange (now 3/8" thick vs 1/8 OEM) I tapped the holes and screwed the fasteners in without backing nuts. The threaded holes will also provide a better seal. There is still a fairly large gap (about 1/8") around the edge of the lexan. I sealed this and the screws with Boatlife LifeSeal. This is a hybrid of silicone (good gap filling) and polyurethane (good adhesion). |
|
