
|
| Galley Rebuild |
|
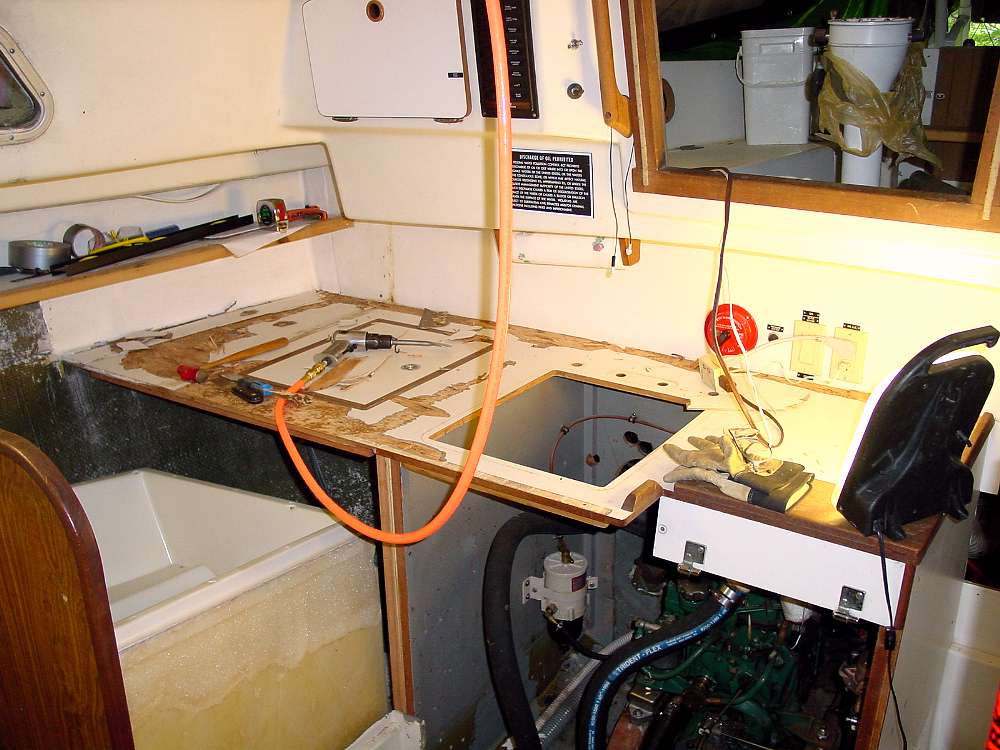
Getting the ice box out requires removal of the counter top. The ice box is held to the underside of the counter top by screws that go down through the countertop into the ice box flange. The screw heads are covered by the formica. I peeled off the formica over the screws with my air hammer with a wide chisel (scraper) tip. This is a brutal tool that I also use to split tabbing. There are also screws along the back edge of the counter top under the Formica. Needless to say I'll be making a new counter top. That's probably easier than rehabbing the old one anyway. |

|
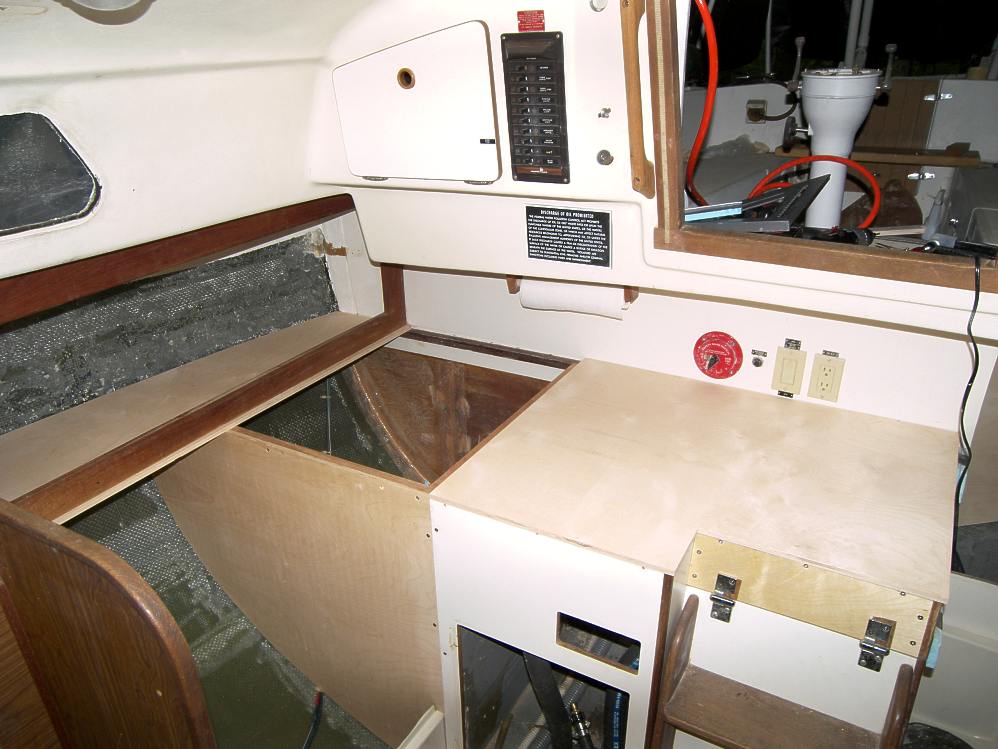
Nice shot of the galley area with the countertop removed and the ice box shell pulled out. My re-build plan will have the counter in two sections so the one over the engine can be removed for maintenance access. |
|
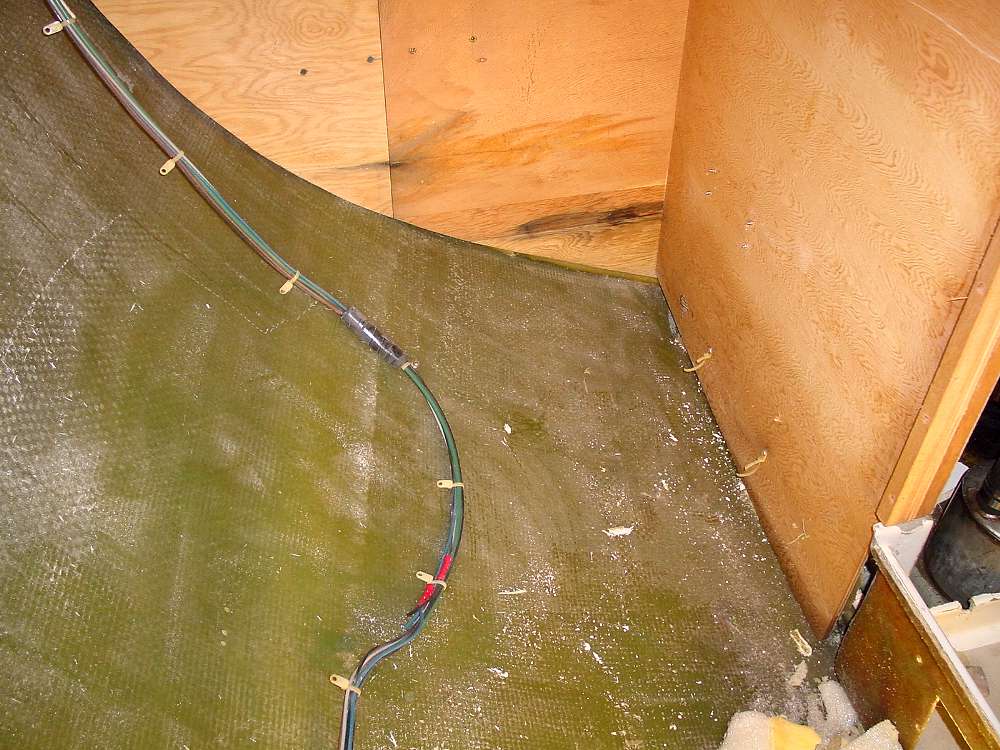
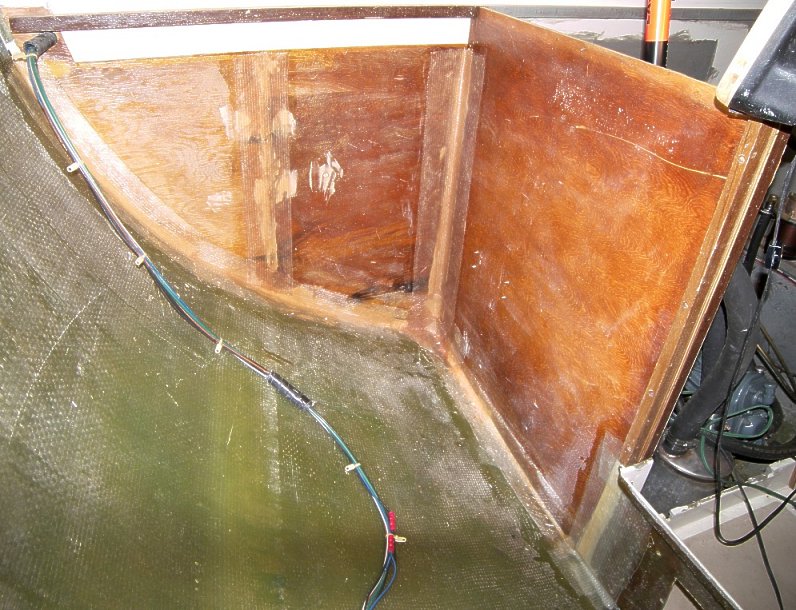
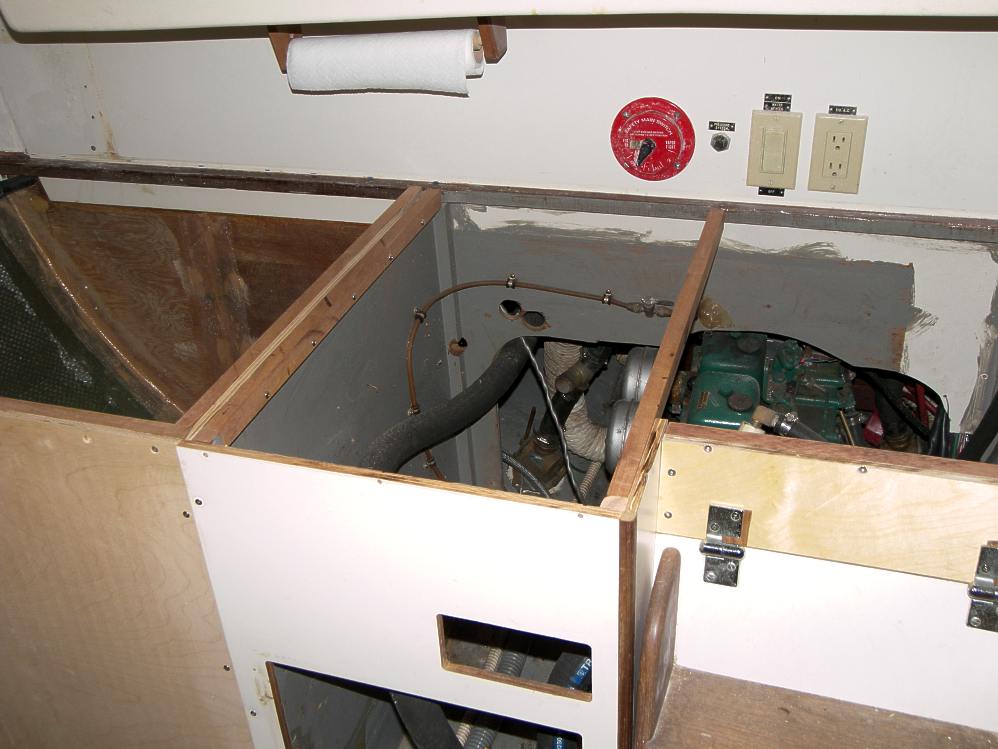
This shot shows the forward side of the aft cabin bulkhead and the outboard side of the longitudinal bulkhead between the engine and icebox. Note that there is no tabbing connecting these bulkheads to the hull. That's because the galley was dropped in as an assembled unit and only the back side of this bulkhead was accessable for tabbing. |
|
This shot shows the forward side of the aft cabin bulkhead and the outboard side of the longitudinal bulkhead between the engine and icebox. Note that there is no tabbing connecting these bulkheads to the hull. That's because the galley was dropped in as an assembled unit and only the back side of this bulkhead was accessible for tabbing. |
|
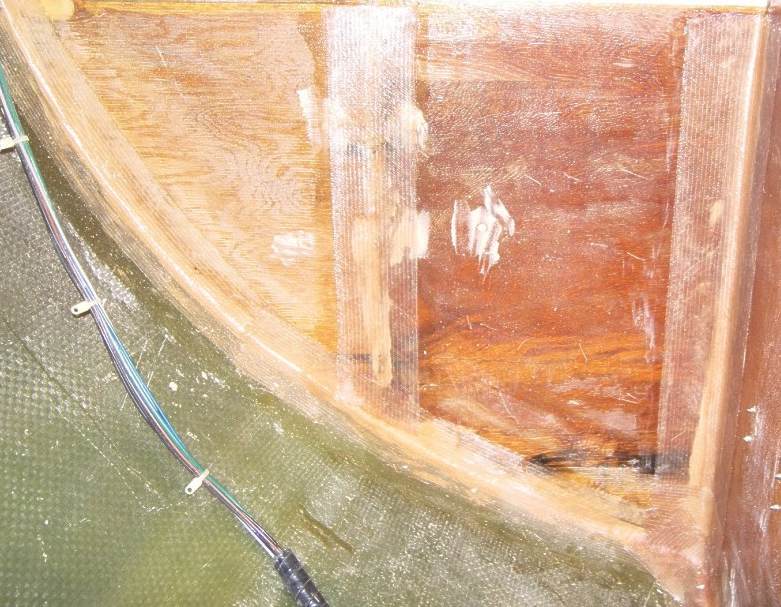
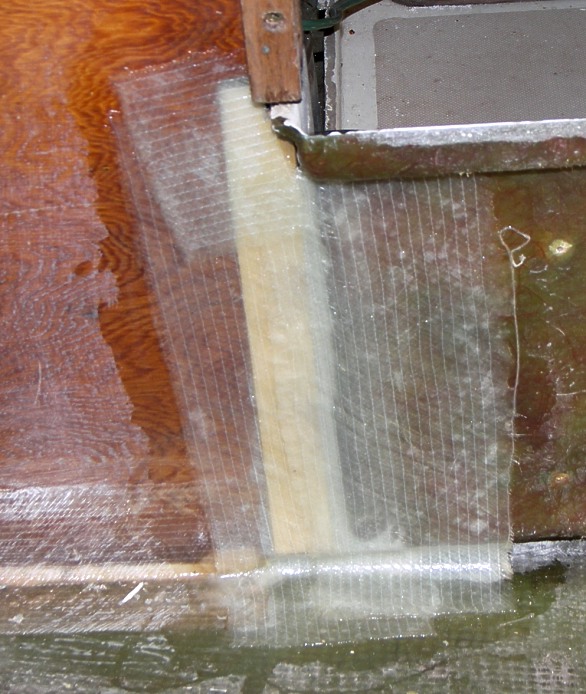
A little more detail of the tabbing on the aft bulkhead. I used West System epoxy and West System 727 biaxial tape (4" wide). Before the tabbing I made a fillet (about 1" radius) in the corner with epoxy and 410 filler. I also tabbed over the plywood seam in the bulkhead, filled in various holes and depressions and painted a coating of epoxy over the whole bulkhead. The wiring coming down from the left will go into a conduit. |
|
Close up of the filled in gap in the engine compartment bulkhead. I put in a piece of 1/2" plywood and glassed it over on both sides with biax tape. |

|
This shot is looking along the wood strip that supports the aft end of the galley counter. It is slightly bowed up in the middle. Maybe by 1/8" or so. I have the boat leveled on the stands and I will make this surface level with epoxy. I'll put a coffer dam of plastic on the front and pour epoxy on the top until it just covers the whole surface. Gravity will make it level. Then I'll have a good reference point for getting the entire counter top level.
Update: The amount of dip on this piece proved to large for the epoxy treatment (3/8" outboard) and I'll have to make a shim. |
|
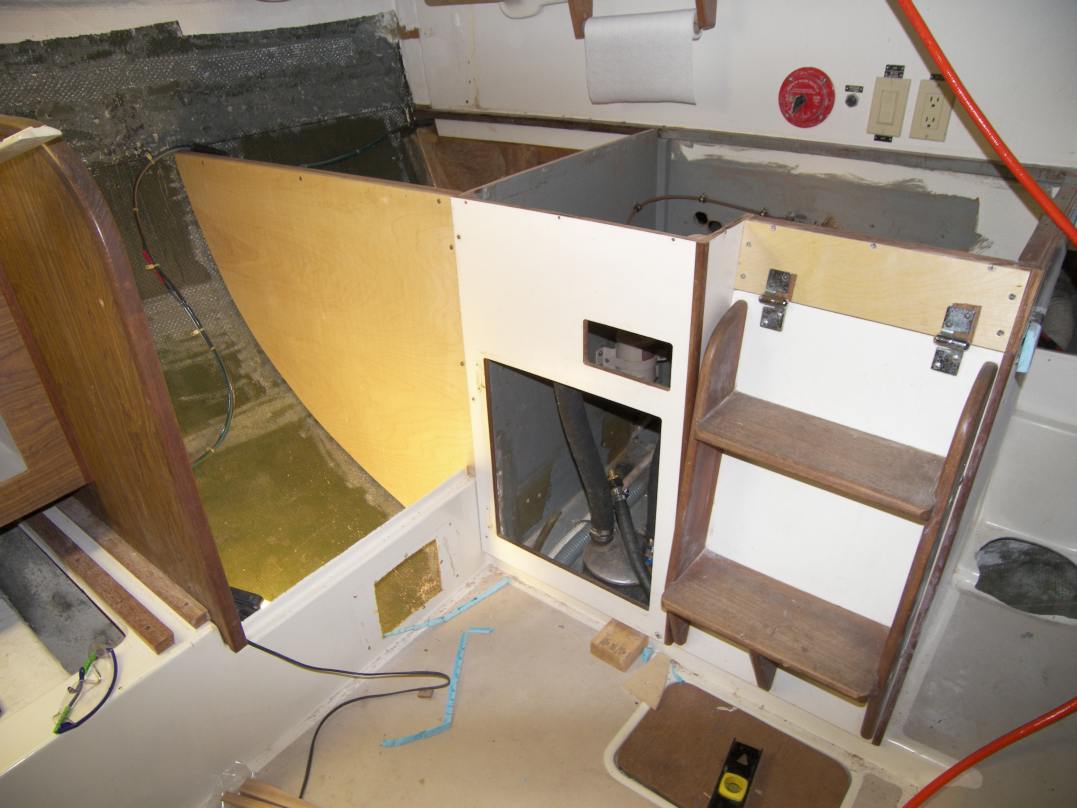
This is the galley with the new ice box bulkhead in place for fitting. You can also see the new panel for the companionway ladder hinges. |
|
The ice box bulkhead has a mahogany cleat along the top for support and fastening of the counter top. For fitting it is sitting on a small block that was temporarily glied to the hull. |
|
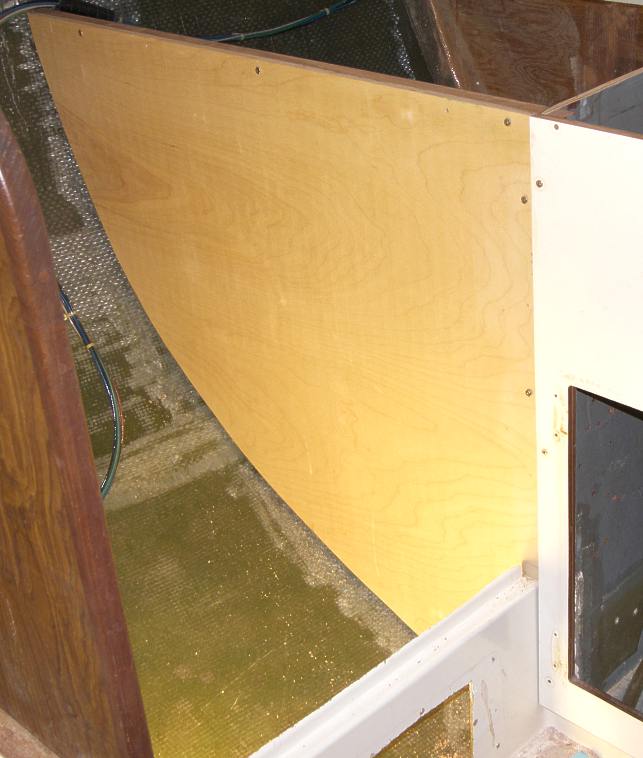
The ice box bulkhead fit is pretty good with room for a backing strip on the hull. This will be two layers of boax+mat. Then a mash of epoxy thickened with 406 filler will be spread to fill the remaining gap and form a fillet for the tabbing. All this will be done in a continuous process to get primary bonds throughout the tabbing process. |
|
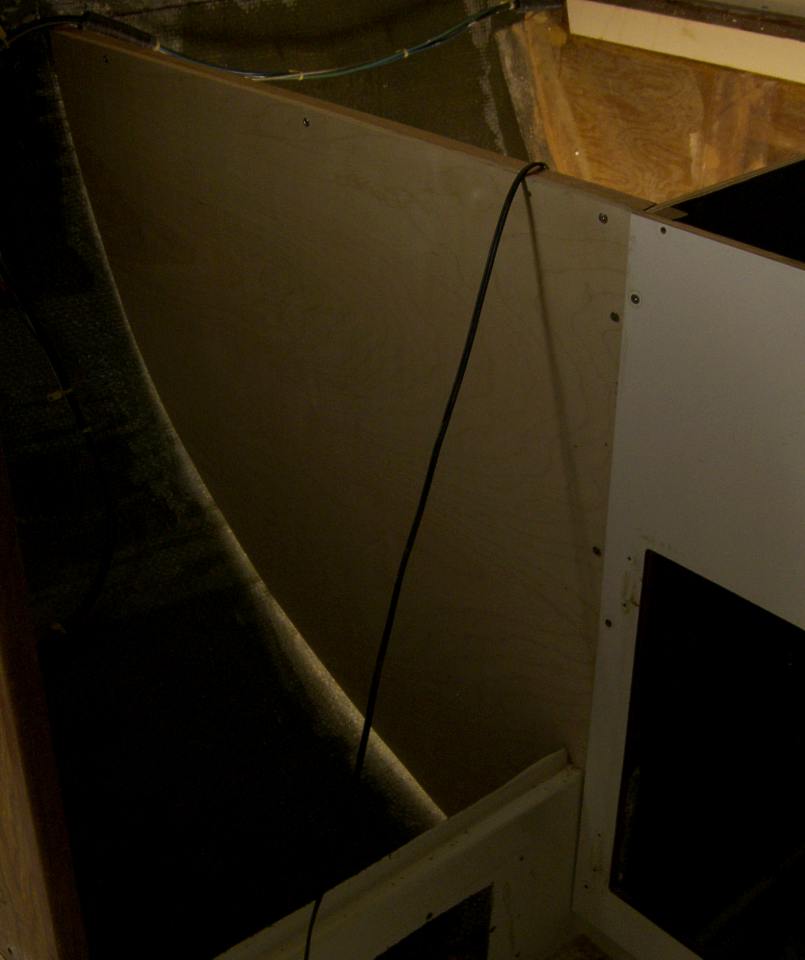
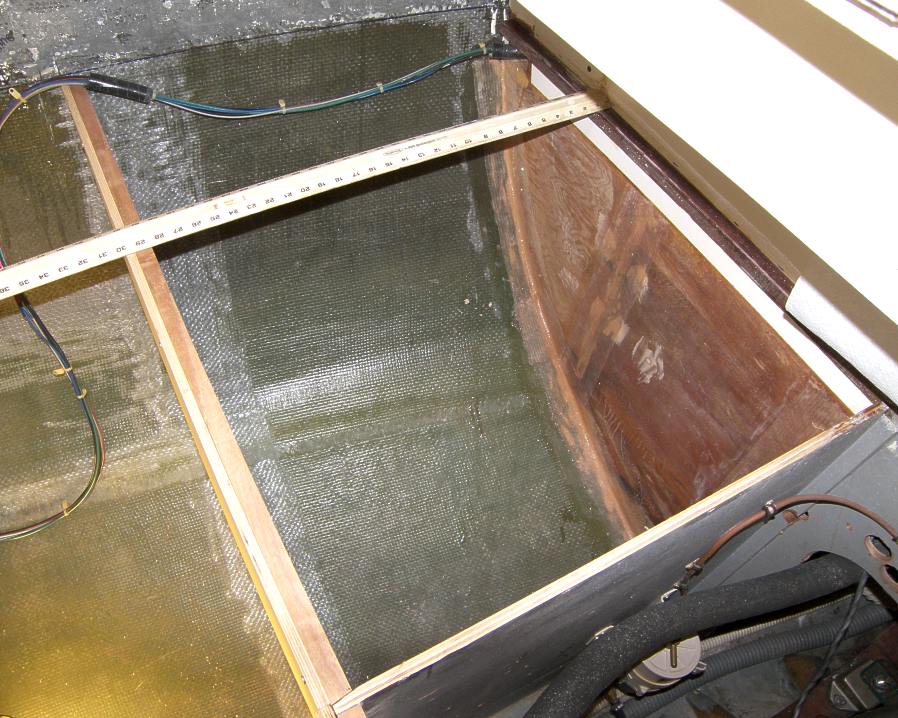
This space will contain the ice box. Foam will be cut and layed in then glassed over with two layers of biax+mat. The bottom will get an extra layer for strength. |
|
This photo shows some of the mahogany framing for the galley counter. I added one frame section in the middle to better support the section over the engune. This section will be removable for engine access. |
|
This photo shows the rough fitting of the galley counter top. |