
|
| Garboard Drain |
|
Garboard Drain
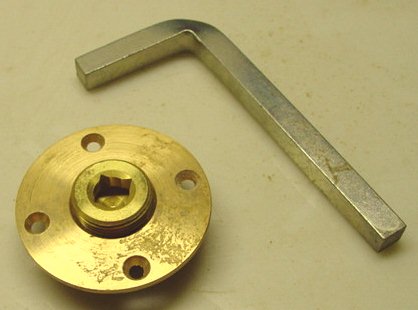
I installed a garboard drain plug in the bottom of my keel sump. It is 1" in diameter and is countersunk into the outer surface. The drain body is epoxied in place (with 406 filler to thicken) and fastened with bronze screws. Before launch I install the plug with thread sealer, fair over the drain with epoxy/fairing compound, seal with epoxy/barrier coat, and paint with bottom paint. At haulout I chip off the epoxy and unscrew the plug so any water that might accumulate in the boat will drain away. It's also good for hosing out the lockers. The photos here show the plug and the instaltion on 10M #187. The instalation on my boat (#212) is identical. Parts Used Perko PK124-000-PLB Garboard Drain Plug, 1" Pipe West System Epoxy, 406 filler, 410 fairing filler, 422 barrier coat filler |
 |
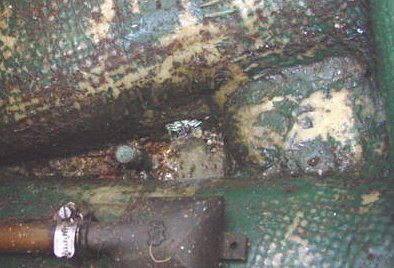 Garboard drain in deepest part of bilge just forward of aft-most keel bolt on 10M #187.
|
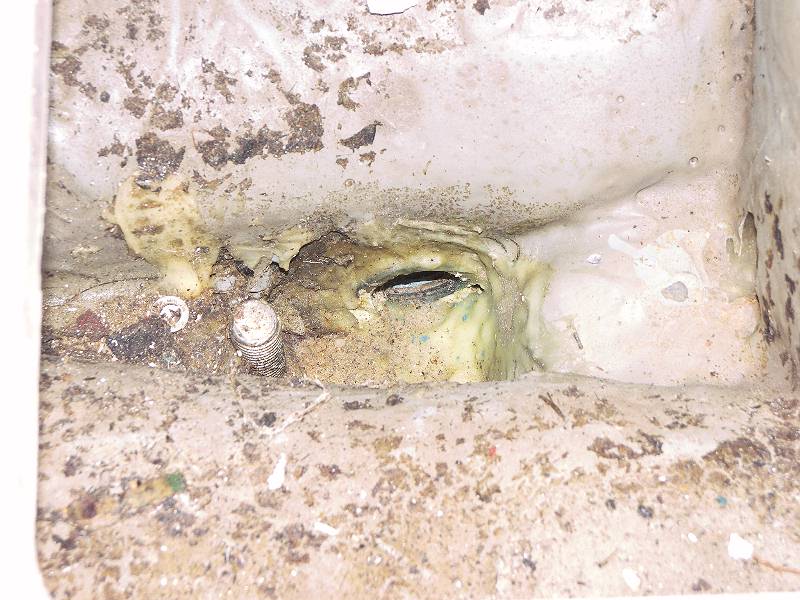 Garboard drain in deepest part of bilge just forward of aft-most keel bolt on 10M #212. (click to enlarge)
The 10M has a shallow bilge. This is about 8" below the cabin sole at the aft end of the keel. There is a small sump there that is a couple inches deeper than the main bilge areas between the floors (transverse stringers). This was filled with resin that I chipped out with a chisel. |
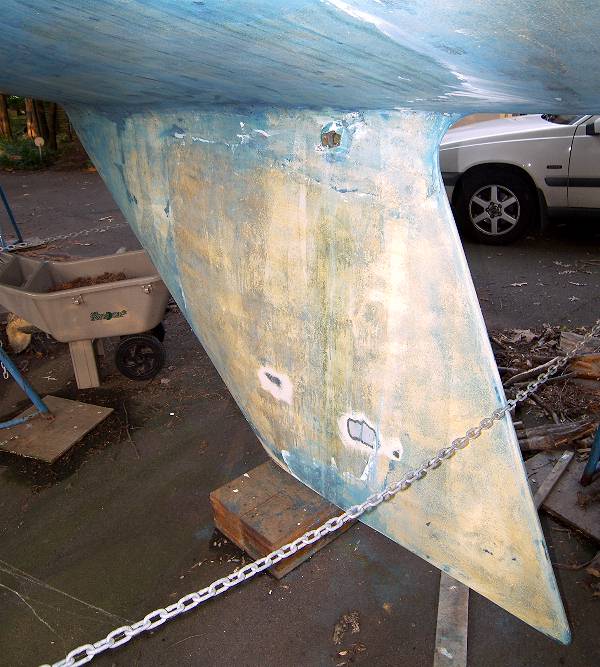 Whole keel showing location of garboard drain on 10M #212. (click to enlarge)
From the outside the drain is located at the aft end and near the top of the keel. This is actually part of a stub on the hull that the keel is attached to. |
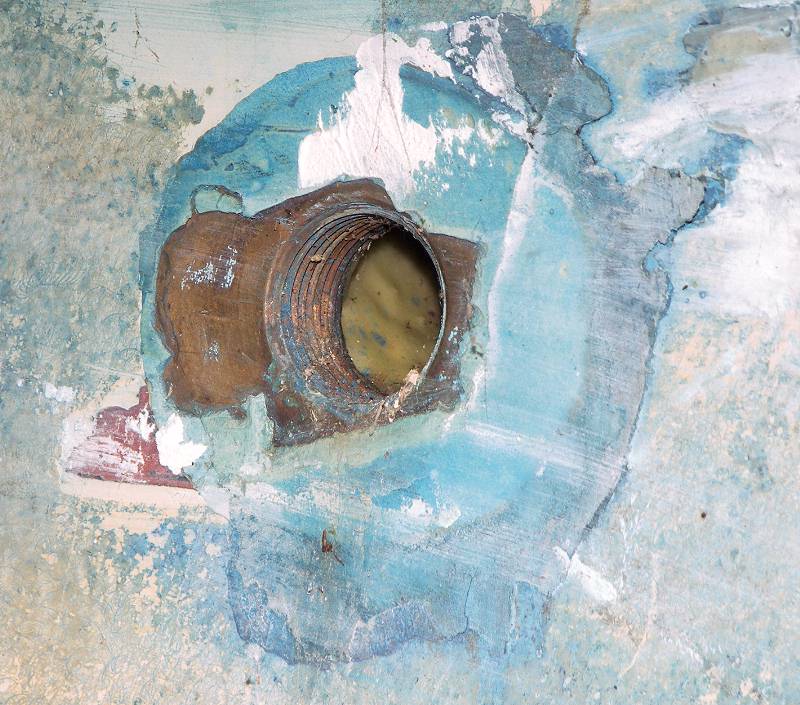 Close-up of garboard drain on 10M #212. (click to enlarge)
Getting a flush mounting was a multi-step process. First a circular cut about 3/16" deep was made with a hole saw the same size as the drain flange. Then several smaller circular cuts of the same depth were made with smaller hole saws using the same guide hole. Then the glass in-between these cuts was removed with a chisel. The hole for the threaded collar section of the drain was then cut. The drain flange was epoxied in place and secured with bronze screws. Before launch the plug is inserted with thread sealer and the whole flange is faired over with epoxy/fairing filler. A few coats of epoxy and bottom paint are added. At haulout the epoxy fairing is chipped away and the plug is removed. |
 (Crude) Measurments for locating the hole.(click to enlarge)
The 10-3/4" is from the edge of the drain hole. Make it 11-1/4" to the center. 45" is from the tip of the keel up along the trailing edge. 2-3/4" is down from the top of the keel to the center of the hole. Those are all somewhat nebulous but will get you close. |
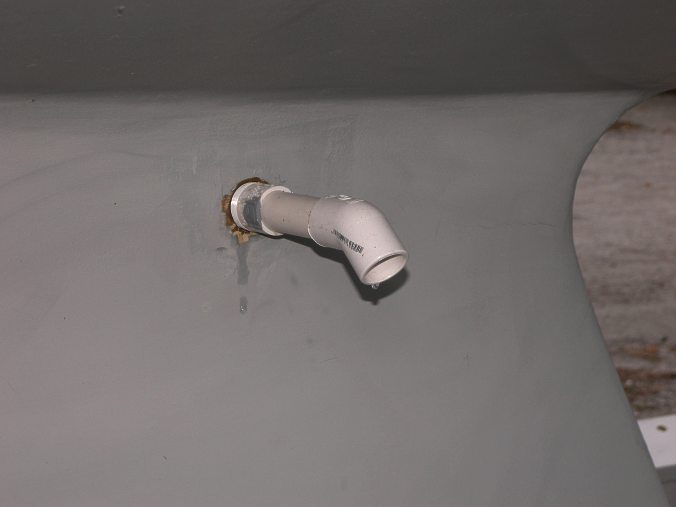 Drain Pipe Installed(click to enlarge)
I put this length of PVC pipe in to hkeep the drain water from running down the side of the keel and accumulate on the cradle frame. |