|
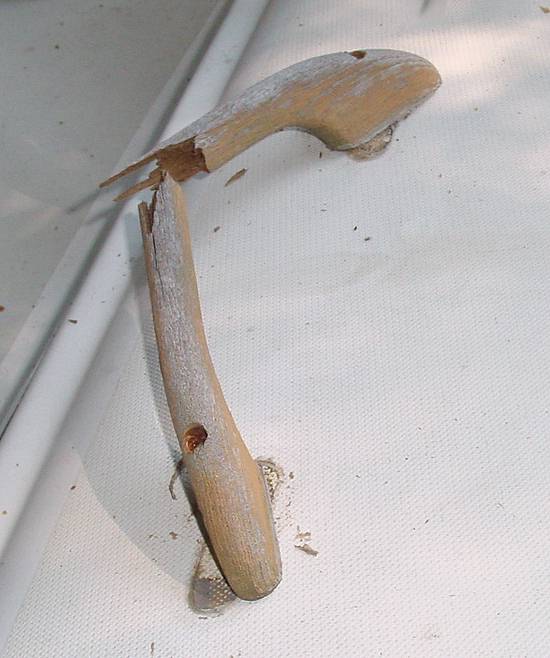
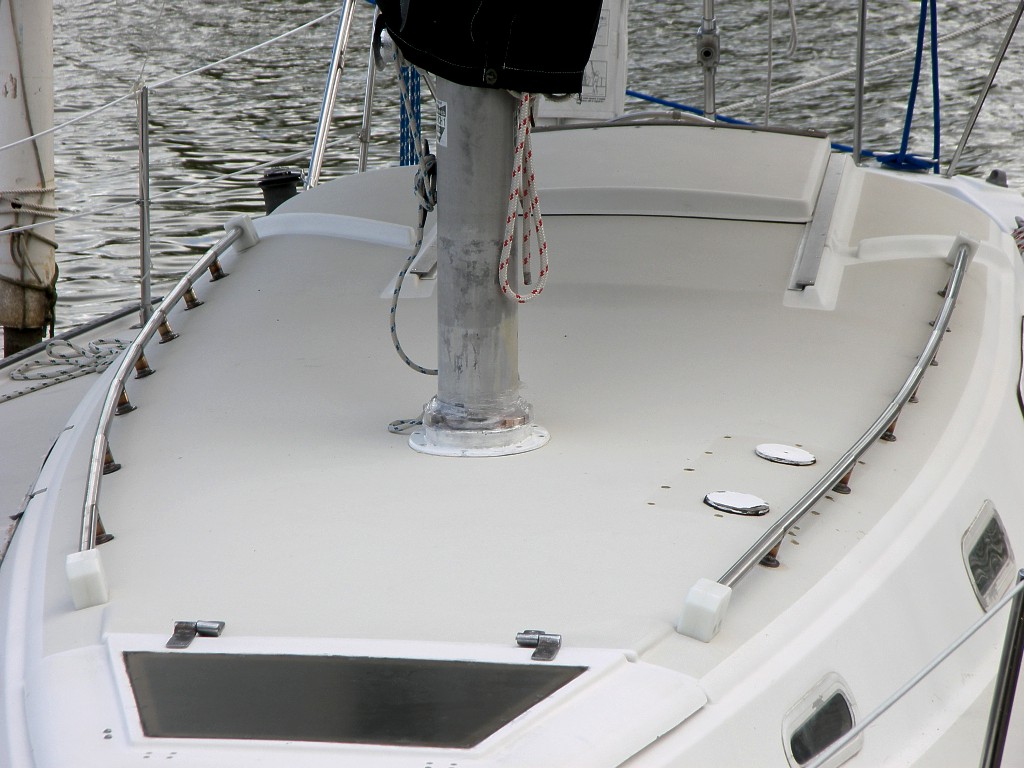
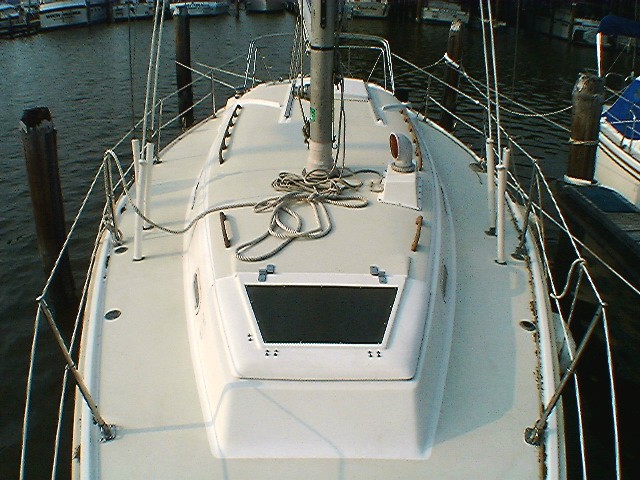
The OEM teak handrails were in weak shape after years of sanding and refinishing. This forward rail snapped in half with one swift kick.
|
|
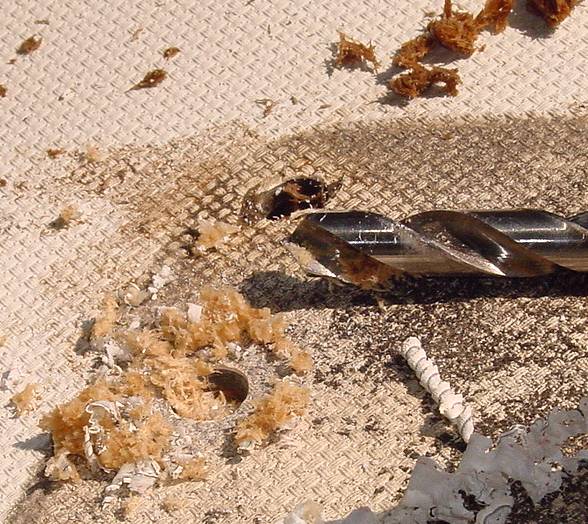
The forward handrail screw was above the headliner. I had to make a large hole to extract it from above. I used my Dremel with a carbide spiral bit. This is a very aggressive tool for cutting fiberglass but it can be hard to control.
|
|
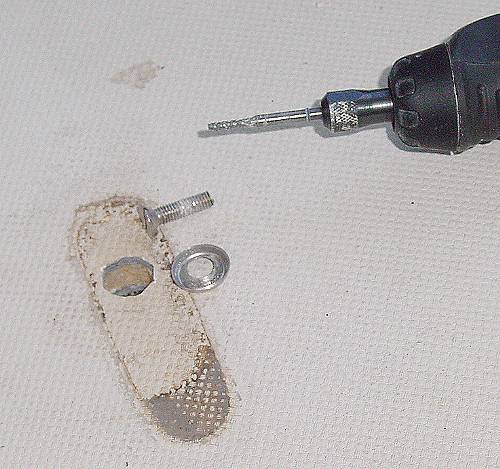
Most of the handrail mounting holes were dry. Some had leaked and there was wet balsa core around the holes. I dug out the wet core until I got to dry core.
|

|
In some cases I had to drill additional holes to reach all the wet balsa. This is a typical problem when deck fittings leak and the core has not been protected.
|

|
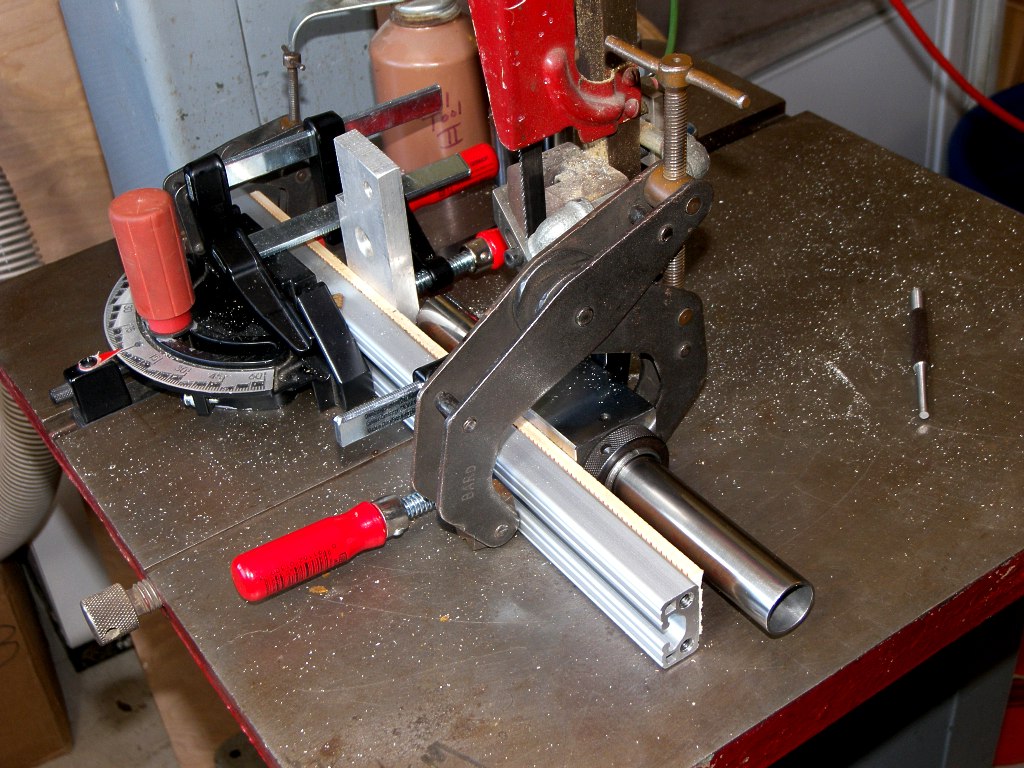
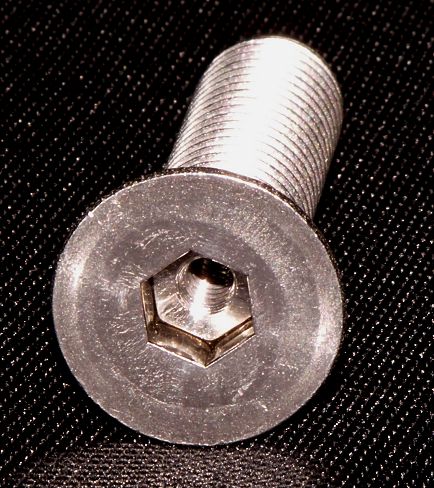
I came up with a scheme to fasten the SS rails and the wooden inside rails. Originally there were 5" long 10-24 screws that went down through the cabin top rails, through the deck and through the interior rails. I needed much more robust fasteners for the SS but I still wanted the wood rails inside. My solution was to make coaxial fasteners. I took a standard 1/2" flathead screw and drill/tapped a hole for a 10-32 screw right down the middle through the allen key hole. This flat head fastener goes up through the cabin top and into nuts welded into the bottom of the handrail mounts. The inner rails can then be mounted with #10 screws from below. The wood rails will cover the heads of the 1/2" screws which are counter-sunk into the headliner.
|
|
|
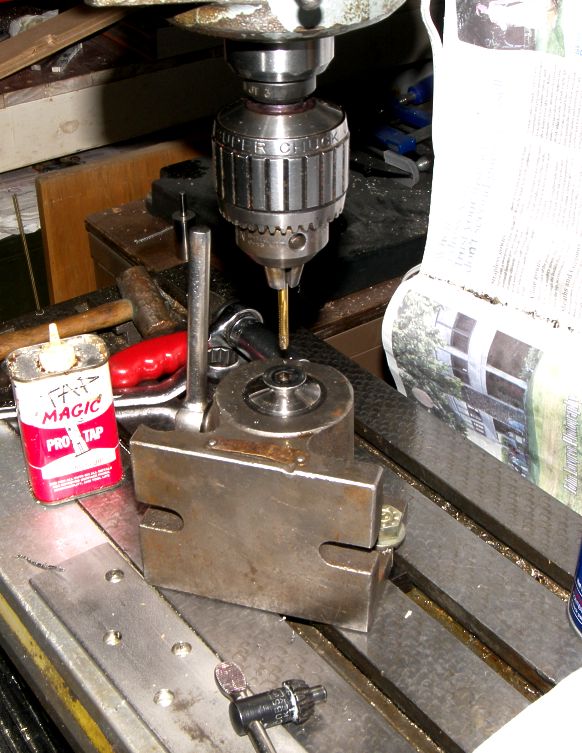
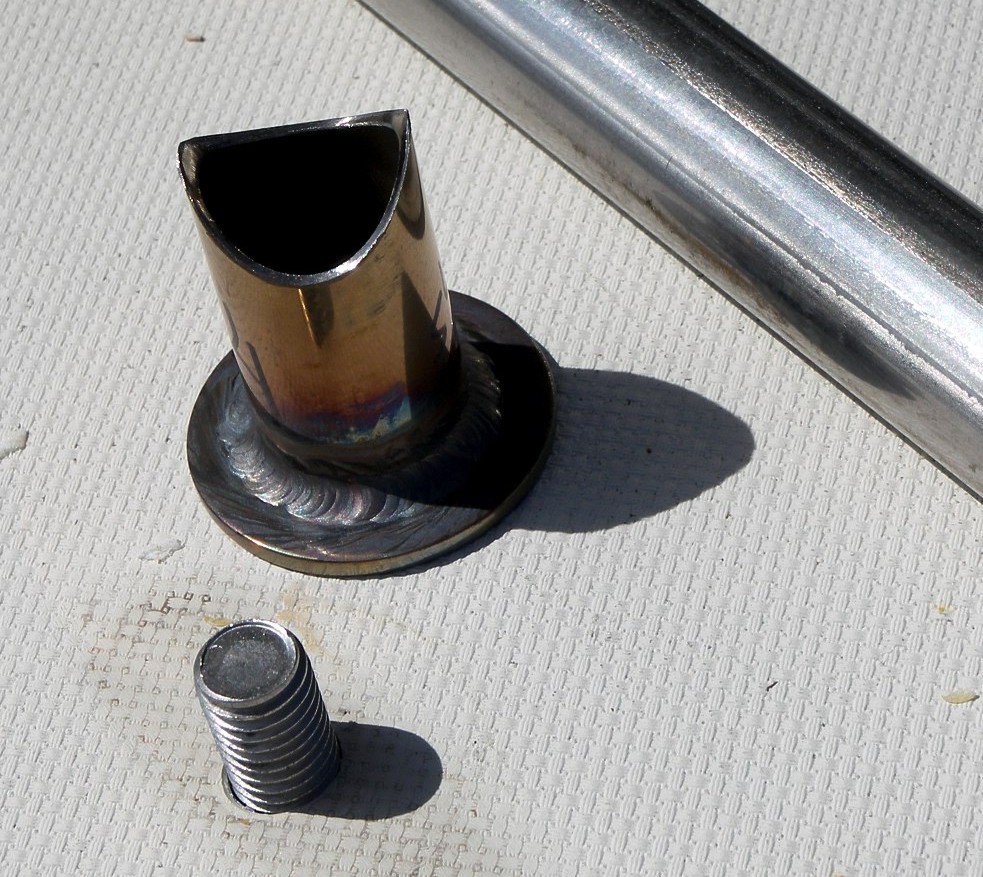
This is the handrail screw with the threaded hole in the center. This one used a 10-24 screw. I endesd up making them 10-32 after breaking some taps trying to use 10-24 in the 1-1/4" deep hole.
|
|
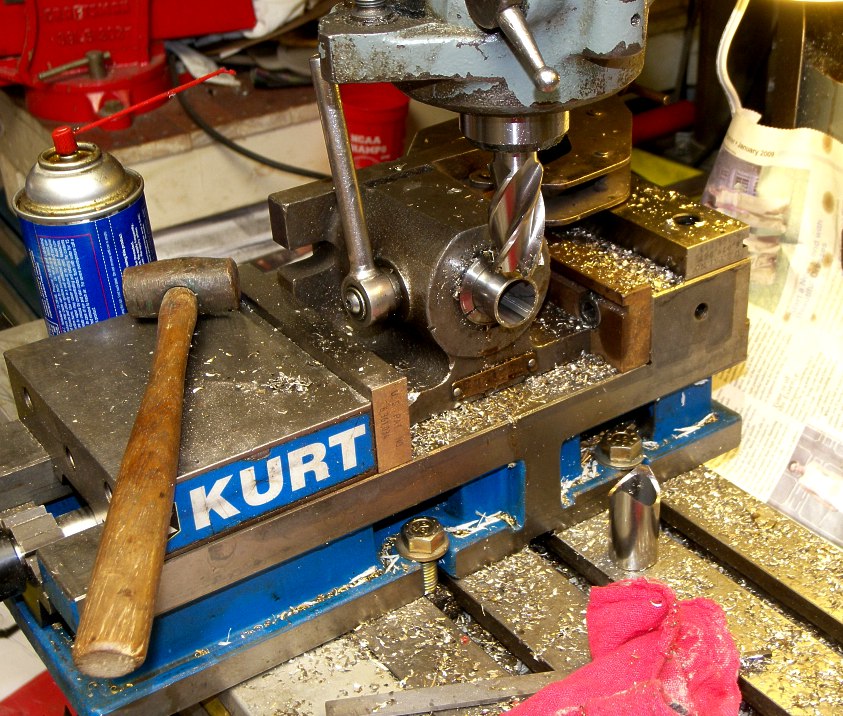
This is the setup I used on the milling machine to make the threaded holes in the screws. The screw is held in place in a 1/2" collet. The threading was done by hand in the mill. The holes are threaded for a 10-32 screw.
|
|
I cut the tubing into 2" sections on a band saw using a jig to hold the tubing.
|
|
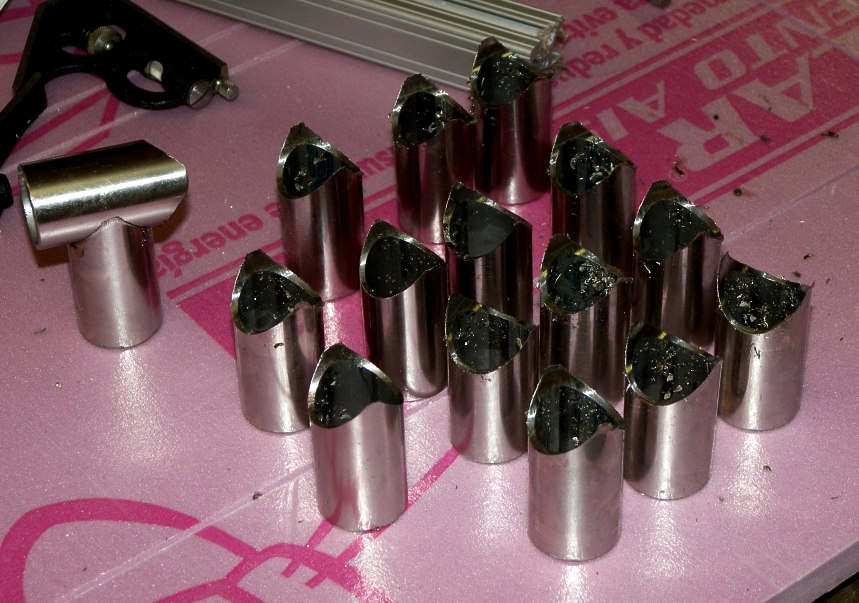
In my milling machine I used a 1" end mill to cut the saddle end that would hold the rail tube.
|
|
Here are the finished saddles ready to have the bases and nuts welded to them. After this photo I did a face cut on the flat ends to square them up.
|
|
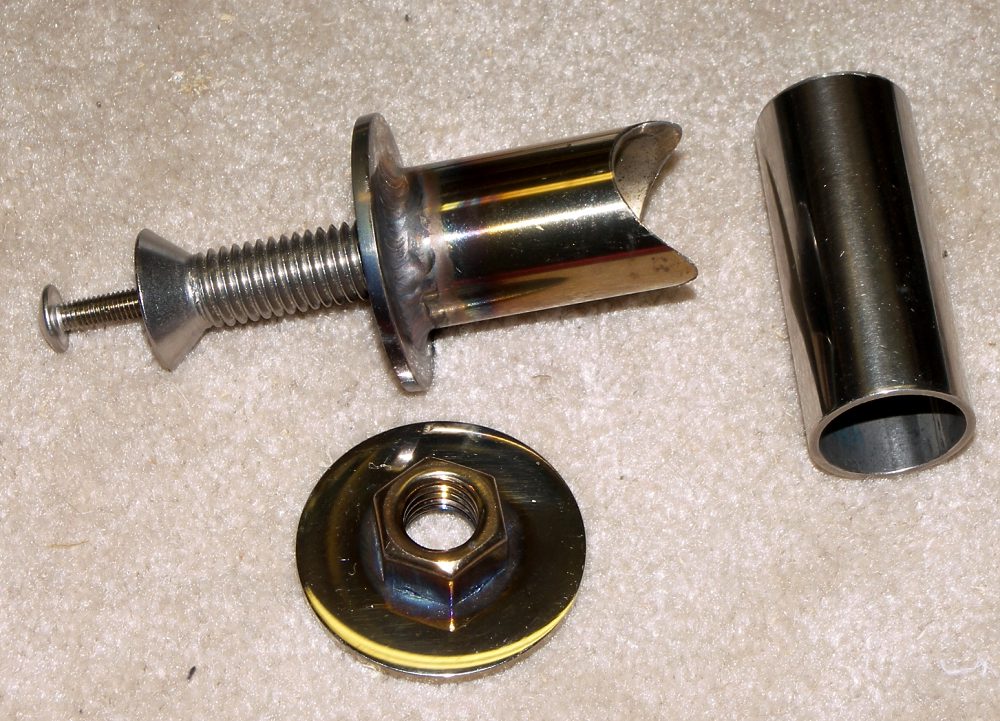
There are a few parts that make up the rails. The long rail, a standoff part that connects it to the deck (I called these the saddles), a base plate, and a nut. I fabricated the saddles from 065 SS tubing (from McMaster Carr). I found nuts that just fit inside the tubing and large thick washers to use as base plates.
I cut a shoulder in the nut to fit into the hole in the washer and they were welded together. Then the saddle tube was welded onto the washer/nut assembly to complete the saddle assemmbly.
|
|
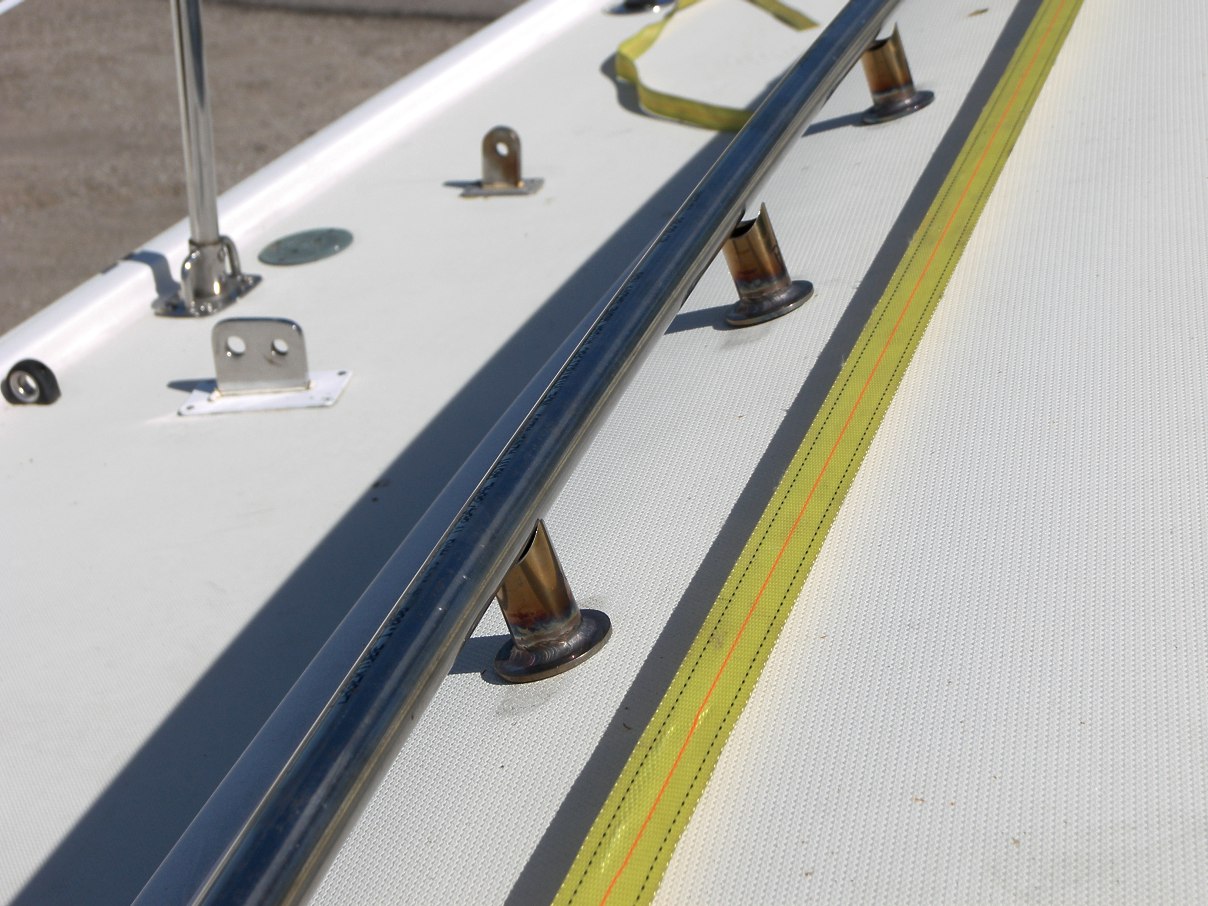
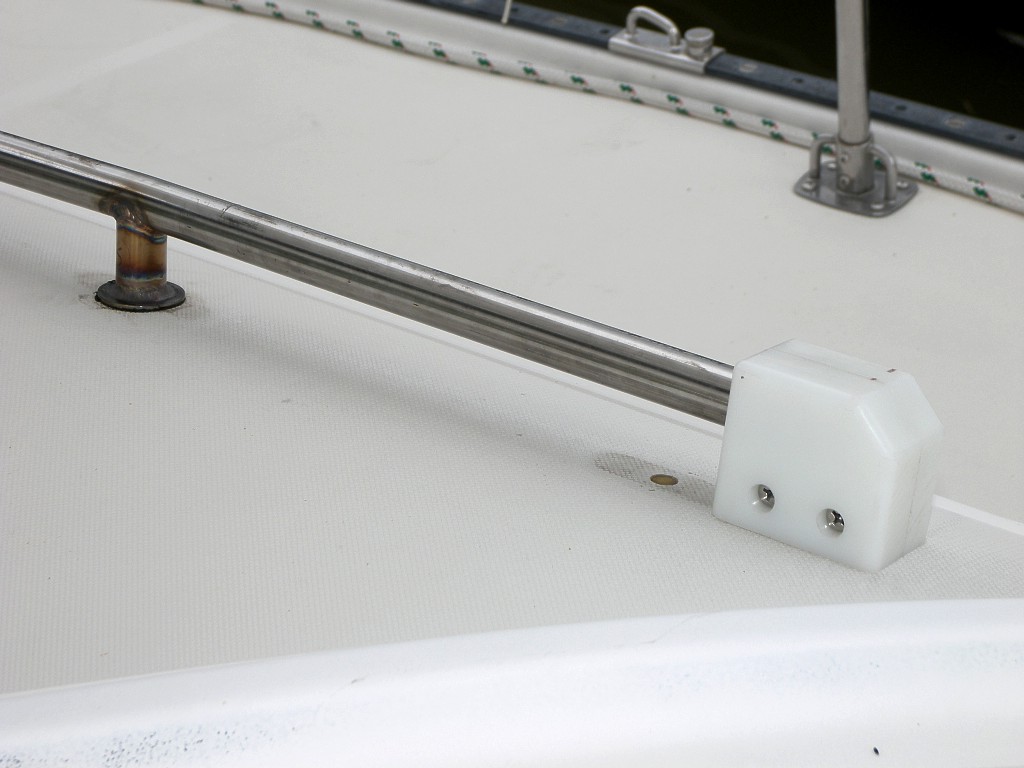
Here is a finished saddle ready to be threaded onto the 1/2 screw coming up through the deck. These were all mounted in place on the cabin top and the rails were fitted to them to get proper placement of the mounts.
|
|
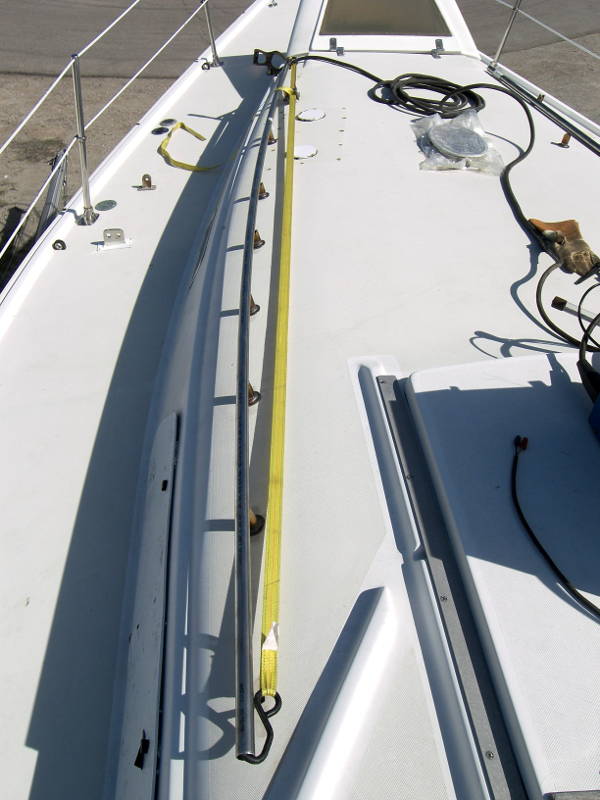
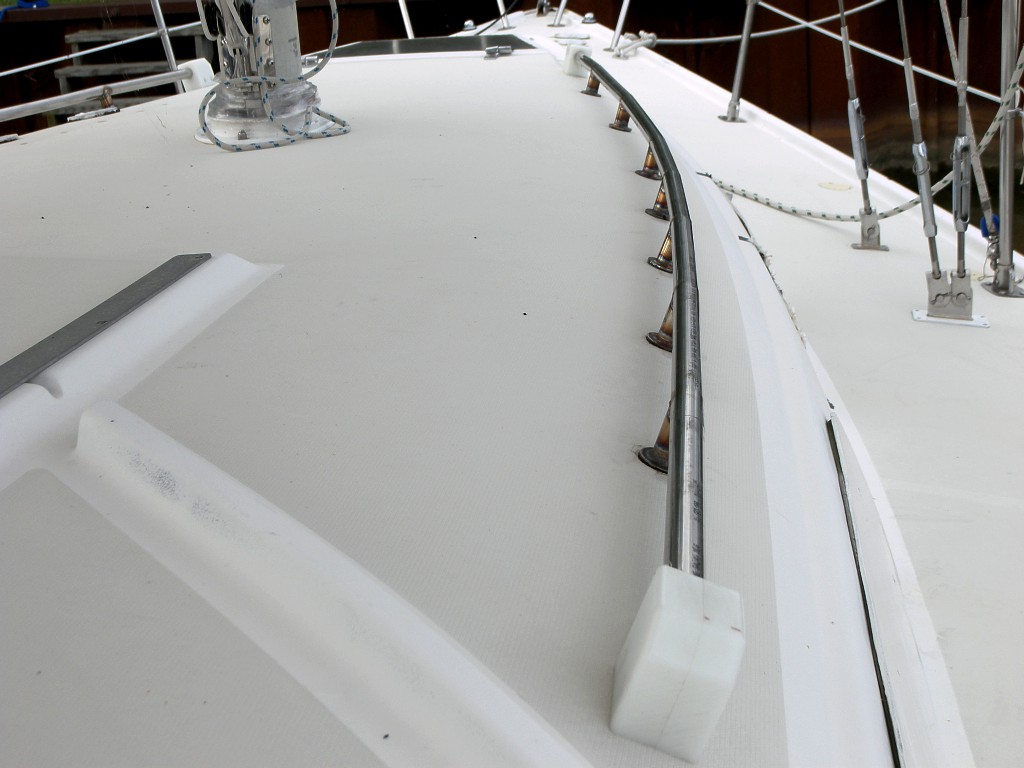
Once the saddles were in place and aligned the rails were set in place. A standard ratchet strap was used to pre-bend the rails to get the proper curve. I used .049 SS tubing for the rails. I had planned to use the thicker 065 like I used on the saddles. Once mounted the 049 tubing seems more than strong enough. I got this tubing locally for about half the price of the tubing they sell at West Marine. But the West tubing comes fully polished and that might have been worth the added expense ($70) depending on how much work it takes to polish these. Mail ordering the tubing is another option but 10' lengths are a lot more to ship.
|
|
The saddles varied a bit in height. They were arranged starting with short then getting to the tallest at the middle then going back down to short. The variation is not really enough to notice visually once it is all welded together.
|
|
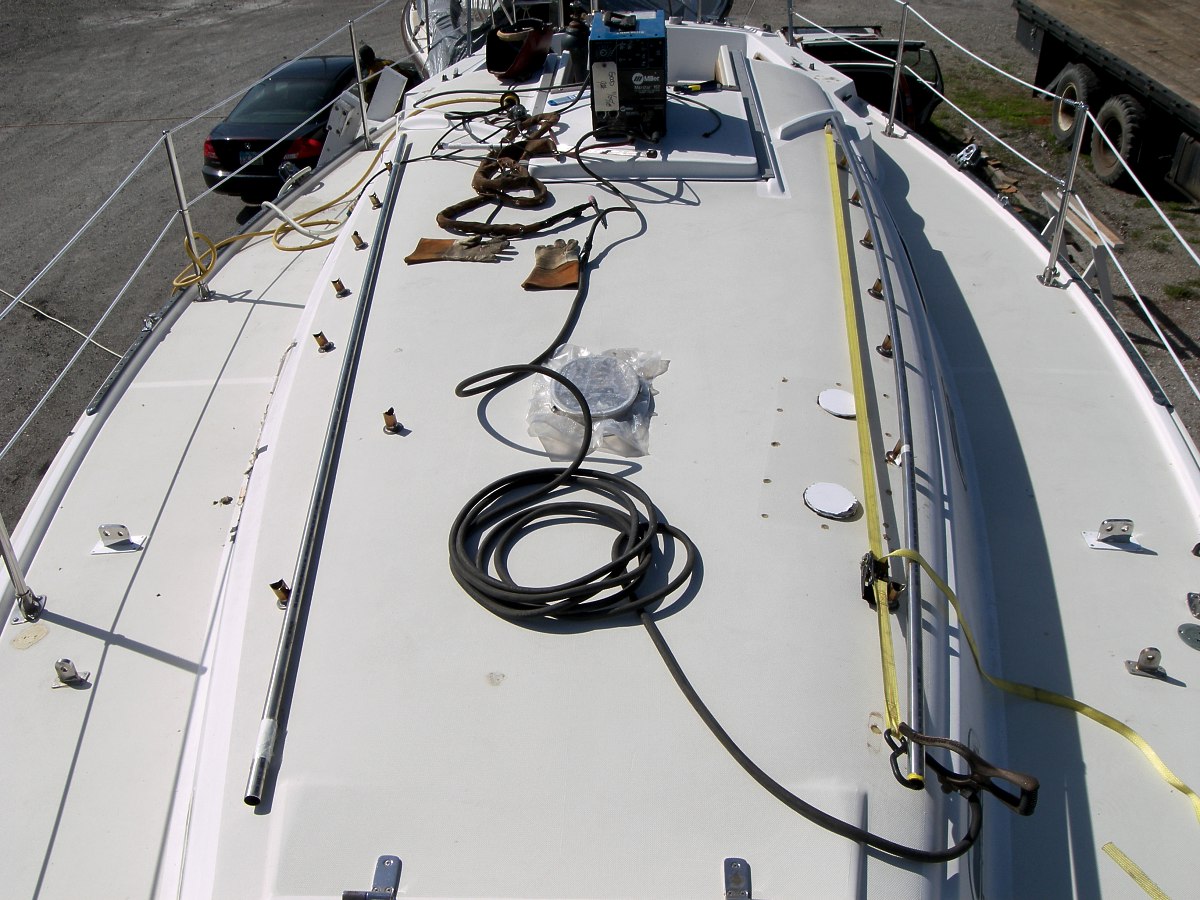
Once everything was aligned the rails were tacked to the saddles. Then it was all removed for the full welding so as not to damage the deck from the heat. The fasteners were coated with an anti-seize grease to keep them from galling during the welding process. That is really important. Those saddles look like mellon-ballers sitting on the deck waiting to mame you if you slip. I was very careful.
|

|
Here is the finished weld on a saddle. The welding process causes some distortion in the SS tubing. That makes it kink a bit over the saddles and made it necessary to adjust some of the mounting holes a bit. The mounts are sealed with butyl tape.
|


