
|
| Pearson 10M Hoyt Jib Boom Splice Repair |
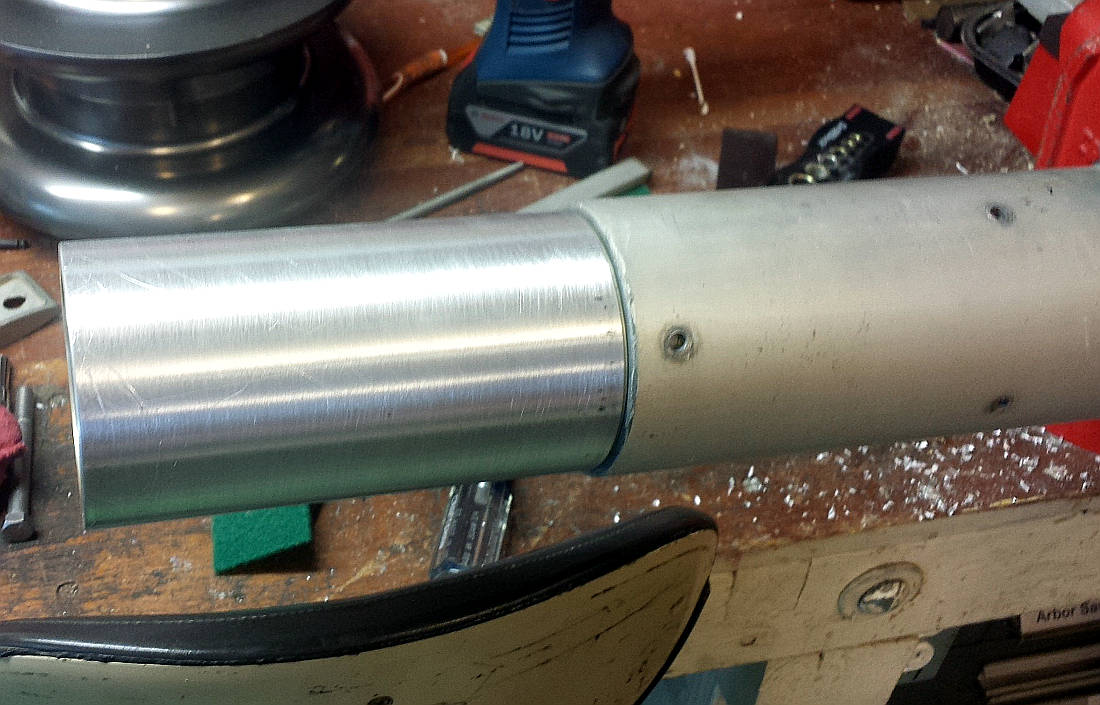
After drilling out all the rivets and pulling the splice apart I drilled holes for new 1/4" rivets in two rows on the bottom of the extrusion tubes at about 90 degrees apart. This was so the rivets are not opposite each other where it seems they work against each other. With them all on one half the fit will be tighter when the gaps are all filled with epoxy. I prepped the surfaces for epoxy by sanding to 80 grit and cleaning with the West System aluminum etching solution. I used G/Flex epoxy thickened with 403 adhesive filler. I slathered the sleeve with epoxy and slid it into the knuckle section and set the rivets. I then did the same thing for the straight section. I think the repair is much stronger than the original splice but it cannot be disassembled.
These photos show repair of the splice.

Disassembled Splice |
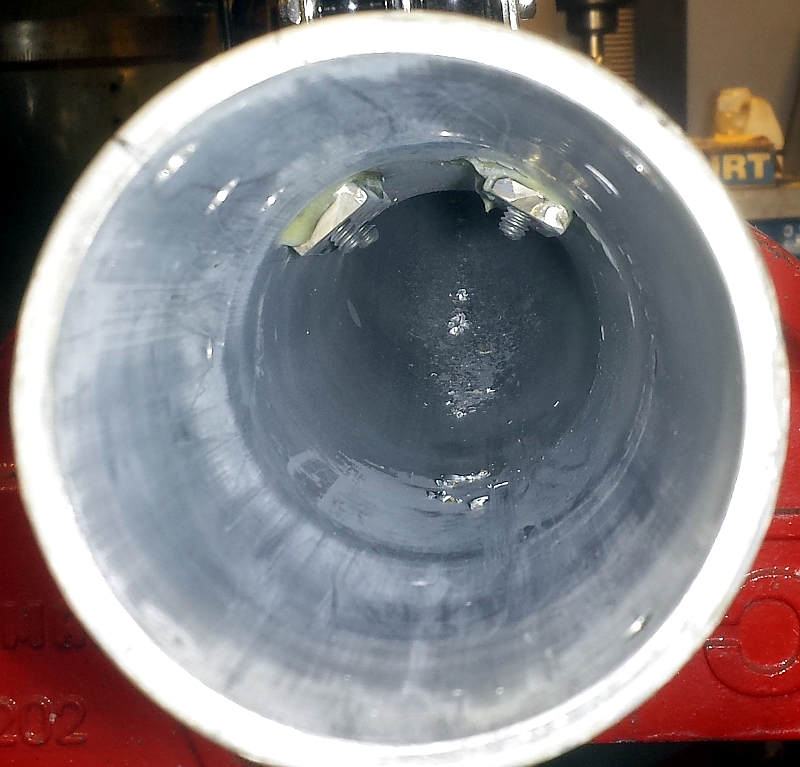
Internal Sleeve in Knuckle |

Sleeve removed from boom extrusions |
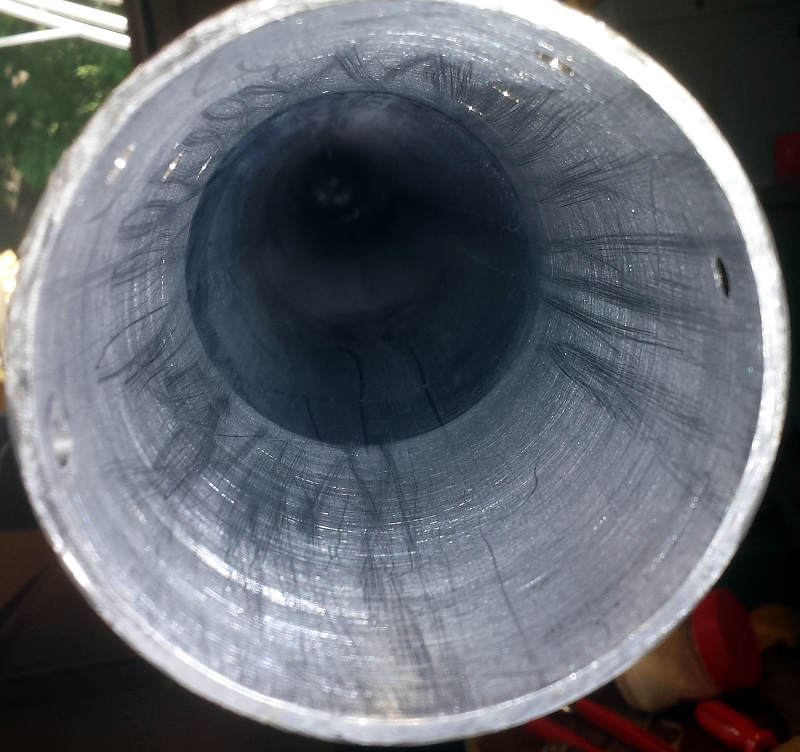
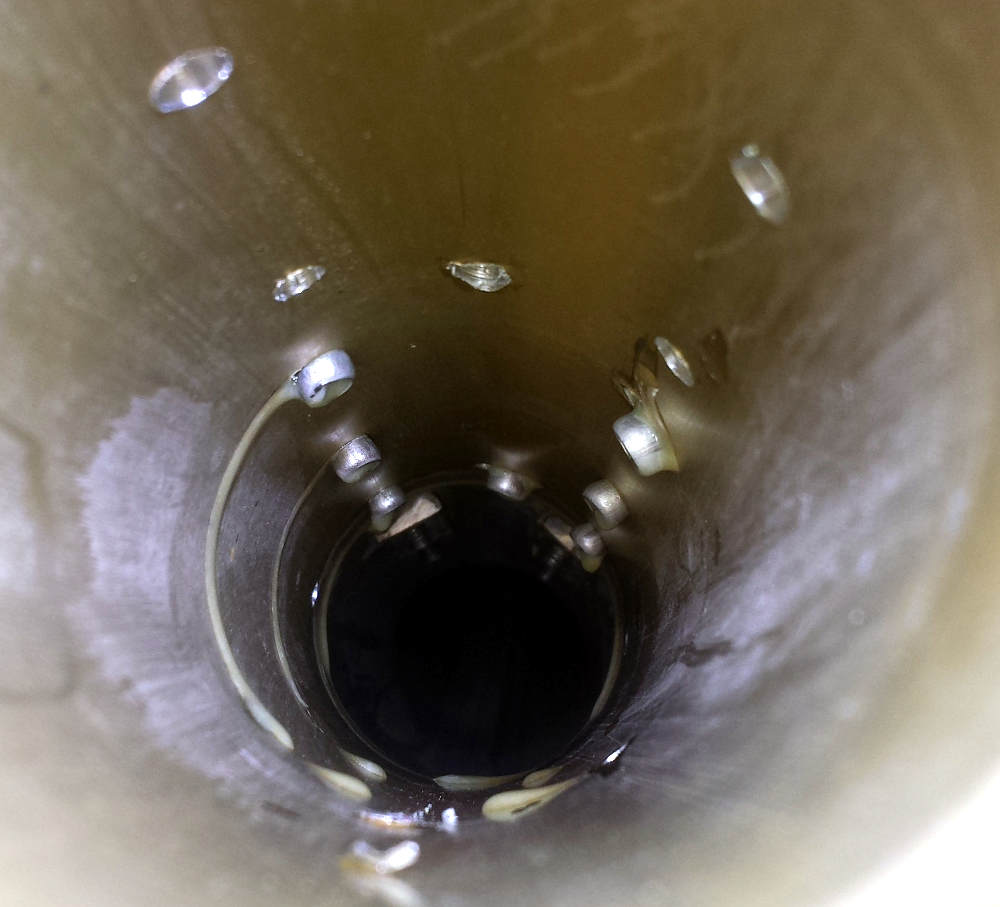
Prep on inside of Extrusion |
Prep on inside of Extrusion |
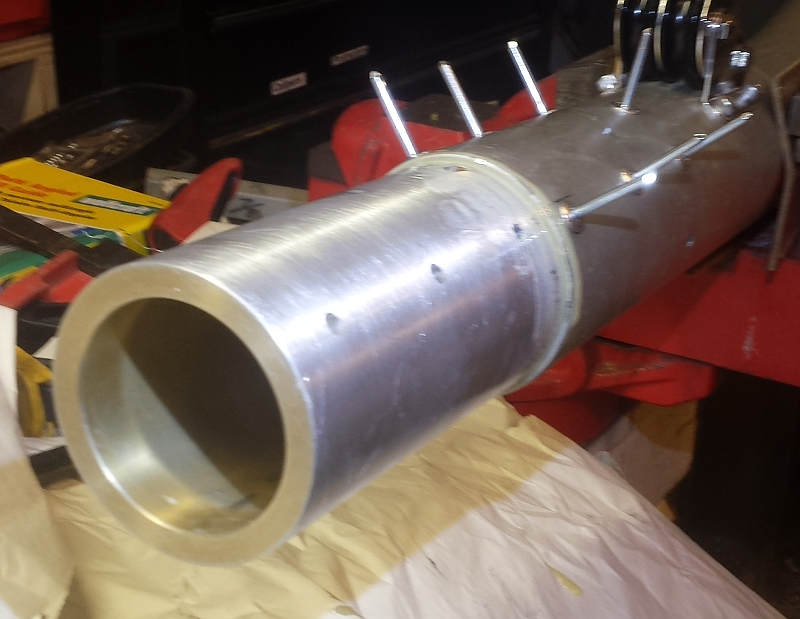
Sleeve section rivited and epoxied into knuckle |
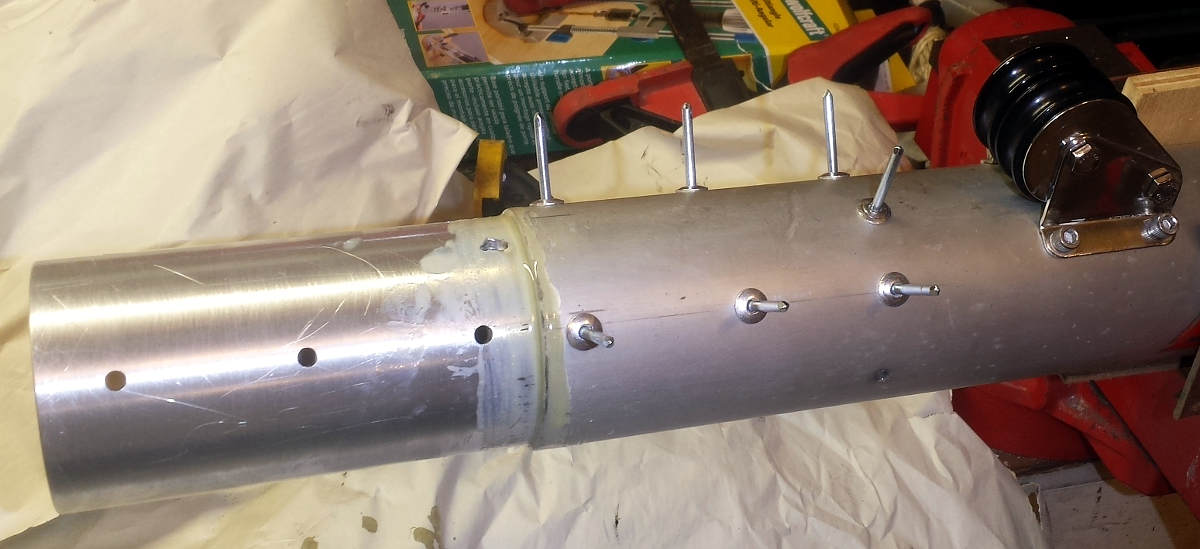
Sleeve section rivited and epoxied into knuckle |
Knuckle end rivited and epoxied |
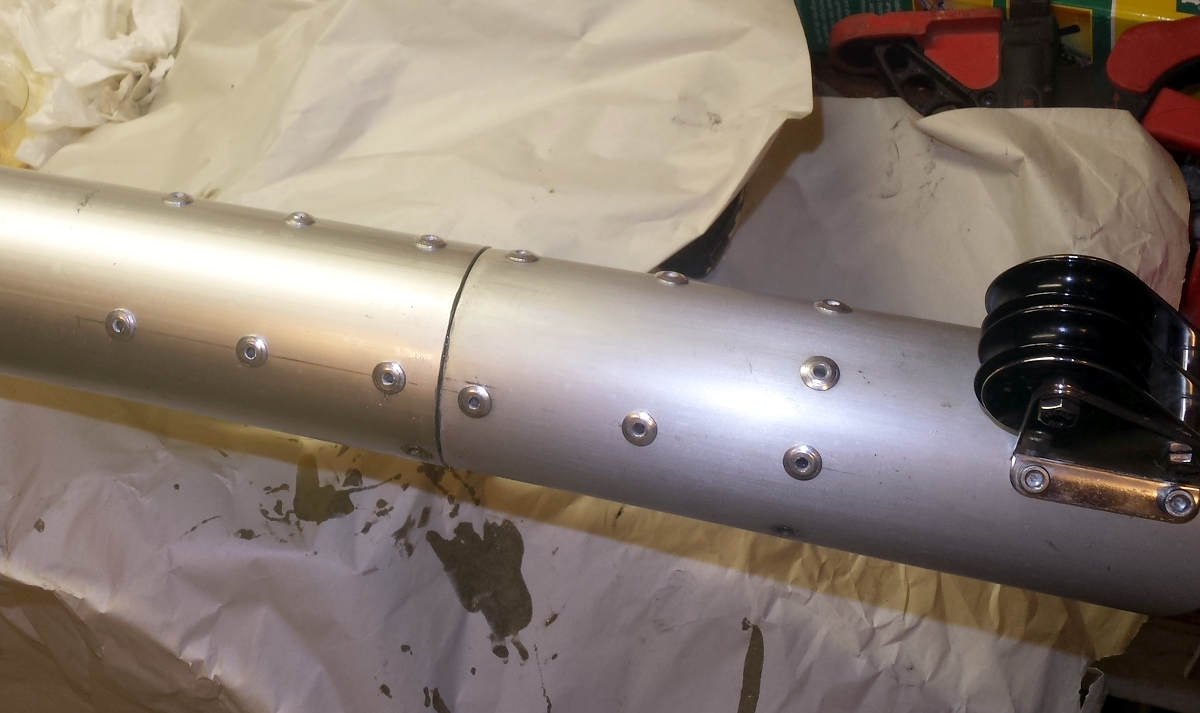
Fully rivited and epoxied |

Fully rivited and epoxied |
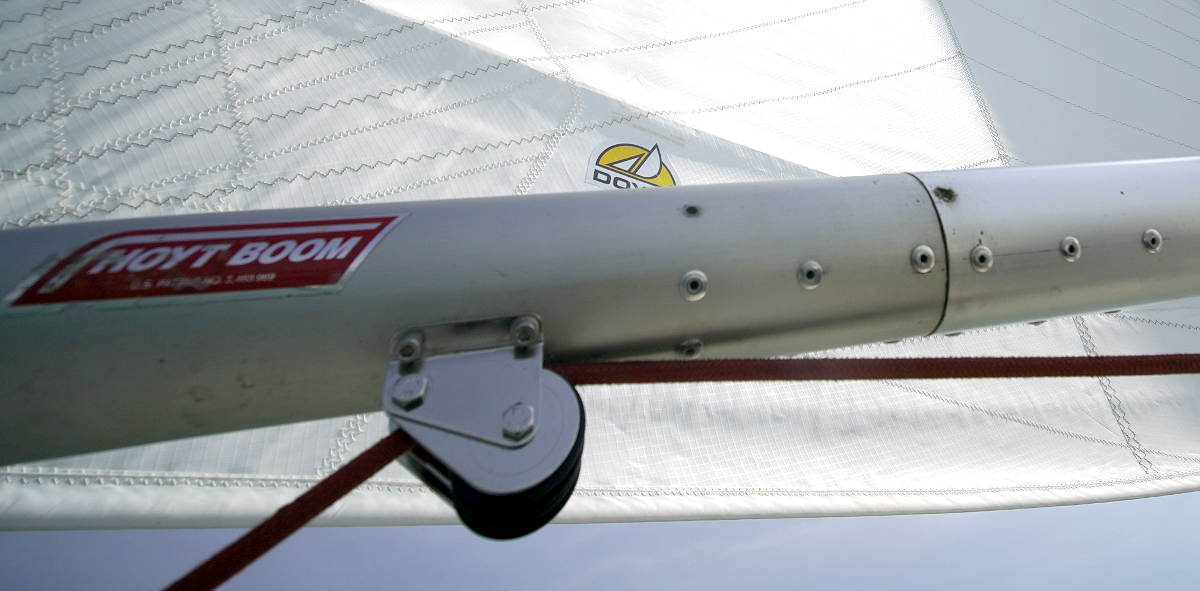
Back on the Boat |

Back on the Boat |