Back to Projects
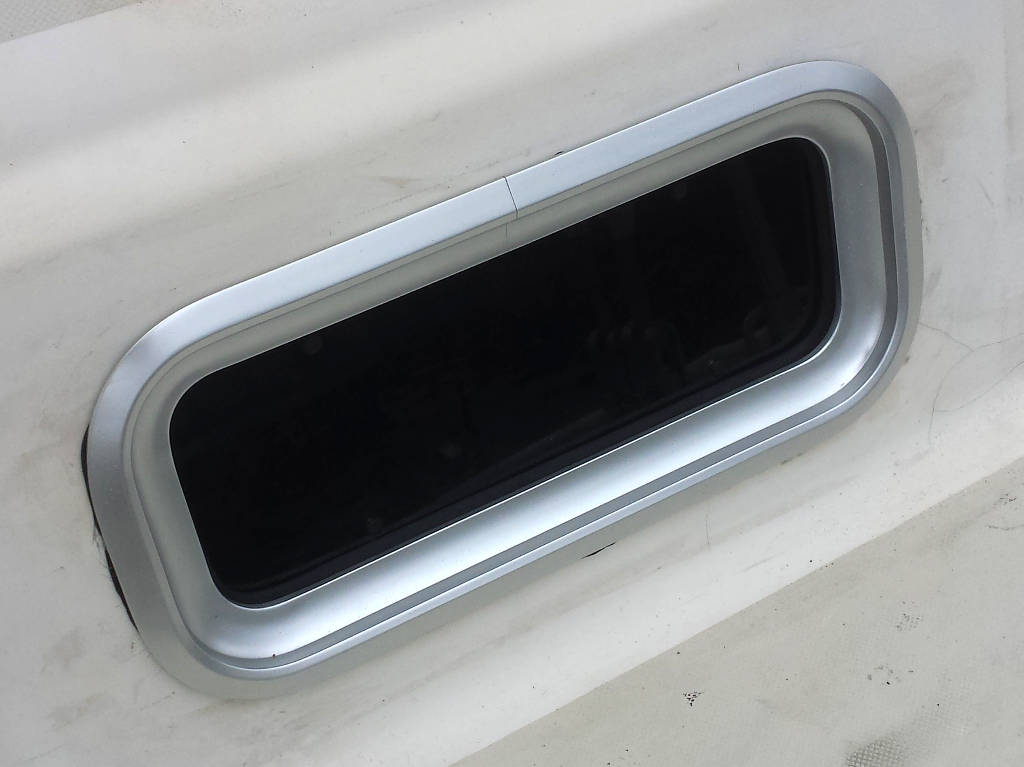
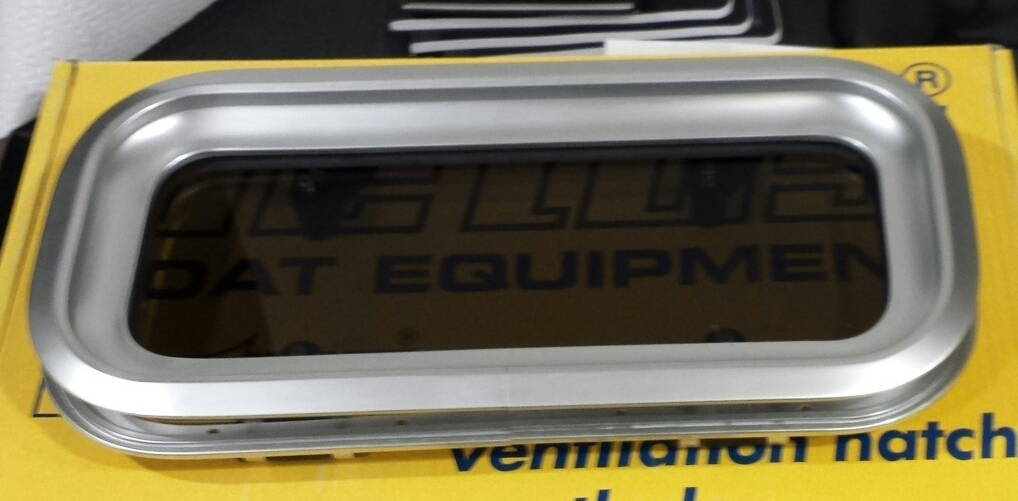
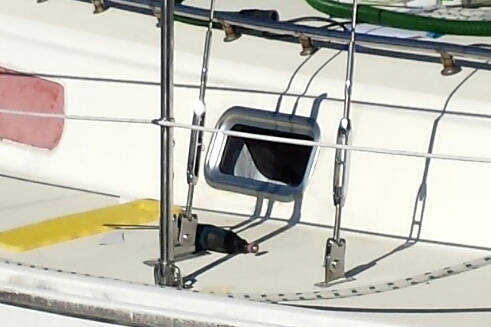
I replaced the fixed ports with Vetus opening ports. Here are some photos of the process. This is for the port on the starboard side of the main cabin.
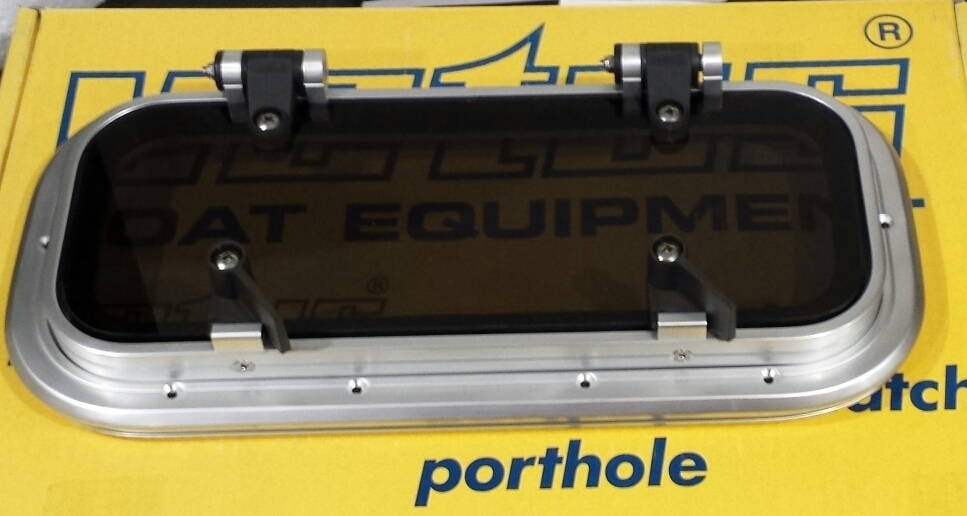
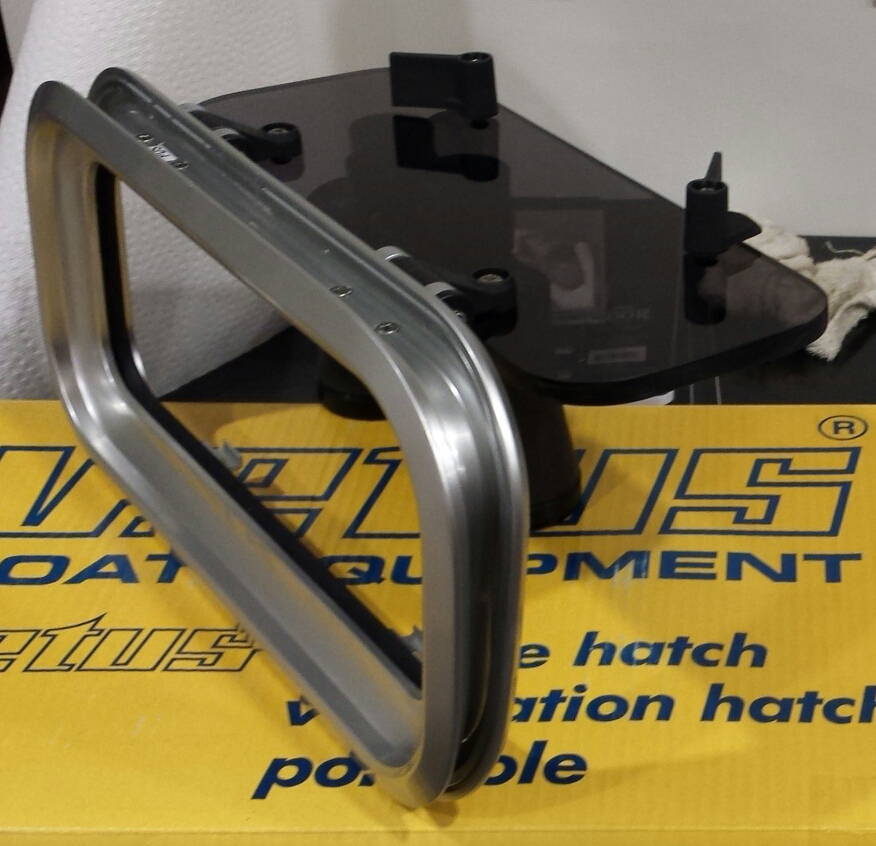
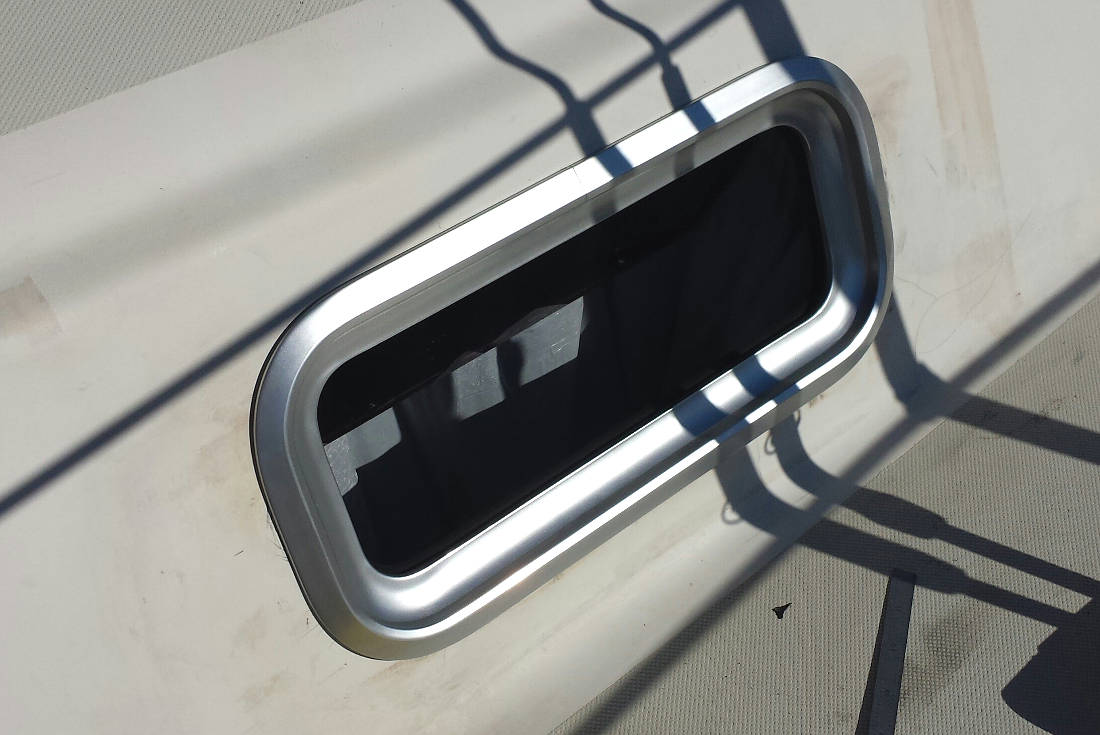
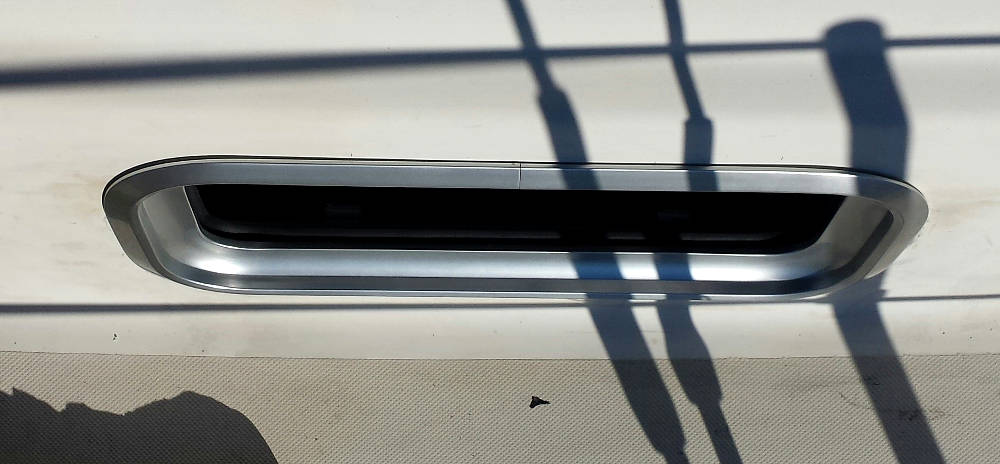
New Vetus Opening Ports
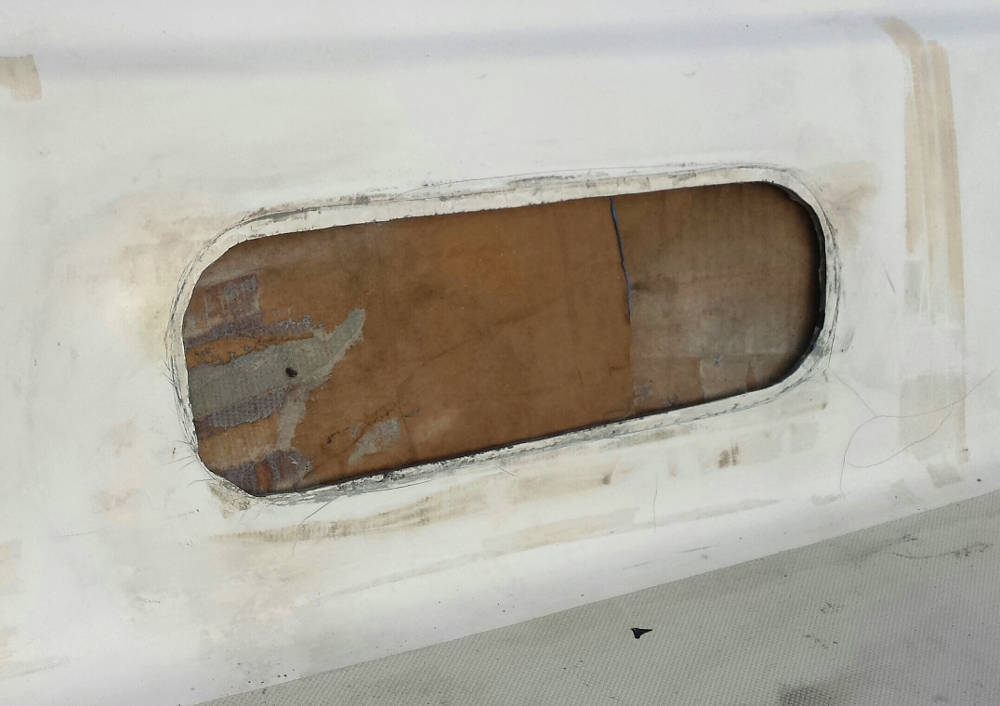
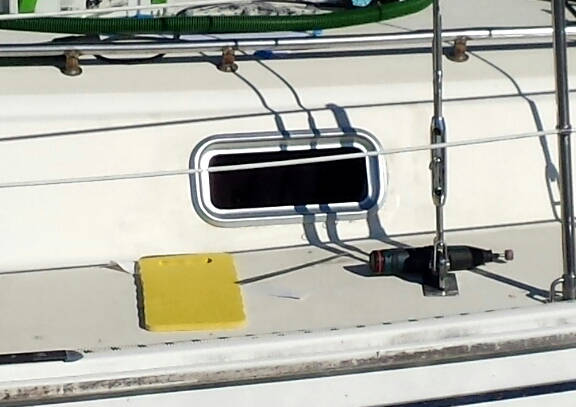
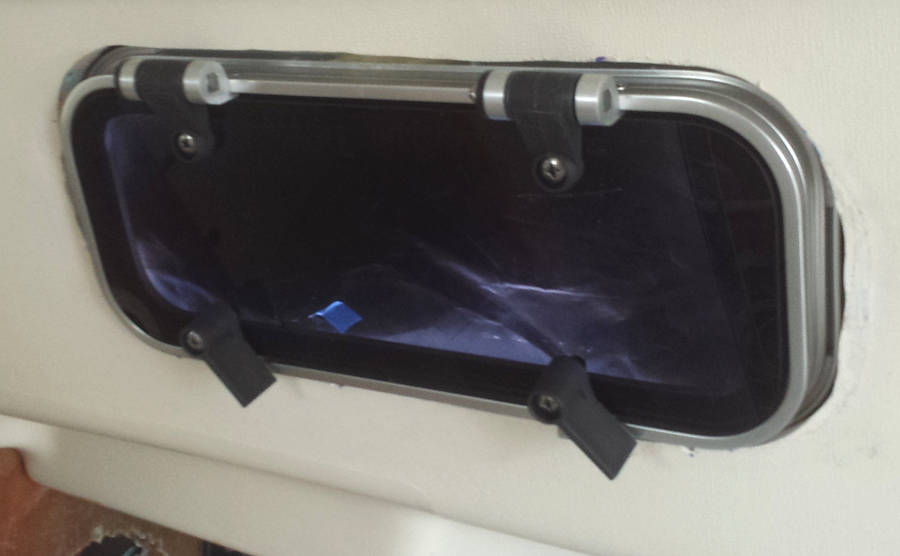
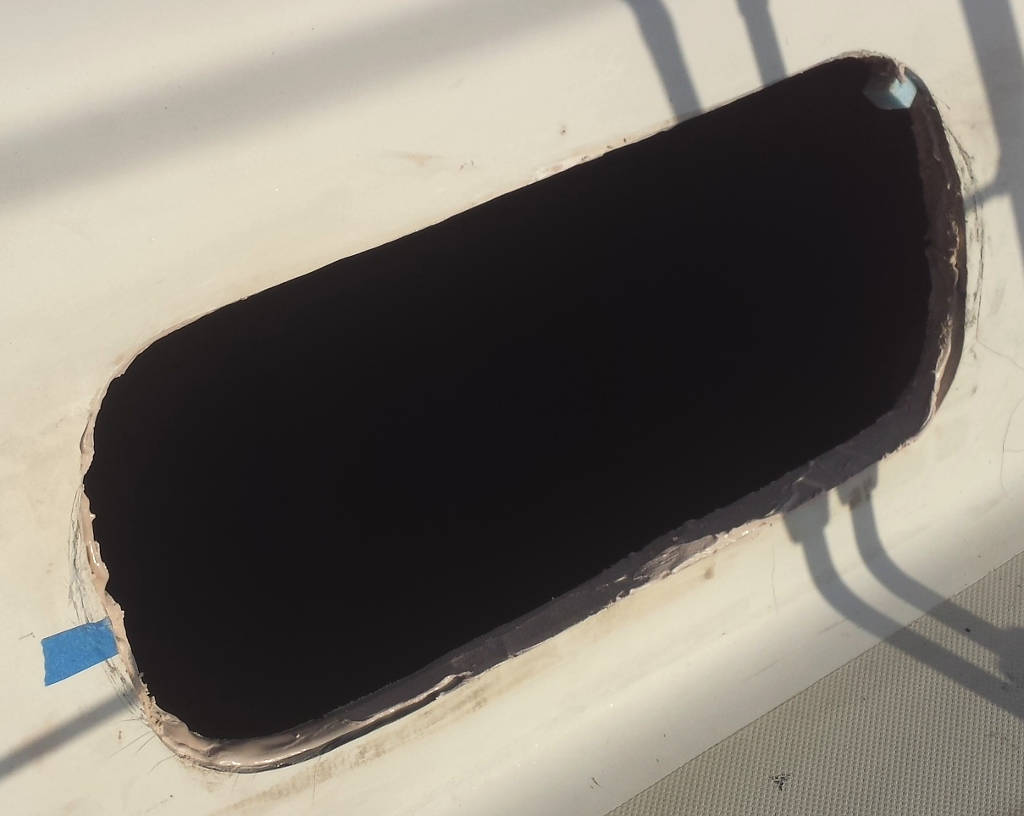
Rough Opening
This is the rough opening of after removal of the OEM fixed port. There is info on the anatomy of the OEM ports here:
Fixed Port Anatomy
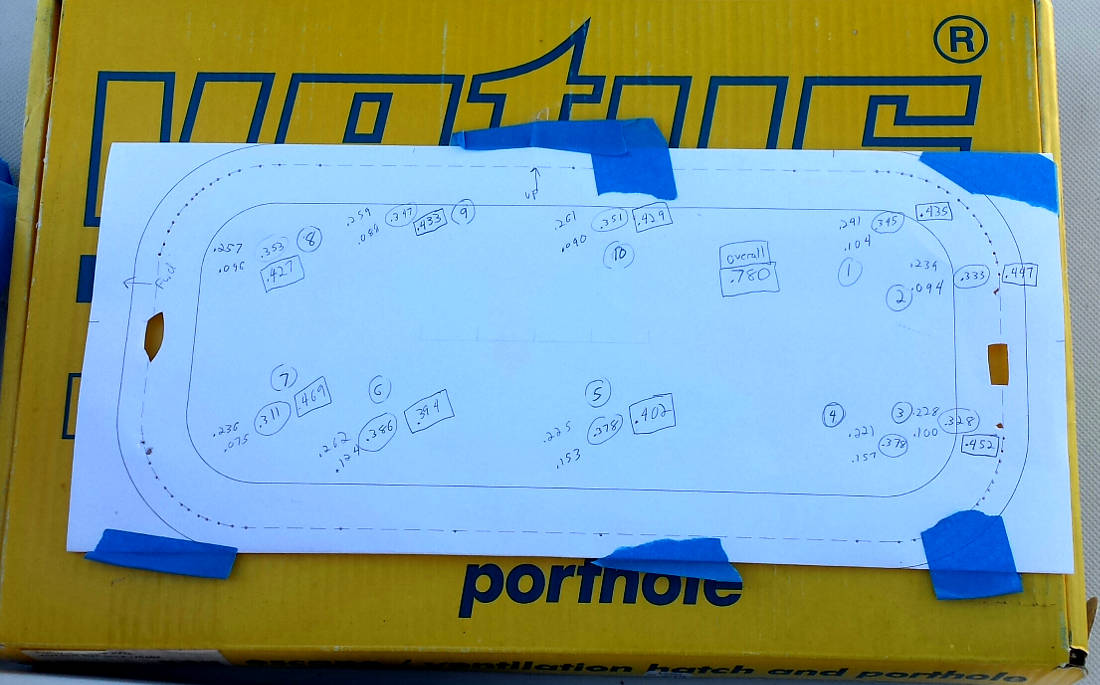
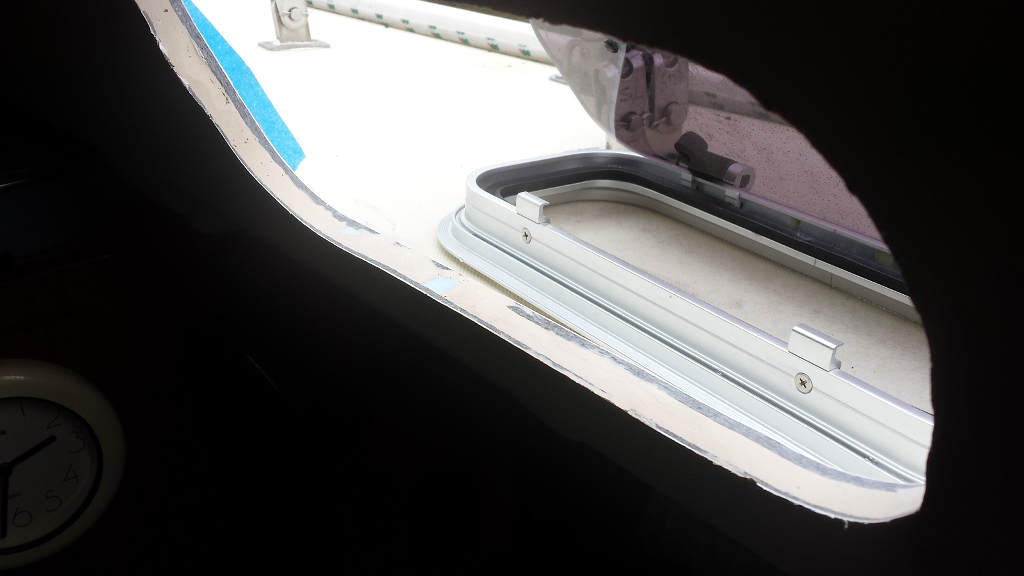
Test Fit
I made a template on paper that I taped over the rough opening to transfer the new rough opening outline to the cabin side. I uses a spring loaded center punch to transfer points on the line. I trimmed out the opening to the new size with a jig saw.


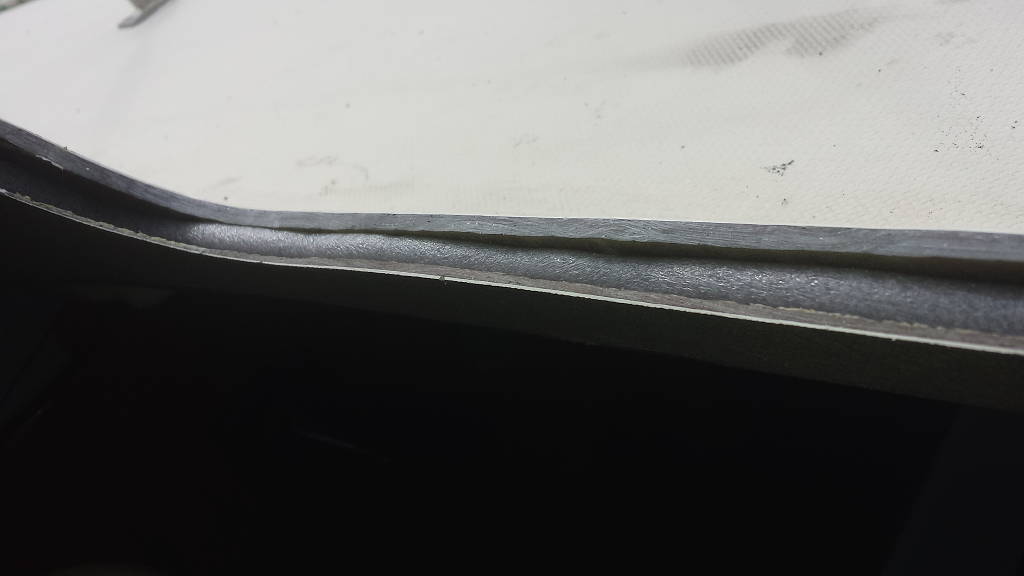
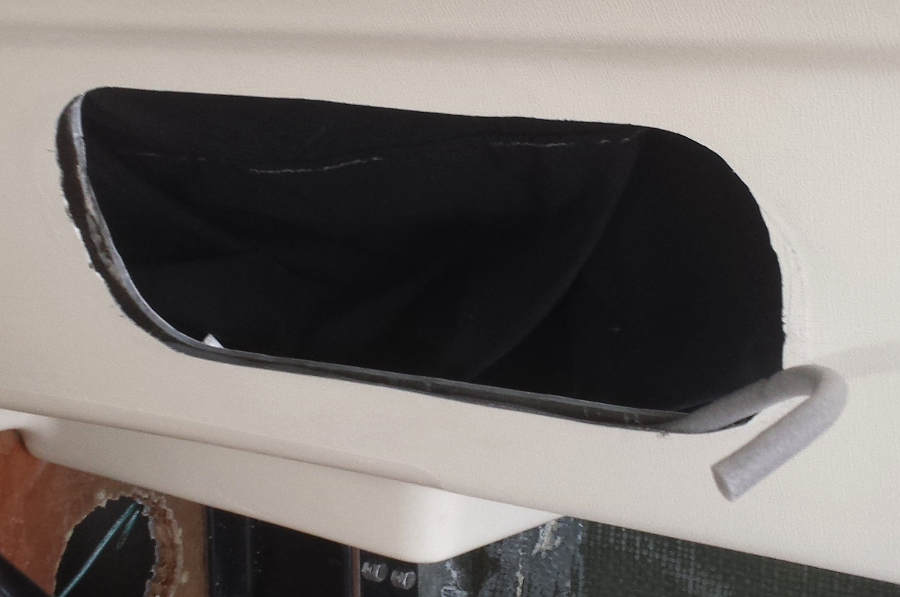
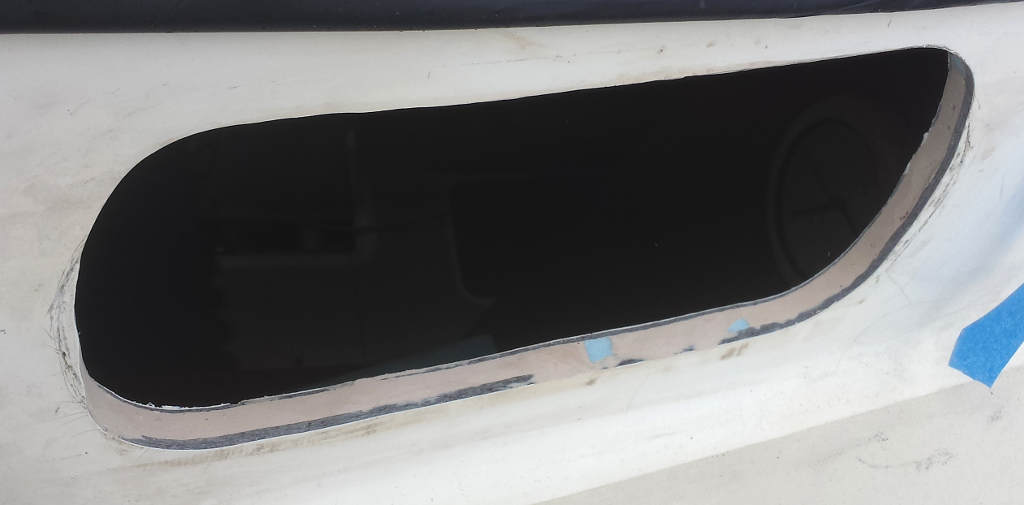
Filling Gap Between Cabin Side and Liner
The thickness of the opening varies as you go around becasue the cabin side thickness, the liner thickness, and the gap between them are not consistent. This will lead to uneven clamping pressure around the port. I added filler to the gap to even this all out for a better mount and better seal.
I placed some caulk saver foam in the gap to prevent my epoxy fill from flowing out. I made measurements and cut wedges of foam (rigid insulation foam) that I placed around the opening to even out the overall thickness. Once the thickness was even all the way around, and after prepping the surfaces in the gap (sand to 80 grit) I filled the gap with epoxy and filler. Once that set I sanded it back until the port fit in the new opening.

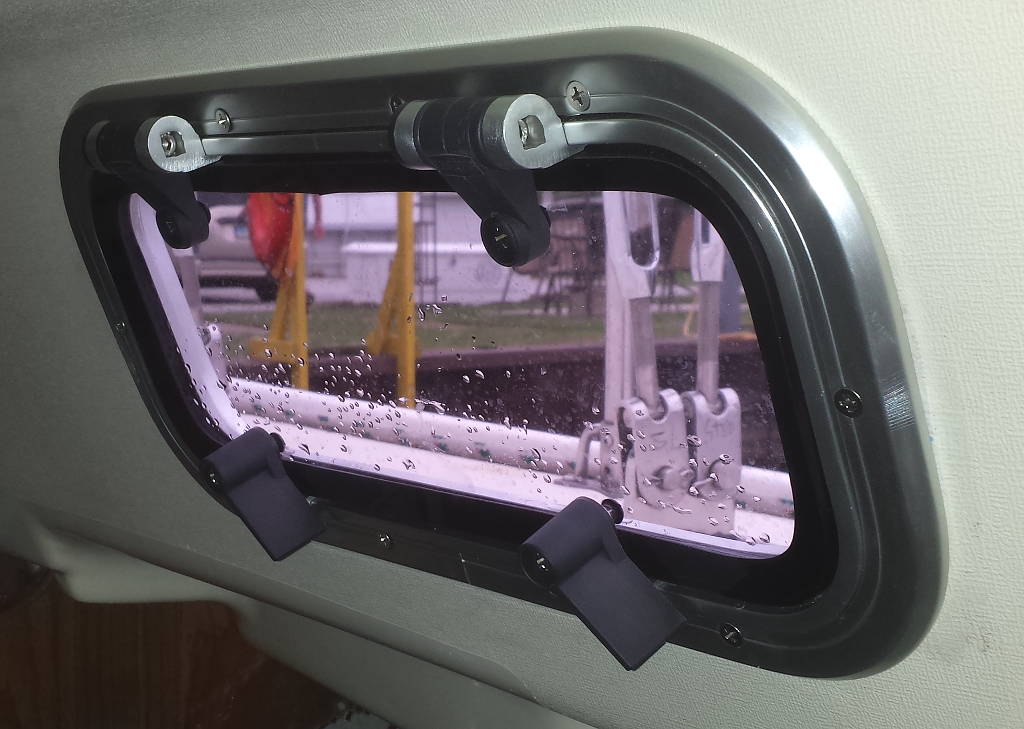
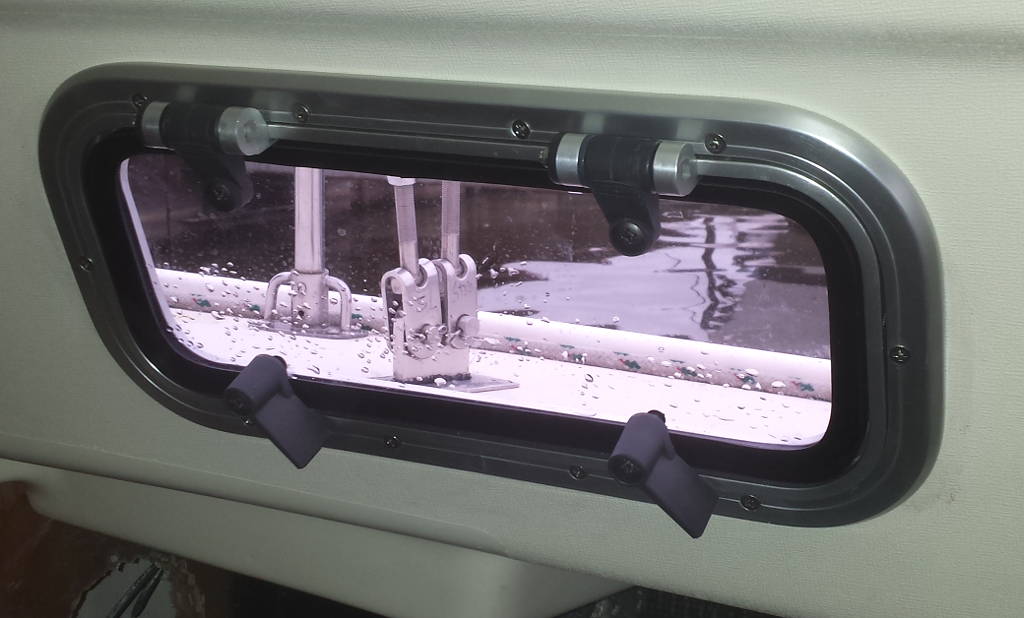
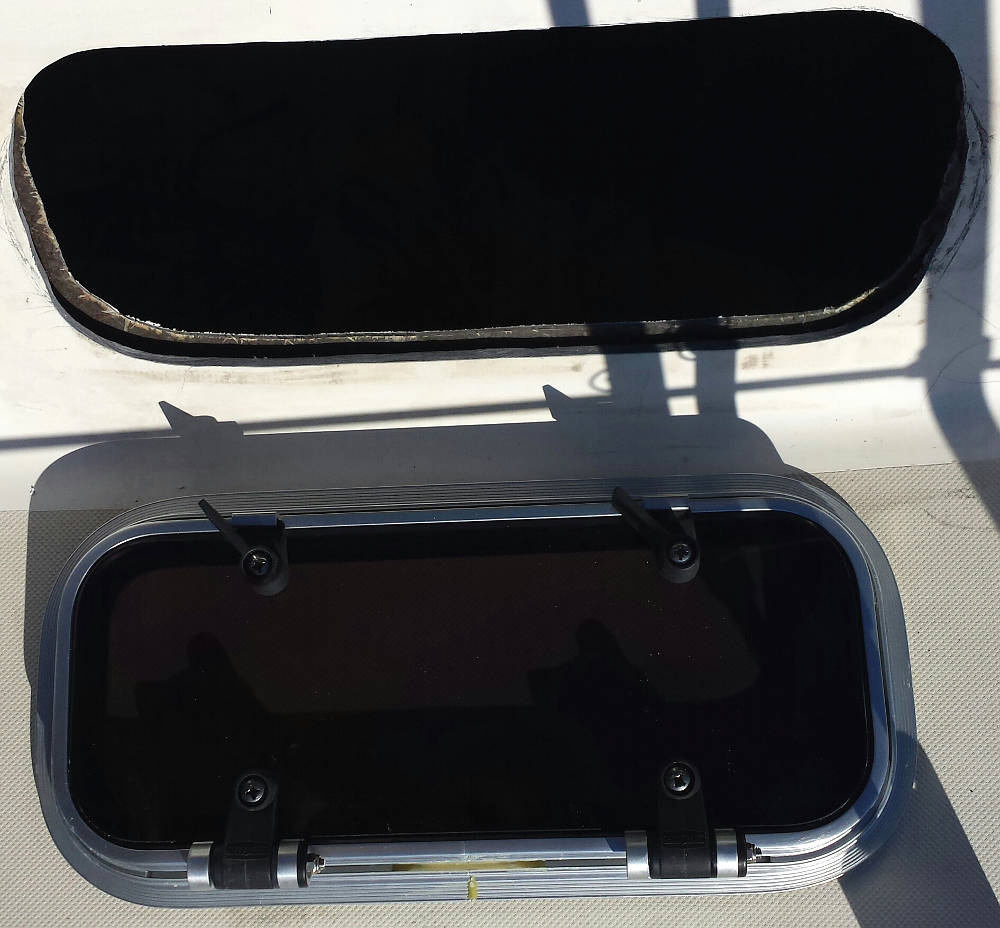
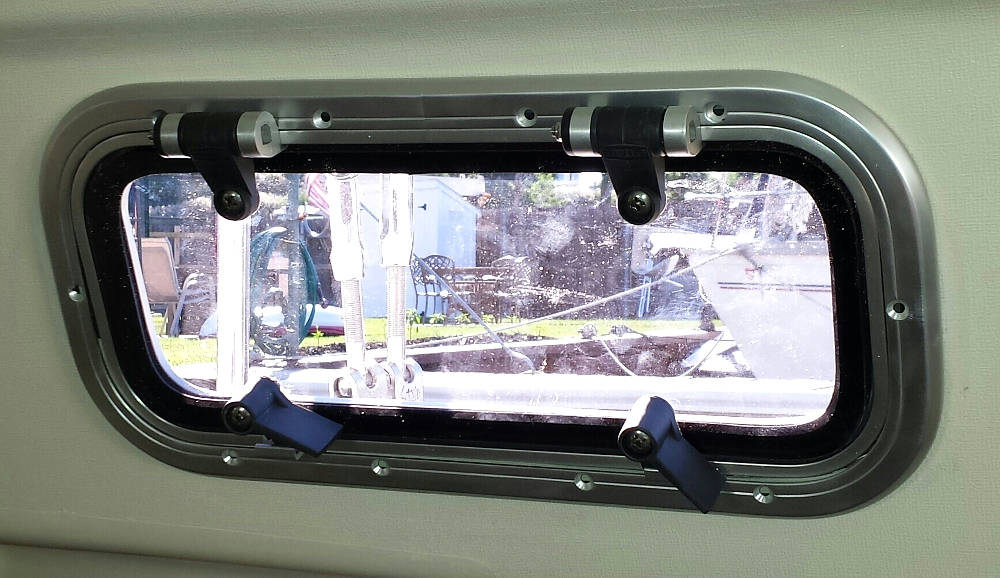
Final Fit with butyl Tape Seal
I set the ports with a seal of butyl tape.