|
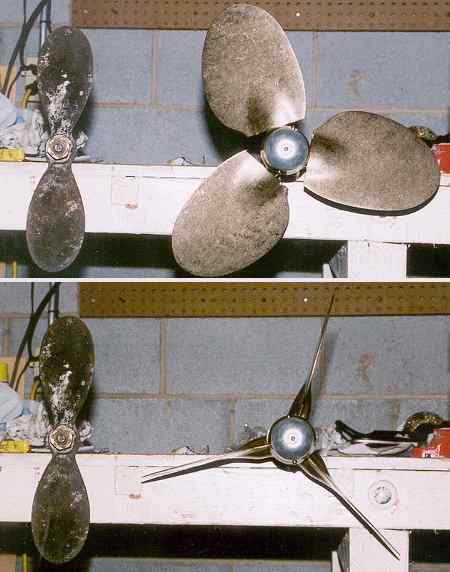
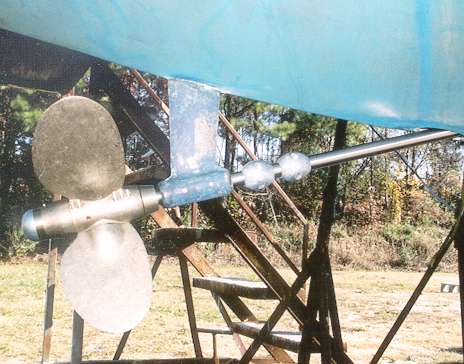
My 10M is equipped with an 18" 3 bladed feathering J-Prop. This propeller has an adjustable pitch and mine is set at a calculated pitch of 11.88" (notch #8). This is probably slightly over pitched and I will change it to 10.28 (notch #7) in the spring. I installed the J-Prop in November of 2002. I had several rationale in deciding to go with a feathering prop. Better motoring performance, better reverse performance, less drag under sail, and better balance (three blade vs 2 blade fixed). To get the same basic forward performance from a fixed prop would take one that had very high drag characteristics under sail. No fixed prop is going to perform as well as a feathering prop in reverse (the reverse thrust is basically the same as forward for a feathering prop). A feathering prop is expensive. For my boat the cost ranges from 1,700 to 3,300 with several in the 2,000 range. But that is really about the same cost as a new sail. And I think I will get at least the same utility from the prop. I considered several different props before choosing the J-Prop. You can read about it on my propeller comparison page.
Installation
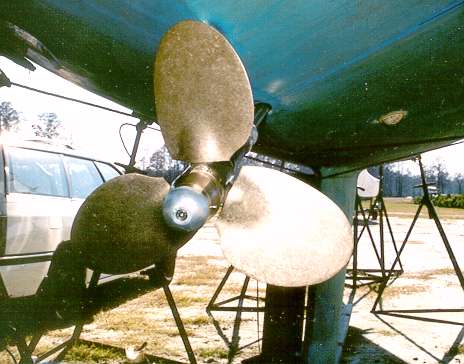
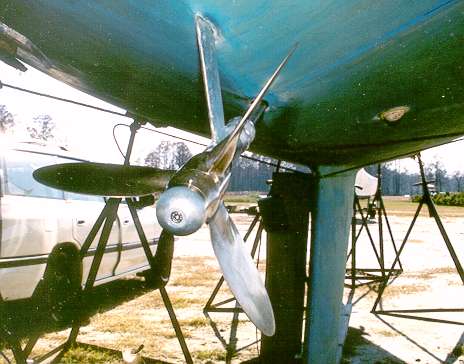
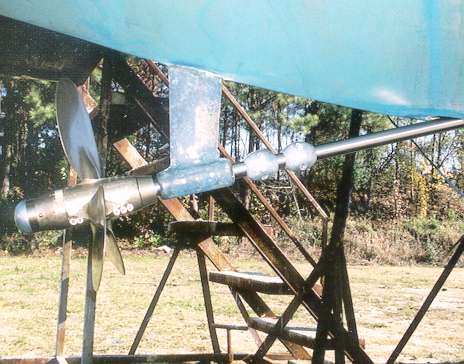
Installation of the J-Prop is very simple and straight forward. First you test fit the prop on the shaft to see that the taper matches, the threads are the correct length, and the key way does not bind. The threaded part of the shaft needs to be modified to fit the prop. The threads are standard (3/4-10) but the threaded length needs to be 3/4 to 1" to fit the J-Prop (The other feathering props had basically the same requirement). I got a new prop shaft at the same time as the prop so I simply had it made to this spec. Once the prop fit is checked you tighten the nut, install and tighten the lock nut with , install a retaining ring and the zinc, and fill the hub with grease. All the tools needed come with the prop as well as a small grease gun and a tube with enough grease for 15 re-fills. Set the pitch and your ready to go. There is a pitch lock ring that you can install (under the zinc) once you have the pitch set where you want it but you don't need it to run the prop.

Sea Trial
My first sea trial came in November and only consisted moving the boat from the travel lift to a slip with a short ride out into the entrance channel and back. It was a breezy day and I didn't want to go to far. What I could tell from this short test was that the boat seems to be much better at going where I mean it to at slow speeds, especially in reverse. And it accelerates/decelerates very quickly. Your going three knots before you know it. Shift to neutral and the boat coasts noticeably longer.
|


|