
|
| Pearson 10M Quarterberth and Nav Station Re-Build |
|
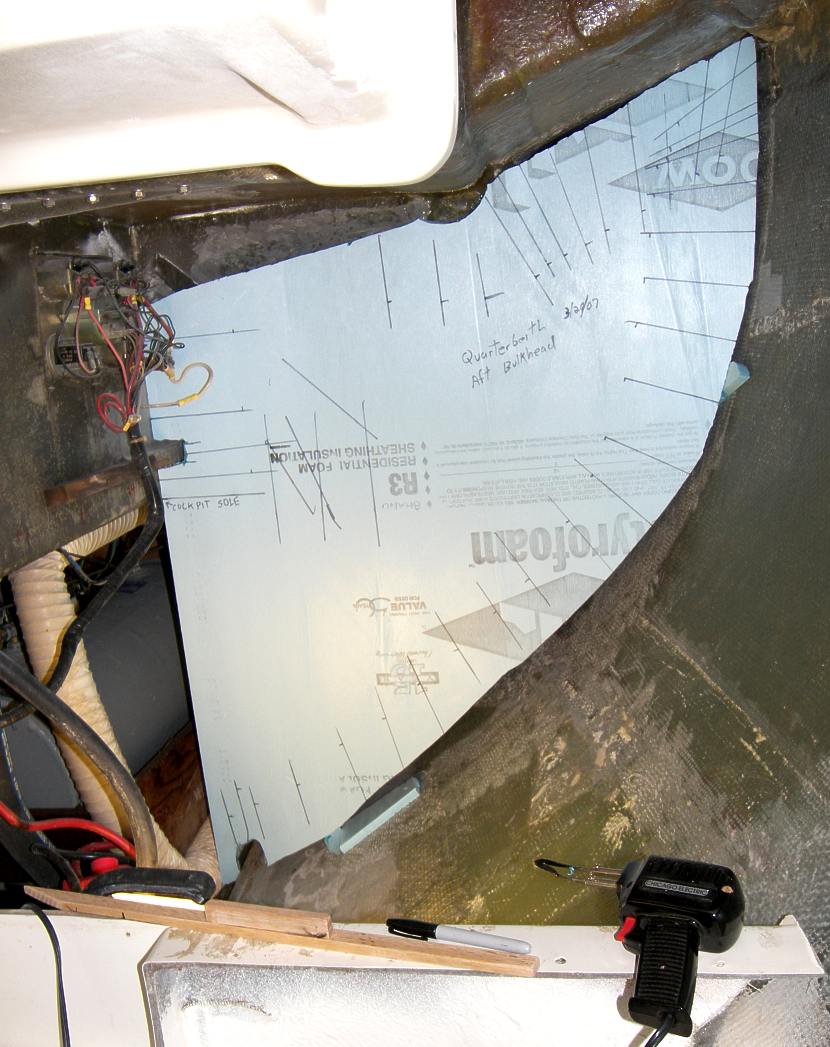
Making the template for the quarterberth aft bulkhead. Marks were made with a tick stick to transfer to the plywood panel. The tick stick is sitting in the foreground of the photo. The pointed end is touched to the hull. A line is traced along the edge of the stick. There is a notch on the stick that leaves a bump on the line. The template with the tick stick marks is layed on the plywood and the hull profile points are transfered by re-aligning the tick stick on the template. See the next photo. This is a really precise and easy method of transfering the hull profile to the bulkhead panel.
The foam was rough cut with a hot knife fasioned from a pistol type soldering iron. I flattened the tip with a hammer on my anvil. It does a great job cutting the foam. I got the soldering iron at a yard sale for $3. |
|
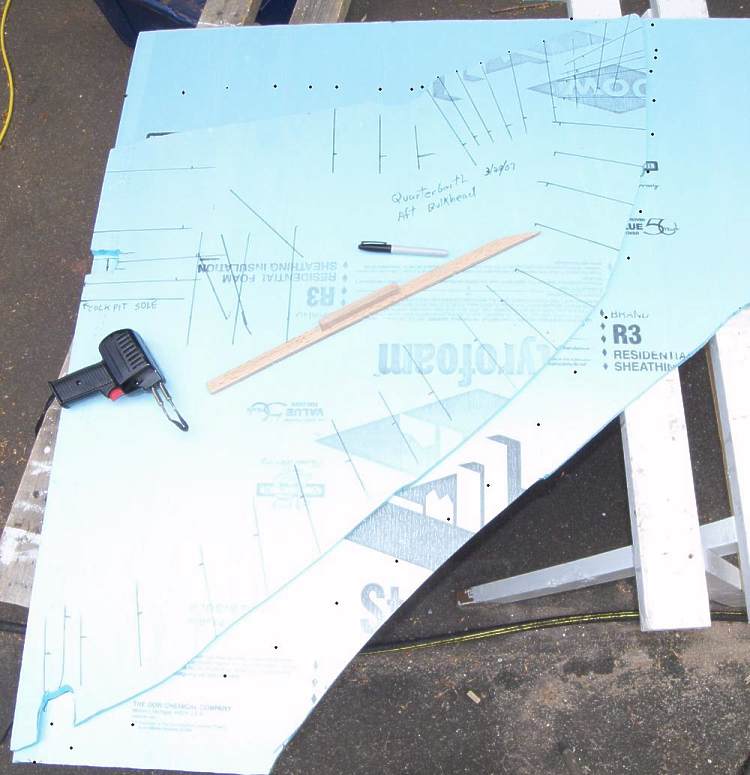
Because the fit of this bulkhead is particularly tricky (lots of angles and litte reference for setting things perpendicular) I made a second foam template. This photo shows the transfer of the tick stick marks to the next foam template. The same process is used to transfer points to the plywood for the final panel. |

|
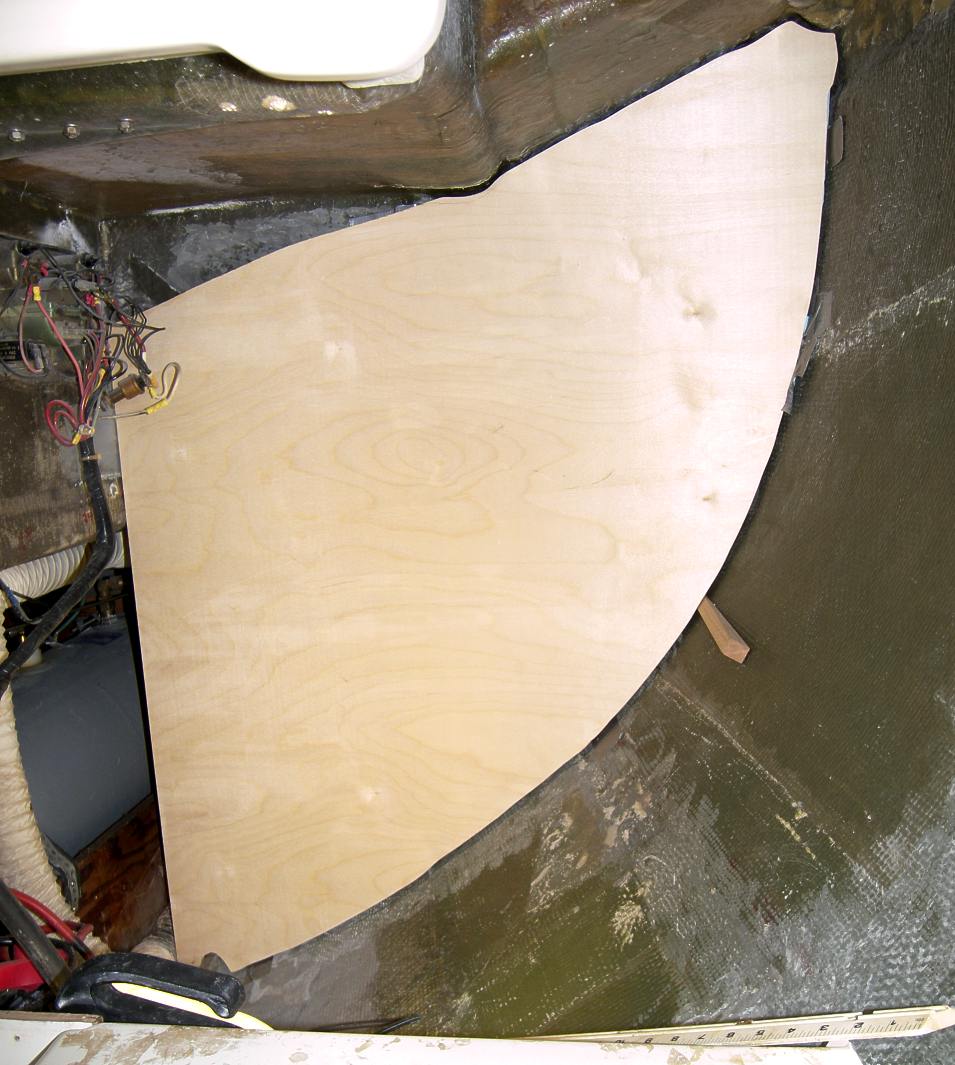
The second bulkhead template is a very good fit. |
|
After getting the position of the bulkhead template set I ran another set of tick stick marks, trasnfered them to the plywood and cut out the bulkhead panel. I trimmed it back about 3/8" to leave a gap for the bscking strip and the fillet. |
|
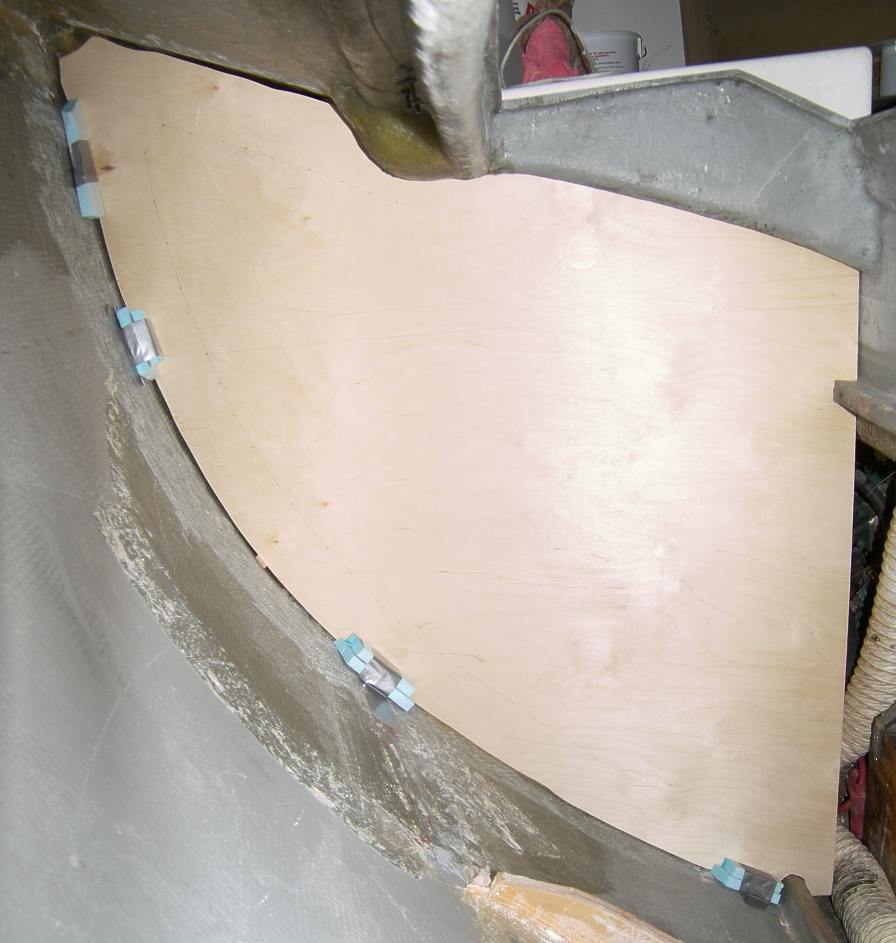
This shows the test fit from the aft side. |
|
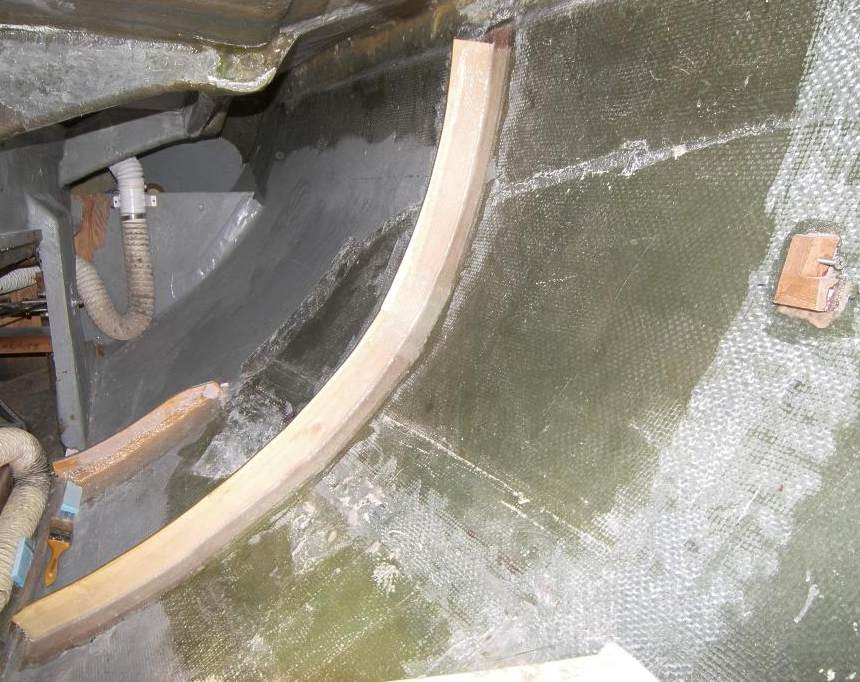
The aft quarterberth bulkhead will be installed on a ring frame. It is about 3" high and tabbed to the hull. The bulkhead bolts on to this with 1/4-20 fasteners. This way it can be removed for access to systems. Aft of the new ring bulkhead is a remnant if the old quarterberth configureation I had built. It is at the same point aft as the OEM quarterberth husing extended to. The new configuration enlarges the sail locker by that much. |
|
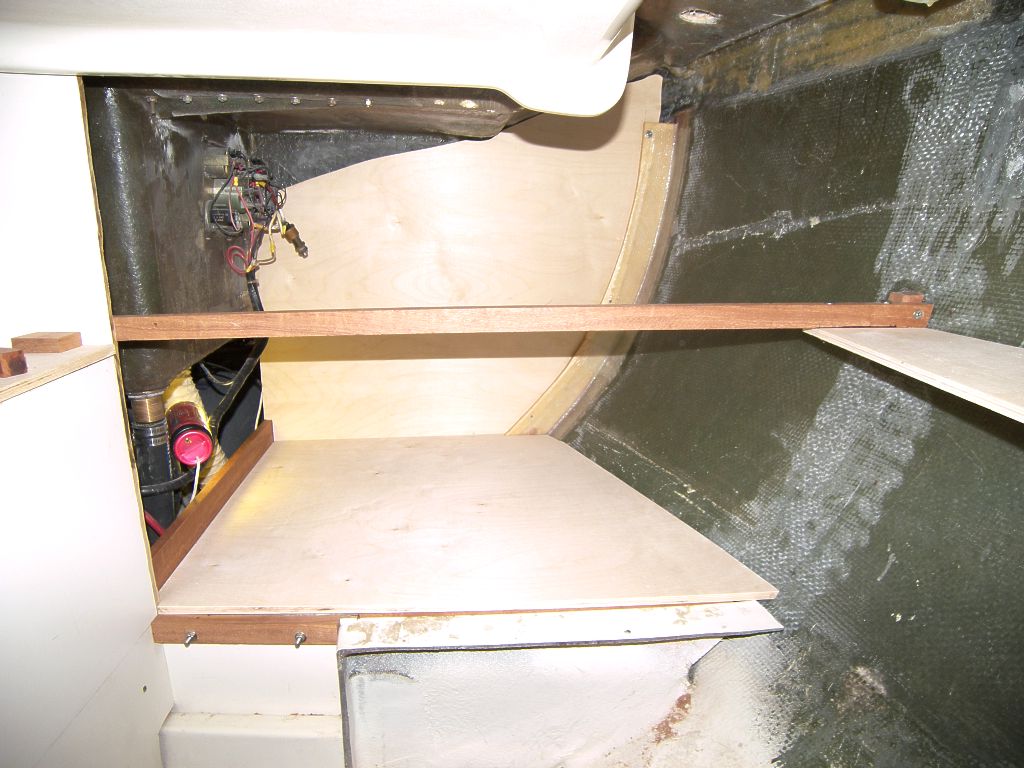
The bulkhead was attached to the frame with 1/4" screws and bolts. This photo also shows the part of the quarterberth deck and the cross frame that supports the nav station desk and the instrument bulkhead. |

|
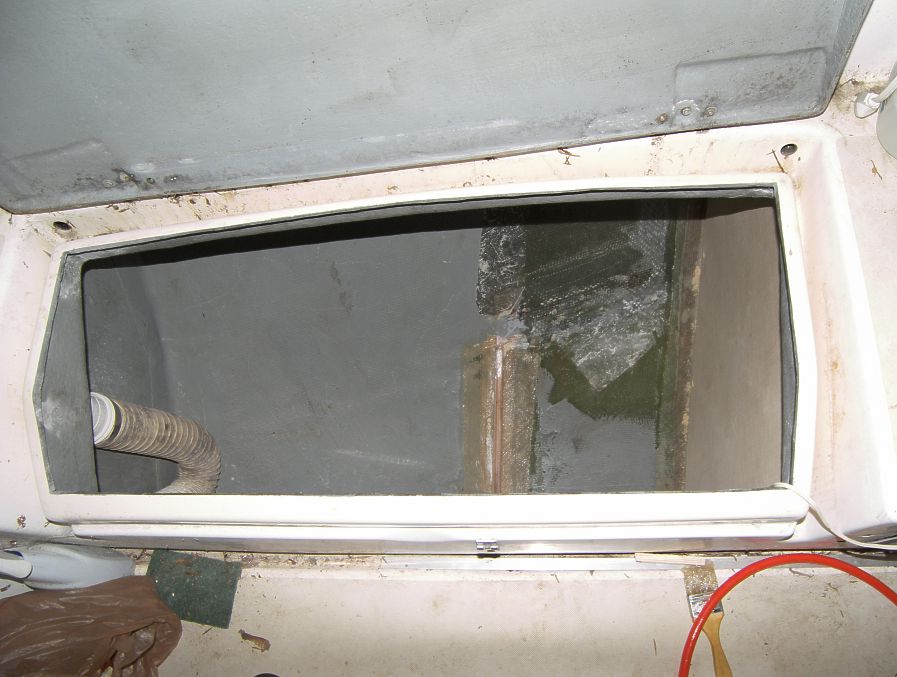
This is the quarterberth bulkhead from the aft side in the cockpit locker. Eventually there will be an opening panel in this bulkhead to access the foot space of the quarter berth for storage (likely it's primary use). |
|
This shows the port cockpit locker with the new bulkhead in place. Compare this to the view of the locker in the OEM configuration. |
|
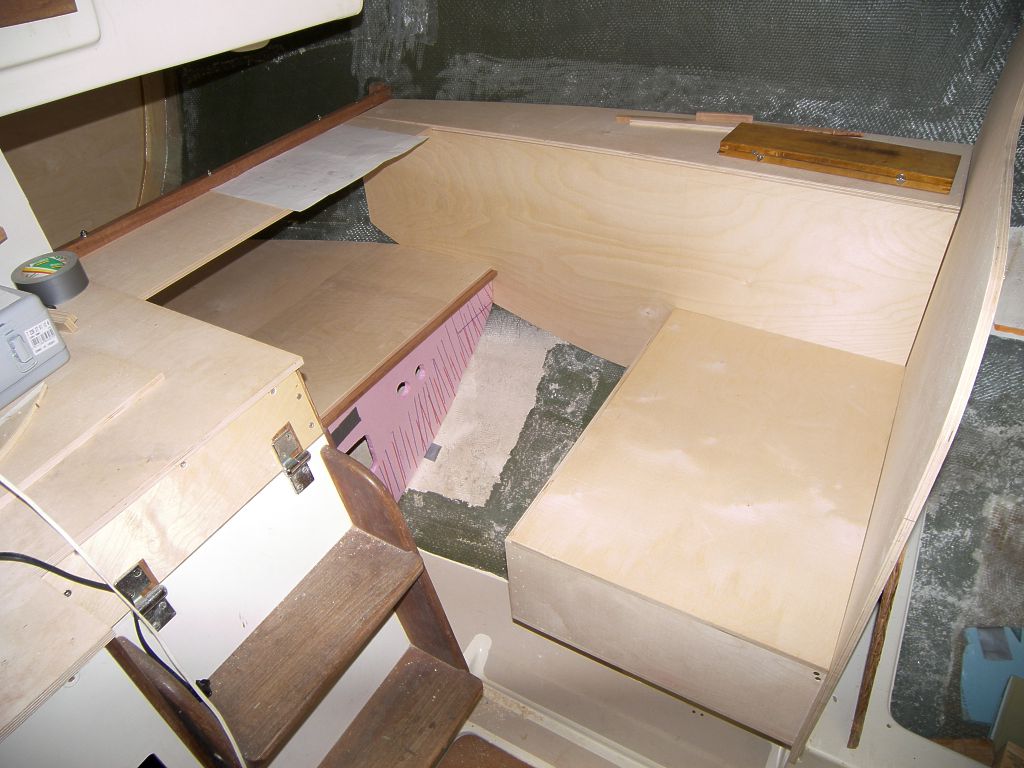
The aft facing nav station seat is basically a rectangular box bolted on top of the original pan molding to which the OEM nav desk was fastened. It is also through bolted to the bulkhead. There will be an insert panel to fill in the berth deck. |

|
The nav seat top opens as the old nav desk did. The storage space inside is about 30x20x9 for about 3 cuft of easily accessable storage. |
|
|
The new quarterberth configuration puts the foot of the berth about 18" forward of the OEM location making more storage space in the port cockpit locker. |