|
| Pearson 10M Seacock Installation |
Seacock Installation
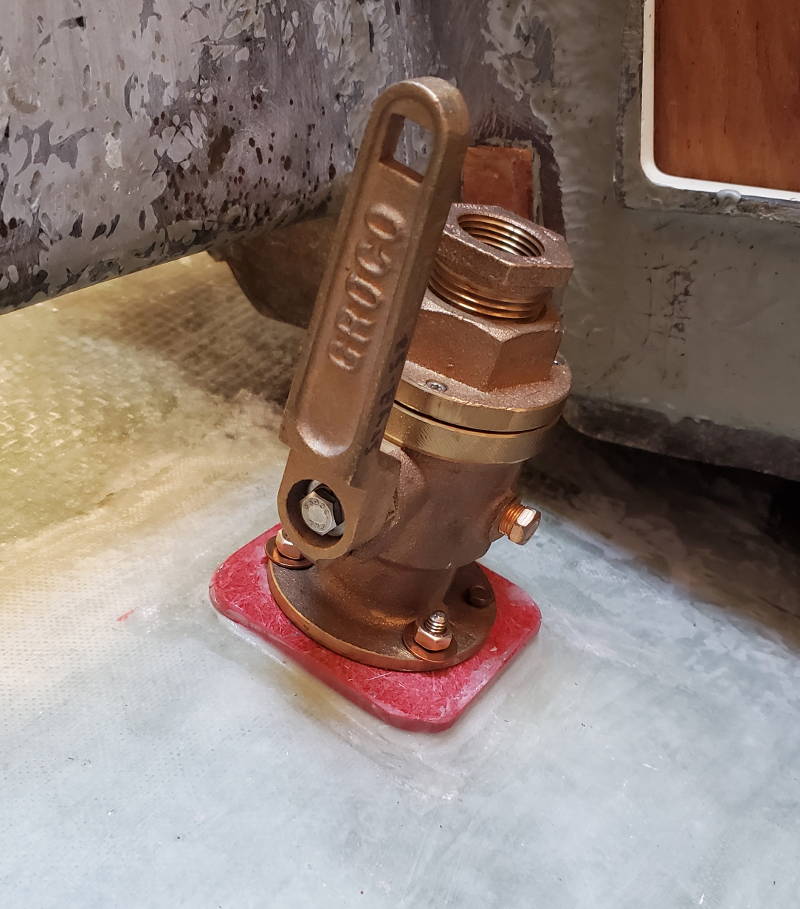 I installed a new seacock for raw water intake to cool the new electric drive system. The 1" seacock will have enough capacity to also cool the diesel genset I am planning.
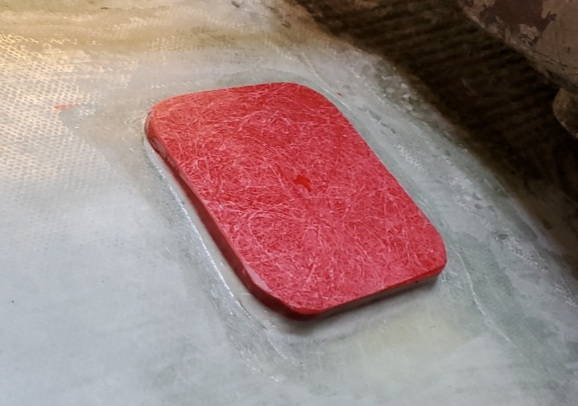
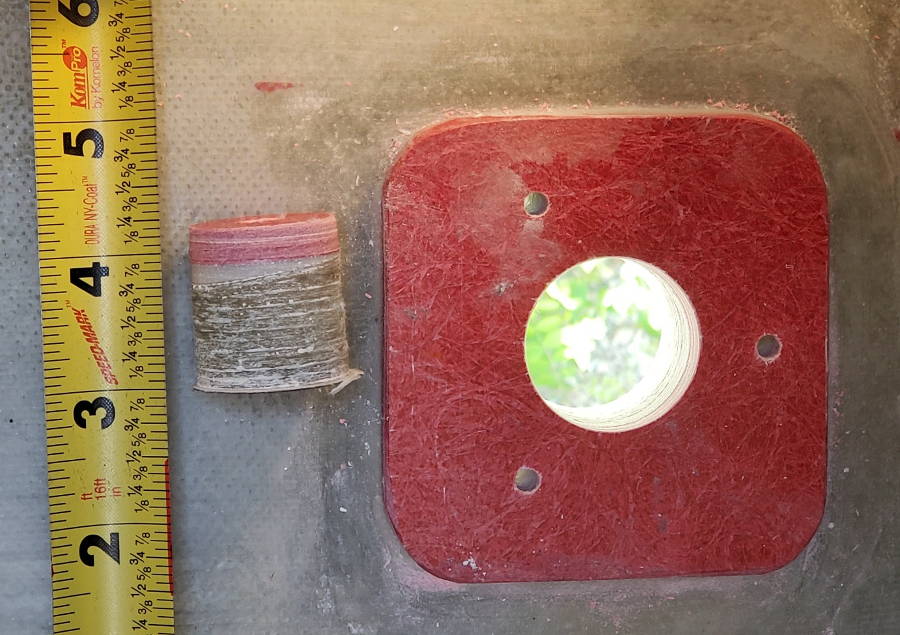
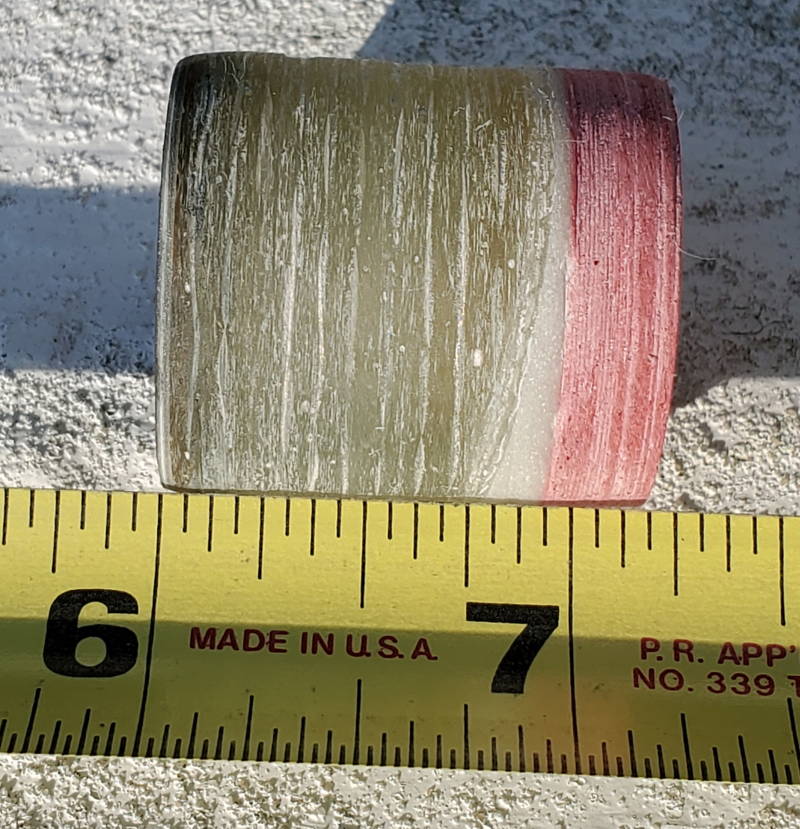
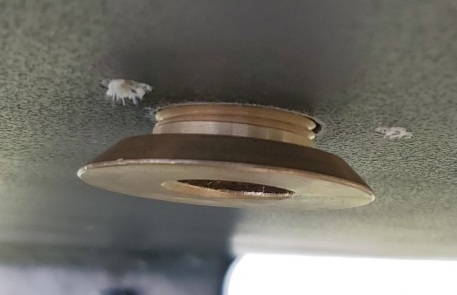
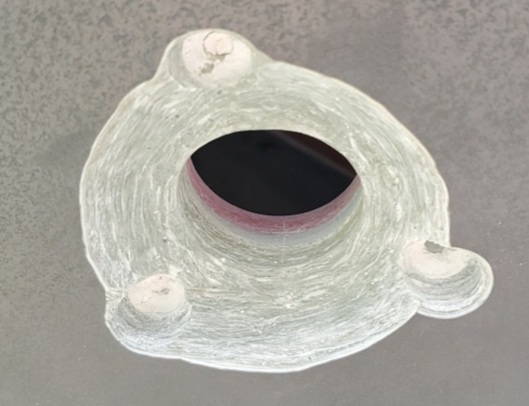
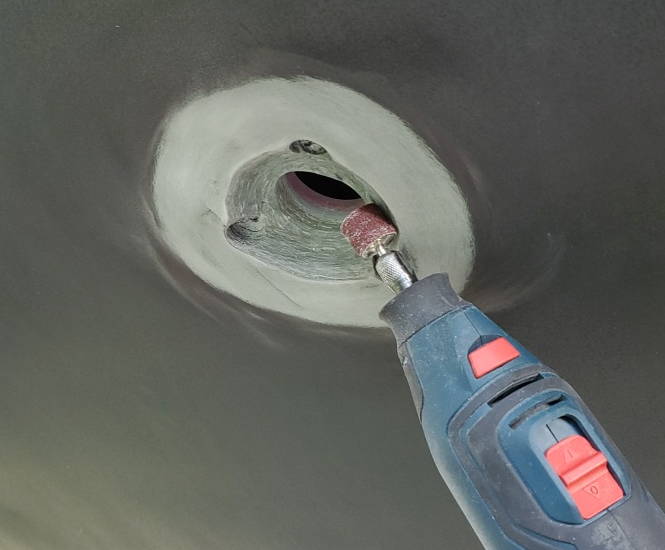
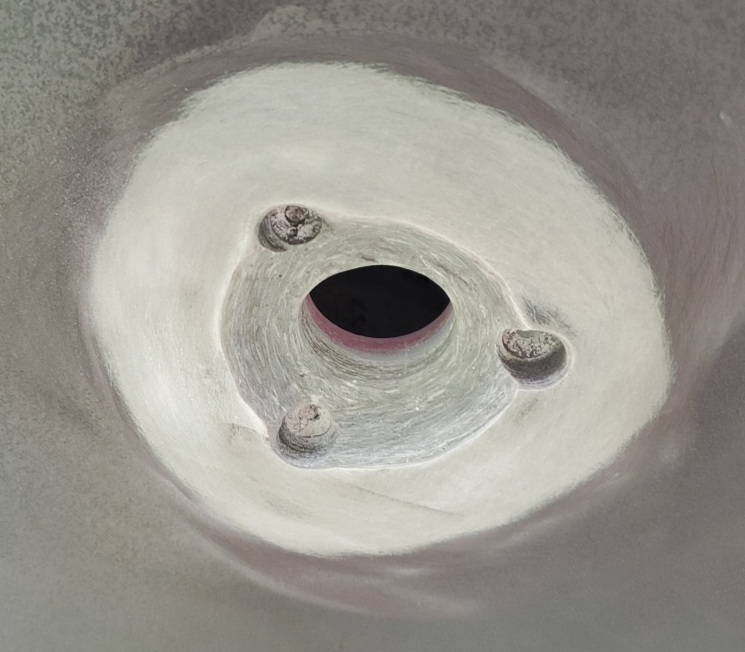
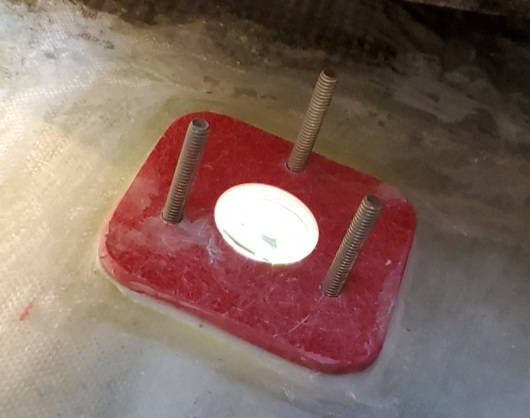
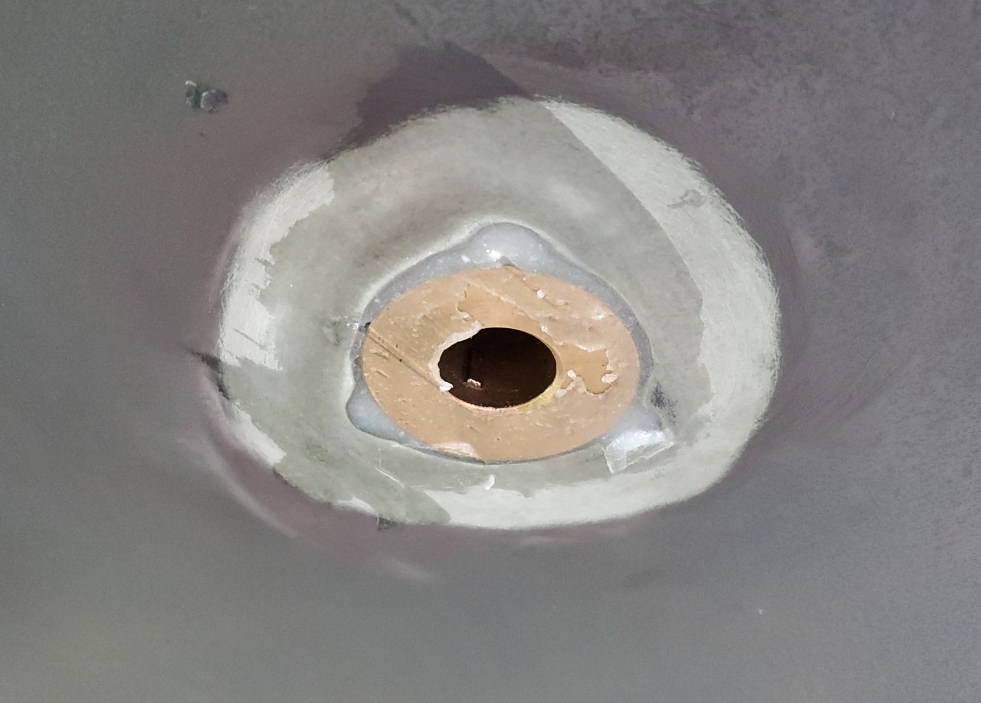
First step was to glue down a fiberglass pad on the inside of the hull to add some thickness and adjust to get the inner and outer surfaces parallel in this section of hull where the layup is tapering. With the pad in place I drilled the holes for the thru-hull and the fastener. You can see the hull layup taper pretty clearly in the core from the thru-hull hole. Using a dremel with a sanding drum I cut a bevel in the hull surface for the flush mount thru-hull. Then I waxed the thru-hull to use it as a mold to mold a perfect match in the hole with thickened epoxy. The bronze 1/4-20 fasteners were set in threaded holes in the hull and epoxied over. After the epoxy cured the thru-hull was removed using home made tool and re-installed along with the seacock with polysulfide sealant. |