|
| Pearson 10M Swift Fairing Repair |
|
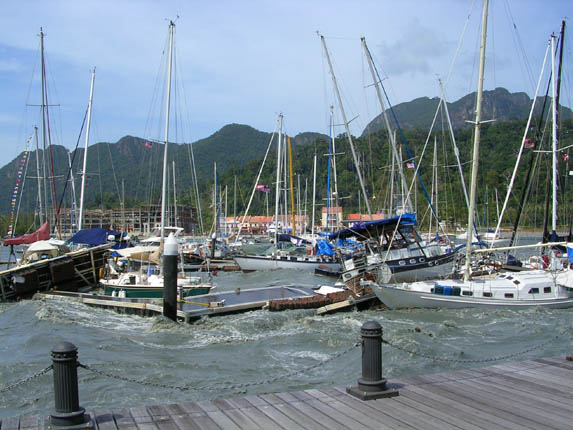
Tsunami damage –fairing ripped off the keel. Only the lead was remaining. |
|
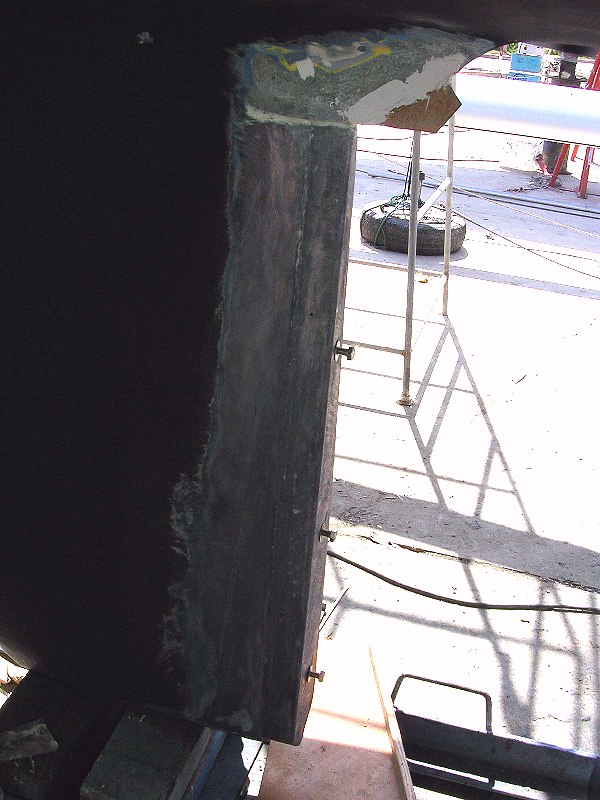
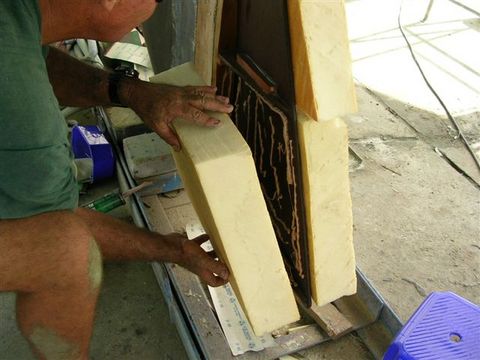
The first layer of inch & half wood secured with 5200 & three 12 mm bolts tapped into the original holes in the lead keel.
Timber was local Thai wood used for boat building keels on fishing boats. |
|
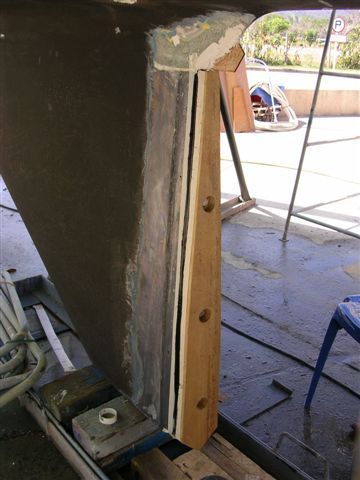
Second layer of inch & half wood secured with epoxy & stainless steel lag screws. 10 mm groove recessed down the centerline for insertion of 10 mm plywood form epoxied in place. These two inch & half timbers increased by three inches the total surface area of the fiberglass to the keel greatly increasing its grip. The original only had two inches on each side.
Plywood held in place with a temporary jig & squared to the back of the keel. |

|
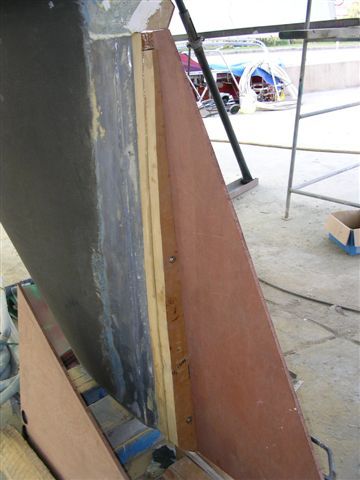
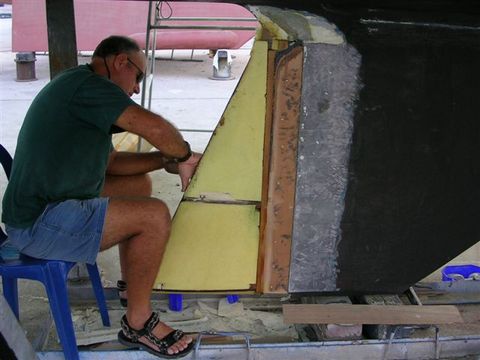
Two stringers, port & starboard epoxied in place with cleat stock. Stringers were shaped to continue the natural cord of the keel. Epoxy resin applied for waterproofing. Bottom stringer angled down aft to match the taper of the base. |
|
Rigid refrigeration foam glued in between stringers using construction adhesive. |
|
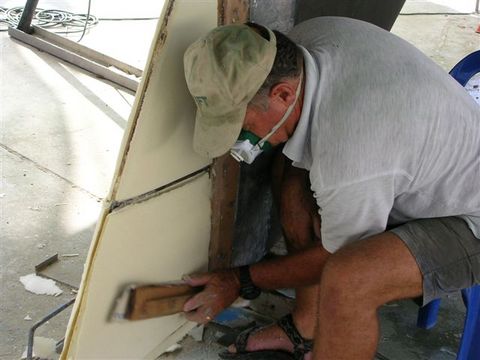
Roughing in keel shape with serrated bread knife. (hi tech stuff).
Final shaping with sandpaper on longboard, using ribs to get the final shape. Most sanding was done in the vertical plane. |
|
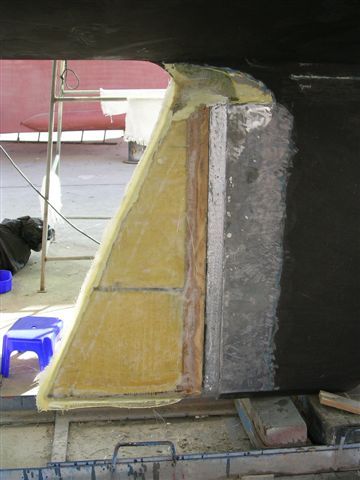
First layers of glass lay up using heavy cloth & West System epoxy. Bottom overlap was cut off with following lay up going around the base of the keel. Trailing edge was too thin to bend the lay up so overlap was continued. |
|
Number of lay ups varied to build up the juncture between the fairing & the lead keel. The 2-inch wide vertical recess in the lead casting, which the original fairing fitted in, was approximately 3/8 inch deep. |
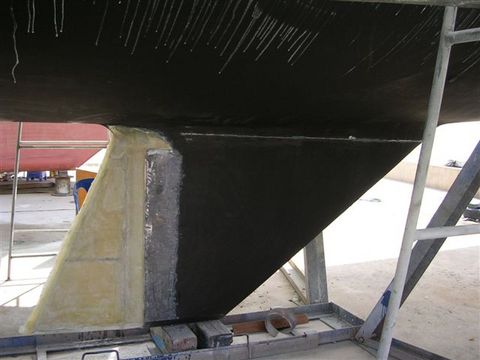
|
Fairing was built up until flush with lead. The last two layers tapered & overlapped the surface of the keel. We used filler only in the last stages. During the lay up when we had hollows we cut cloth to fix & glassed them in place. |
|
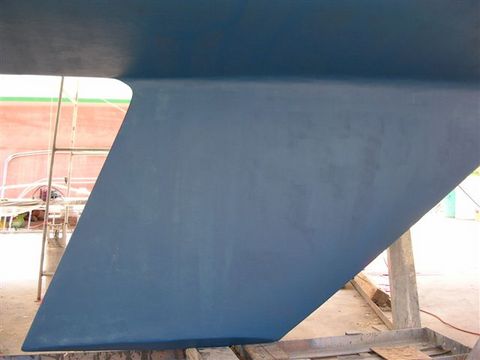
All surfaces were coated with six coats of resin & then primed after curing.
Completed perfect shape. Is this yours or ours ??? |