
|
| Pearson 10M V-Berth Rebuild |
|
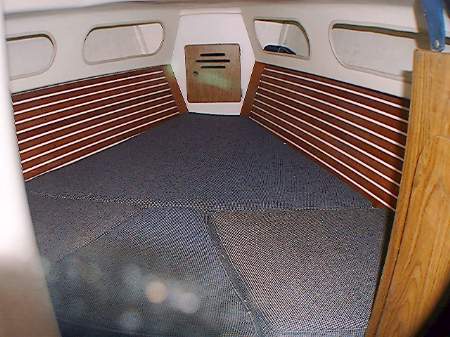
The v-berth as it was when I got the boat in 2001. Teak ceiling strips were a Pearson option. |
|
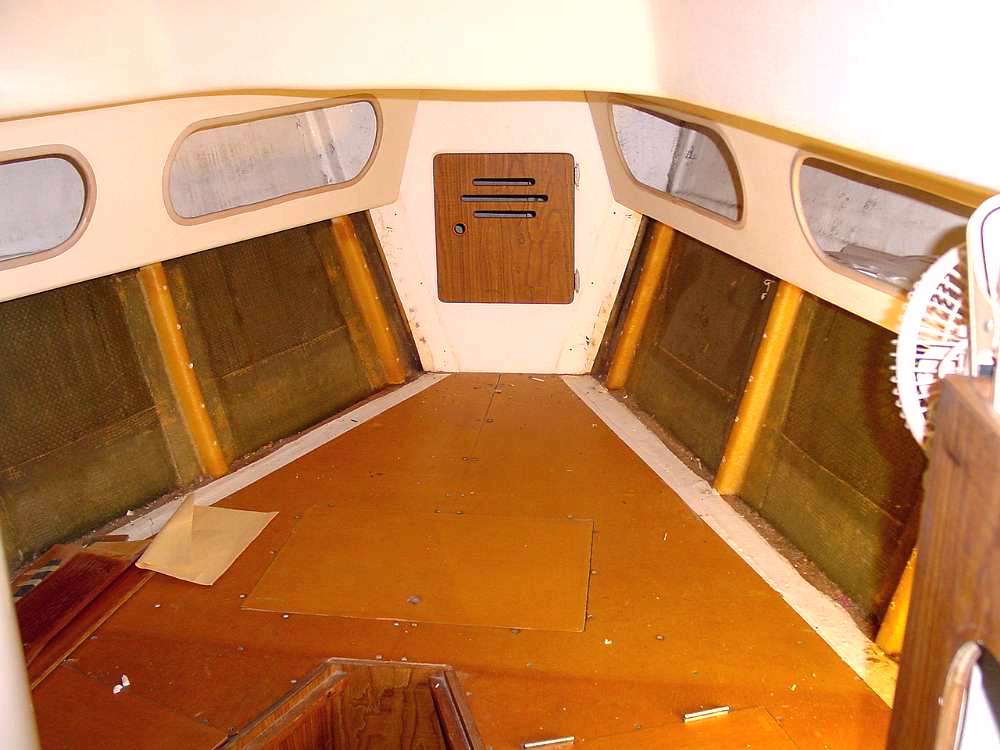
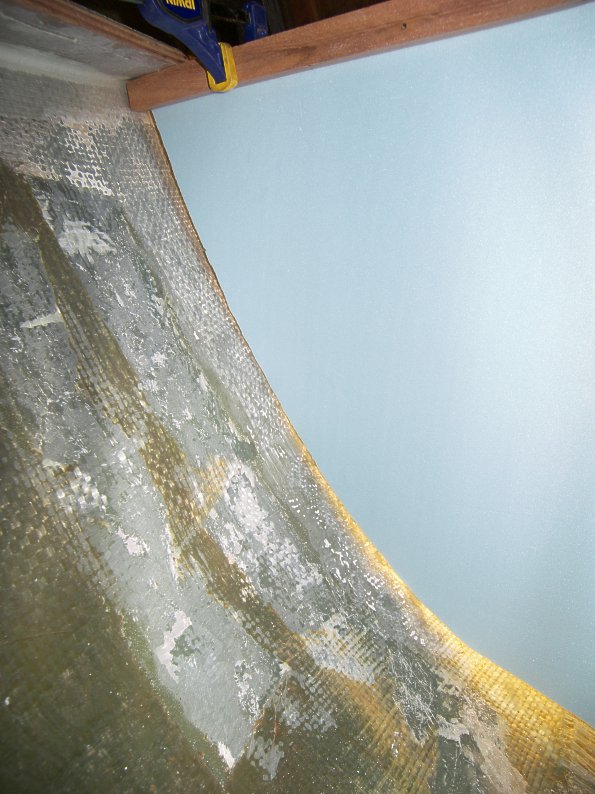
Top of the v-berth deck before cutting out. The ribs on the hull surface are the mountings for the teak ceiling strip panels. The teak strips are mounted to a 1/4" plywood pane faced with formica. |
|
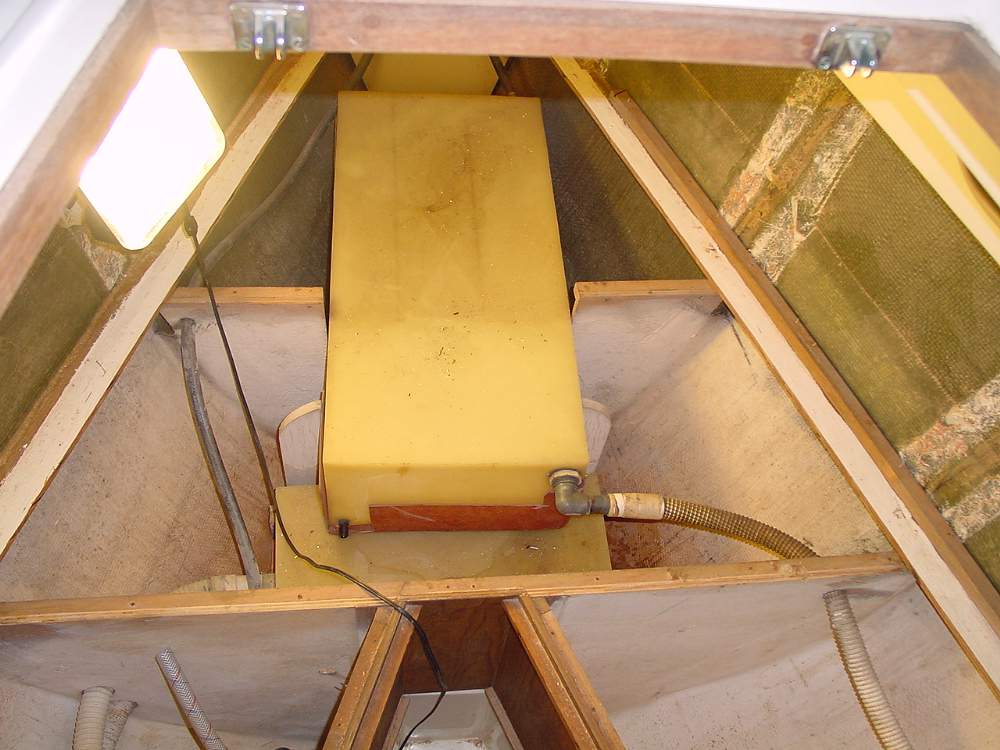
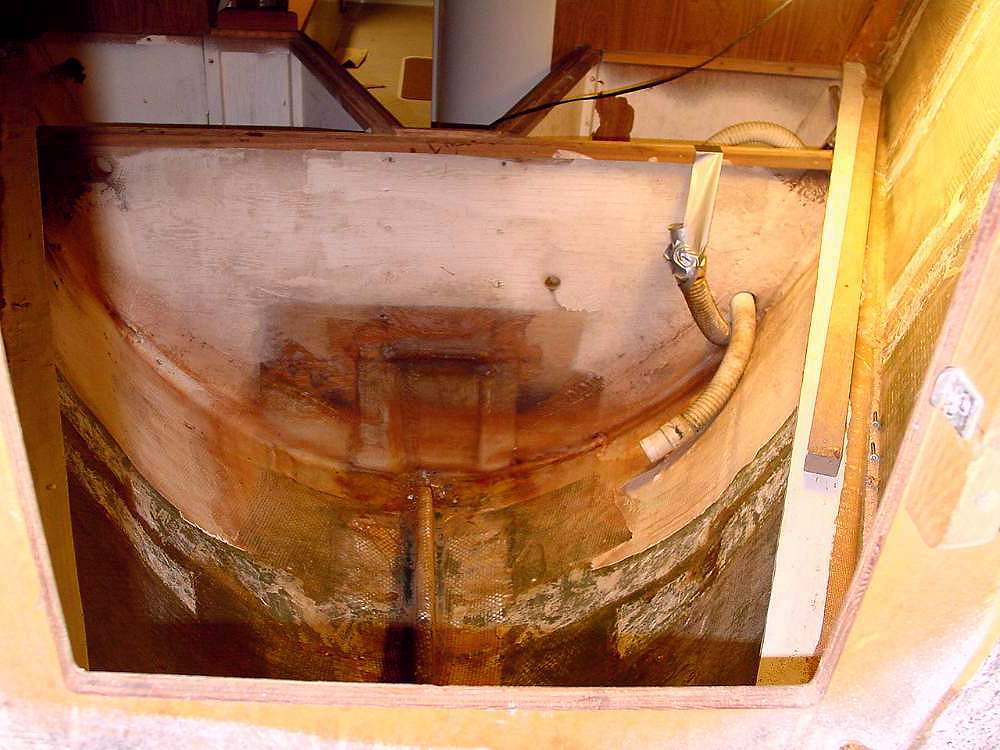
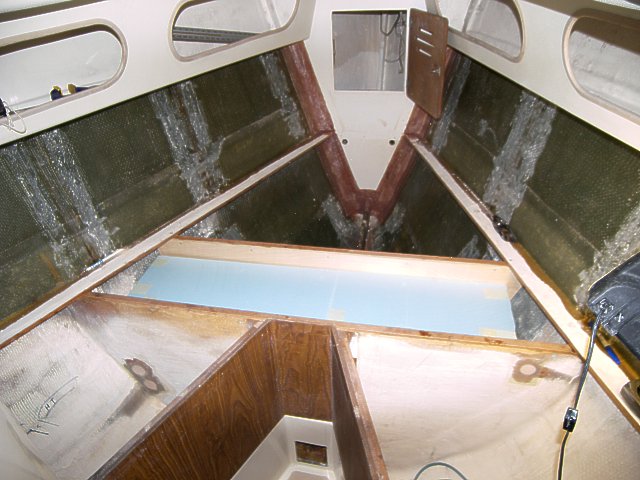
Here is the space under the v-berth. My 10M came with the optional forward water tank. The water tank is the one on top. The tank below it is the holding tank. I cut the deck about 3" inboard to preserve a flange to attach the new deck to. The water tank sits in a fiberglass pan that is fastened to the bulkheads. The tank simply lifts out. It is not possible to get the tan out without taking the v-berth deck up. And the deck must cut to take it up (or the tabbing needs to be torn off). |

|
This photo shows the frame the holding tank sits in and the aft support for the water tank. The round white pieces are the fiberglass backing plates from the bow pulpit. They dropped under the v-berth when I was disassembling that and I dropped them in the holding tank frame when I picked them. |

|
This is the forward section of the space under the v-berth. The hose on the right is the vent for the water tank, on the left is the vent for the holding tank. The water tank vent loops up in the forepeake, the holding tank vent goes to a thru-hull vent fitting in the forepeake. The small bulkhead forward supports the forward end of the water tank. Bulkheads with this type of tabbing pull out very easily - a few swift kicks. It's a little hard to see but if you look you can tell where the hull gets thicker near the water line down. There are several more layers of mat/roving. Also note the reinforcing rib on centerline. |

|
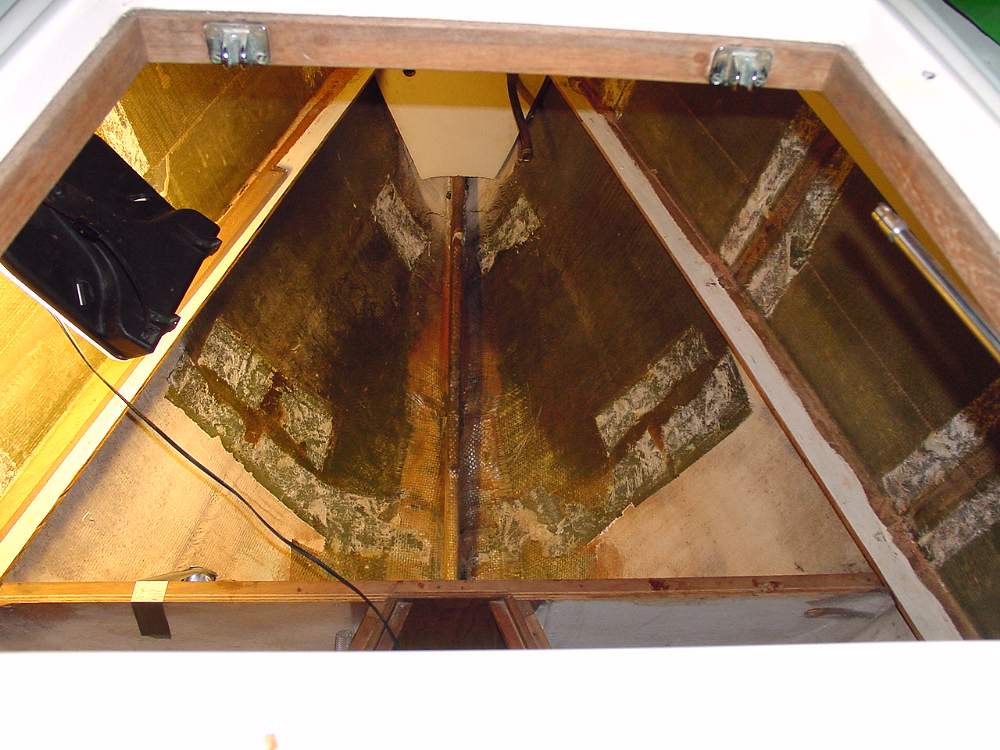
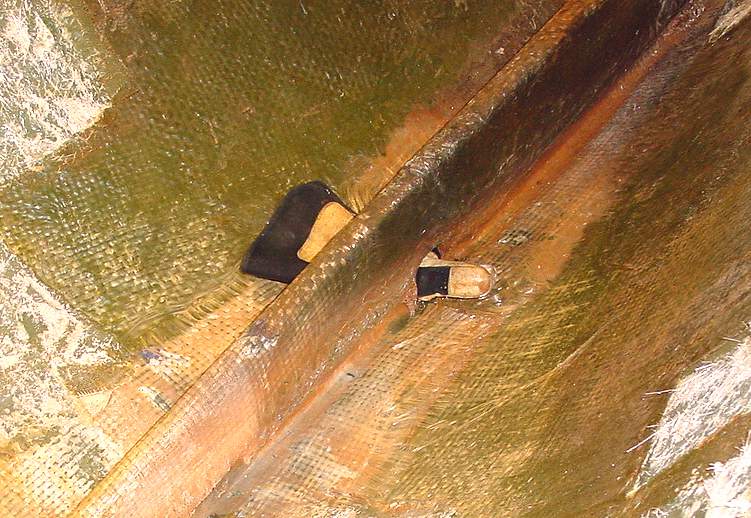
This photo shows the aft end of the spaces under the v-berth. On the left is the head plumbing. The glass patchwork in this locker is where the OEM head intake was. I re-located that to the locker under the head sink. The smaller white hose leads from the intake to the strainer, which is located on the aft bulkhead of this locker. You can also see that the holding tank frame is gone along with the bulkhead in front of it. |
|
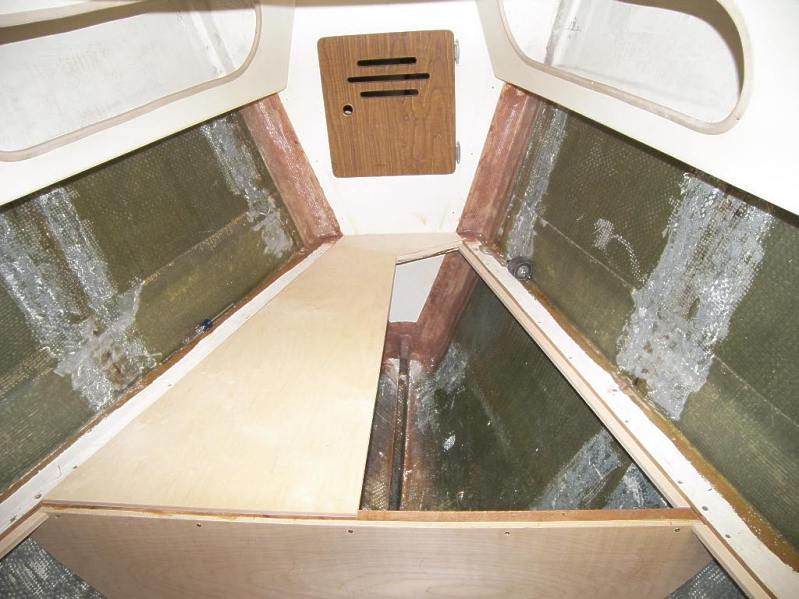
This photo shows the forward section of the space under the v-berth with all the bulkheads removed. |
|
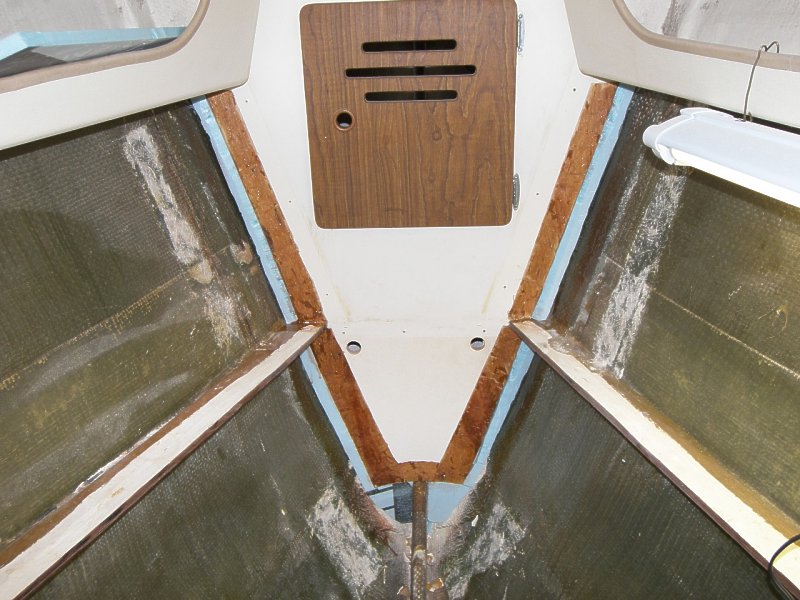
Here is the forward side of the main bulkhead under the v-berth. This bulkhead separated the forward space from the two lockers to the left and right of the v-berth notch. The reinforcing rib runs almost to this bulkhead. It ends about six inches forward of it. |
|
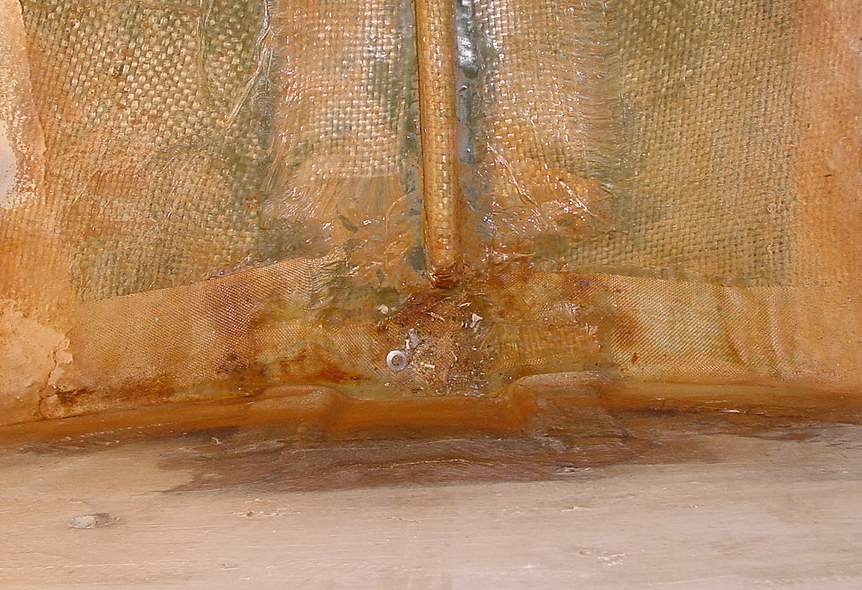
This is a close-up showing the aft end of the reinforcing rib. Note how the bulkhead is tabbed with cloth while the reinforcing rib uses woven roving. When you see tabbing done with woven roving like this it's a good indication that this was meant to be strong. |
|
About two feet forward of the aft end of the rib there is a hole that was used to attach a chain for lifting the hull from the mold. |
|
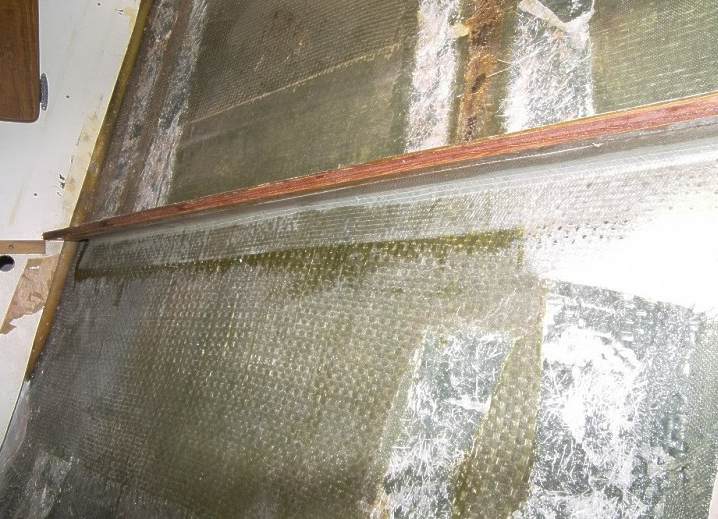
A layer of biax tabbing was added on the underside of the v-berth deck flange to stiffen it a bit more. On the forpeak bulkhead you can see where I started chipping off the formica to add tabbing. |
|
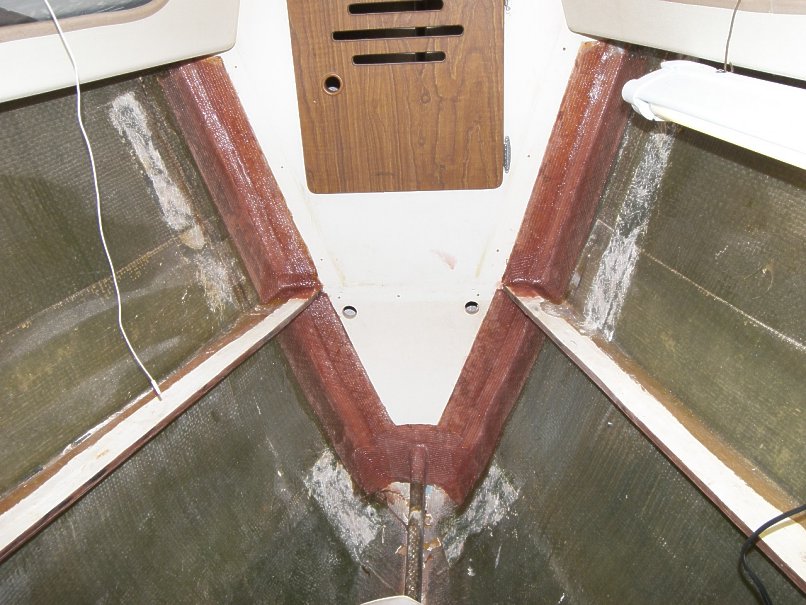
When the boat was built the interior was dropped in as a unit and tabbed in place. Many bulkheads were tabbed only on one side because the other side was left inaccessible. The forepeak bulkhead was only tabbed on the forward side. The aft side (that you see from the v-berth) was covered with Formica. Using a chisel I stripped 3" of this around the edges because the tabbing won't stick to the Formica. I filled the large gap between the edge of the bulkhead and the hull with foam and then added a fillet made with epoxy plus 406 filler. That gives a good radius for the tabbing and makes the whole thing stronger when the tabbing is added in time for full primary (chemical) bonding with the fillet. |
|
I added three layers of biax tabbing to better secure the forepeak bulkhead to the hull. This tabbing is a lot stronger than what was done at the factory on the forward side. It's thicker, uses stronger glass (biax) and epoxy resin rather than polyester. That gives a stronger bond to the hull and bulkhead. I wrapped the tabbing onto the v-berth deck flange and I left limber holes at the bottom. The tabbing above the v-berth deck will be covered with some teak trim. |
|
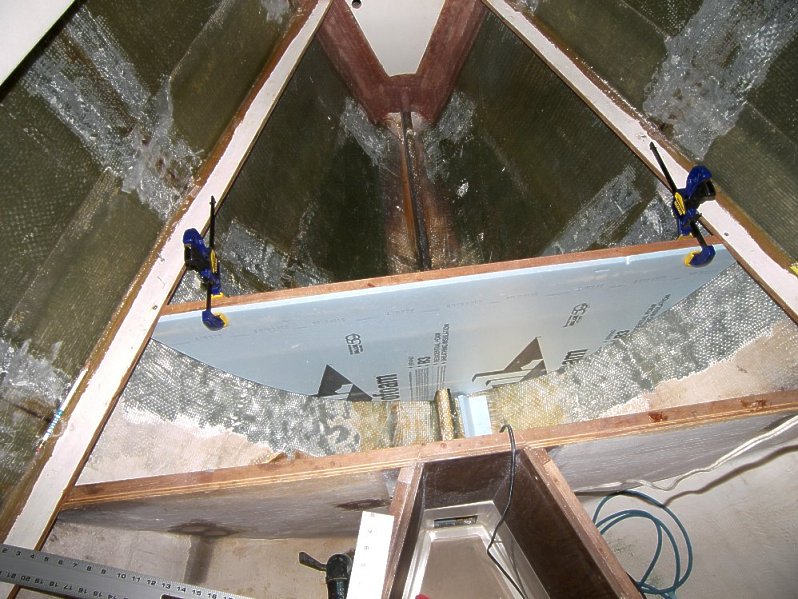
The holding tank is going to go just forward of the v-berth notch. I am adding a bulkhead for the forward side of the tank. I started with a mahogany strip to which the bulkhead will be attached. Then I made a foam template of the bulkhead. The foam is easy to work with and cuts with a hot-knife. Mine is a cheap pistol-grip soldering iron. I used a hammer to pound the tip flat so it's like a knife. It works great. |
|
Once trimmed to a rough fit I made more careful measurements around the edges to transfer to the plywood. |
|
The foam came pretty close to the right contour on the hull. |

|
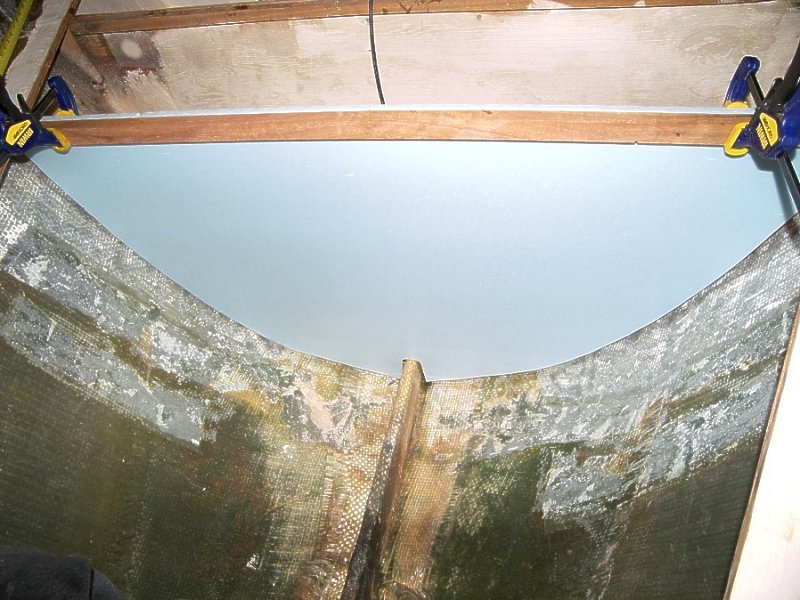
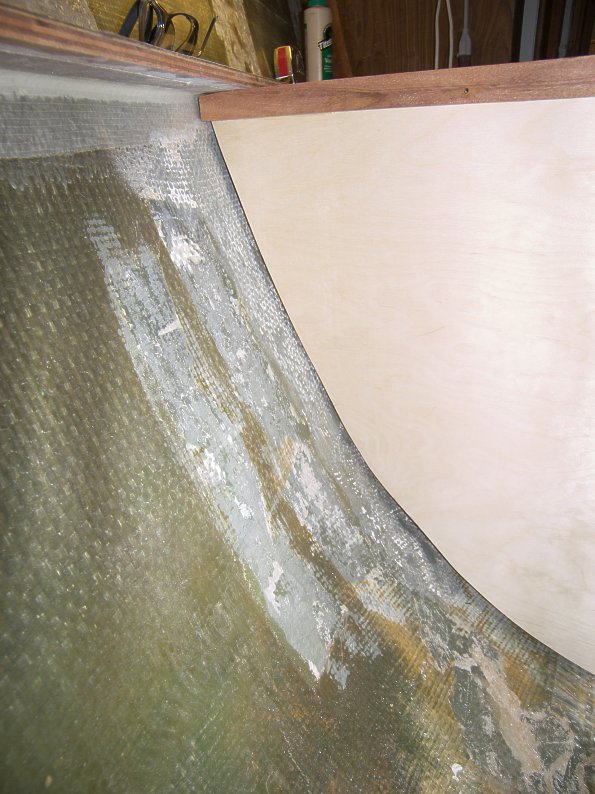
The plywood panel made with the foam template was almost a perfect match. It took just a little trimming. I want about a 1/2" gap around the edges. |
|
The fit looks good from the front. |
|
|
|
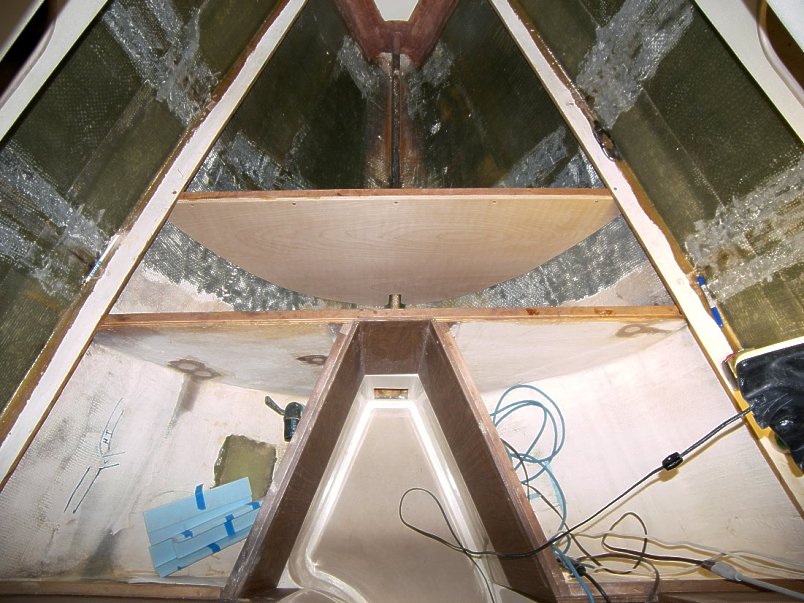
From this angle you can see how the tank will fit. Forward of the tank bulkhead will be a storage bin for sails. The v-berth deck panels will be hinged at the outboard edge. |

|
This is a foam model of the holding tank. Working with foam models like this has been very helpful in evaluating fit and the important ability of maneuvering the tank into place. |
|
The tank fits well but I'll need to reduce the vertical dimension a little to leave more headroom for the hose fittings. |
|
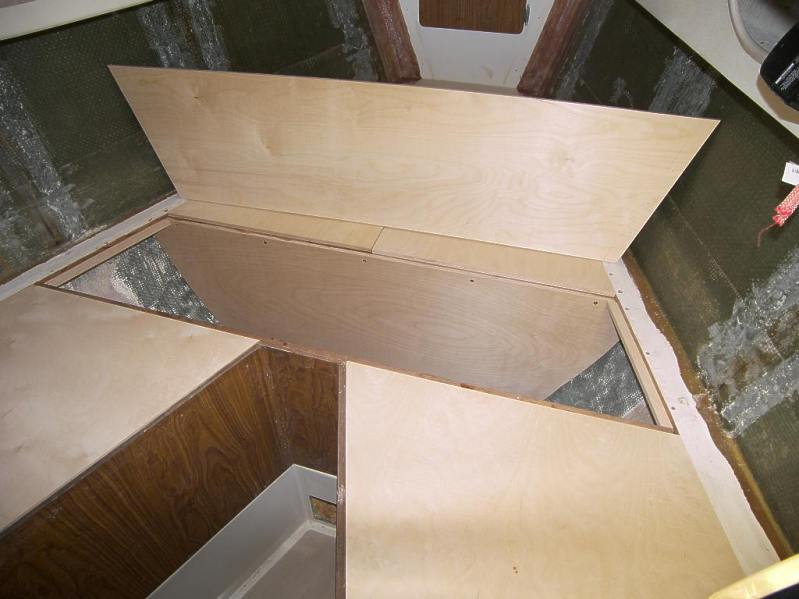
This is the first v-berth deck panel installed. The forward two panels will open to access a large storage bin that can be used for sails. |
|
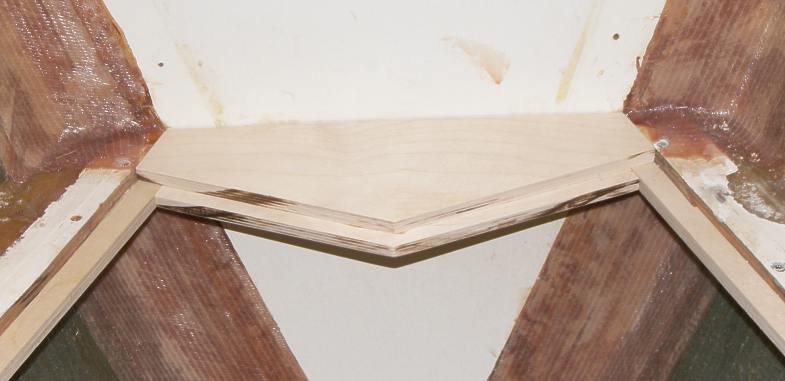
To make the opening panels clear the forepeak bulkhead when opened I added this small panel at the front. |
|
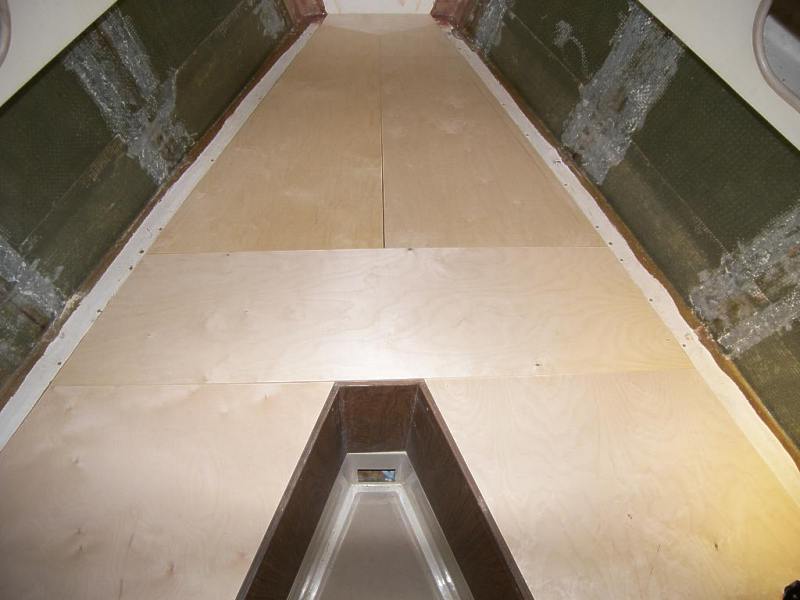
This is all of the v-berth deck panels in place. It looks like there are two pairs of symmetric panels - the forward pair, and the aft pair. In reality the dimensions vary by as much as an inch in the pairs. |
|
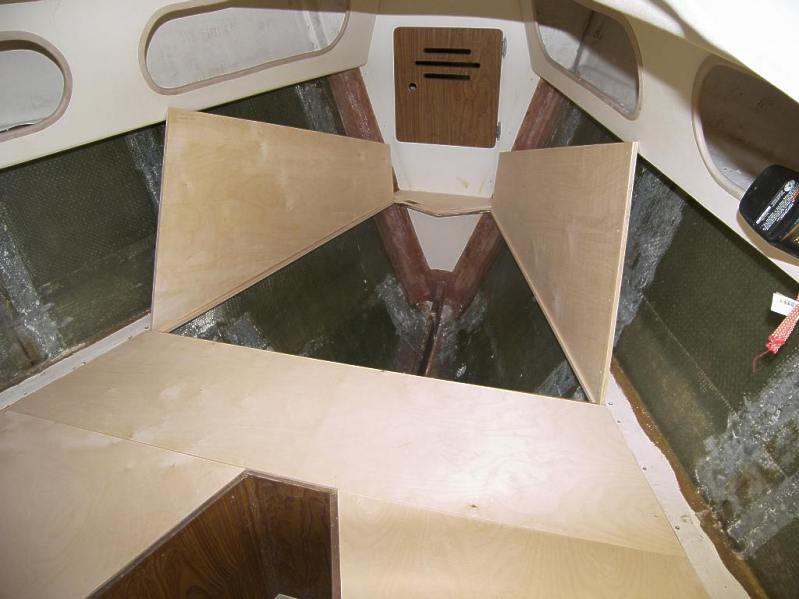
This shows the mid panel under which the holding tank will fit. |
|
This shows how the forward panels will be hinged to open for storage access. |
|
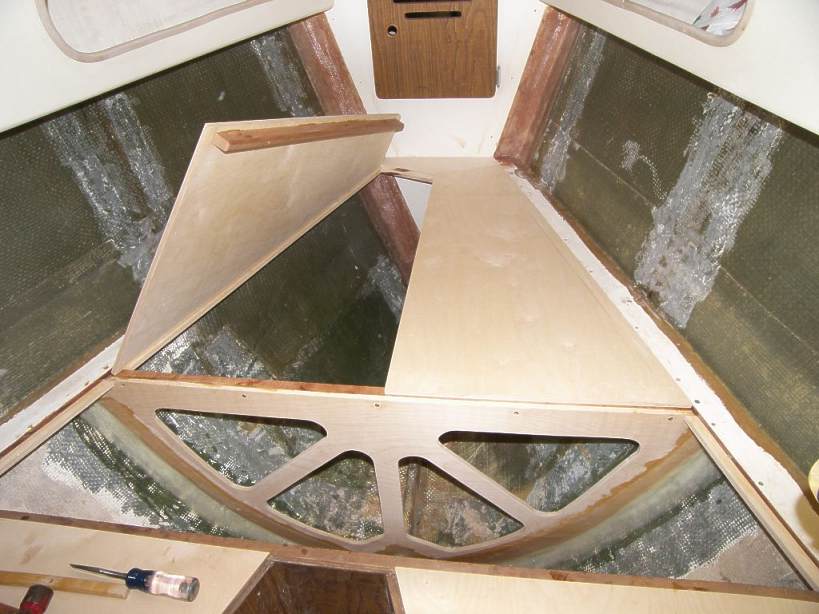
Here the holding tank bulkhead has been glassed in place. I cut out panels in the bulkhead to save some weight. This reduced it by 40%. The forward side will be sheathed with a 3/32 smooth fiberglass panel. I also added mahogany stiffening strips to the underside of the v-berth deck panels. |

|
This drawing shows the method I used to tab the bulkhead to the hull. Click for more details... |